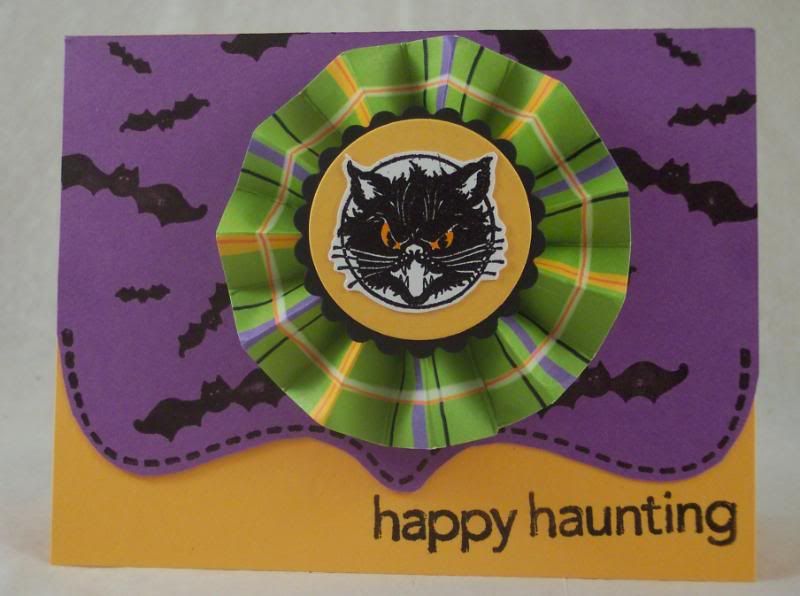
I’m not really sure what the official term for these accordion folded paper embellishments are that are popping up all over on cards and scrapbook pages but I’ll go with rosette 🙂 They make a cool dimensional addition to any card or scrapbook page, you could also glue two back to back with a ribbon hanger and make a fun ornament.
Here’s what you need:
one 1 1/2″ x 11 1/2″ strip of patterned paper
two 1 1/2″ punched cardstock circles
strong adhesive (I used red line tape)
scoring board with bone folder ( I used my Martha Stewart board)
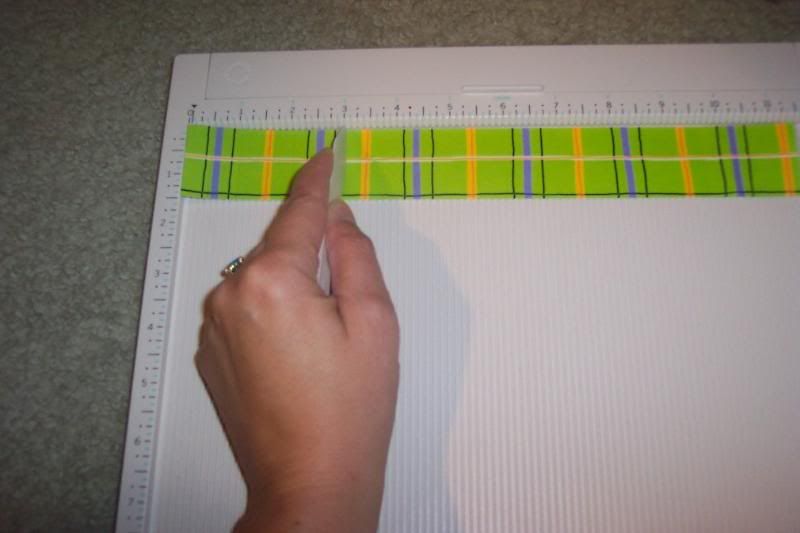
Start by scoring your patterned paper every 1/2″:
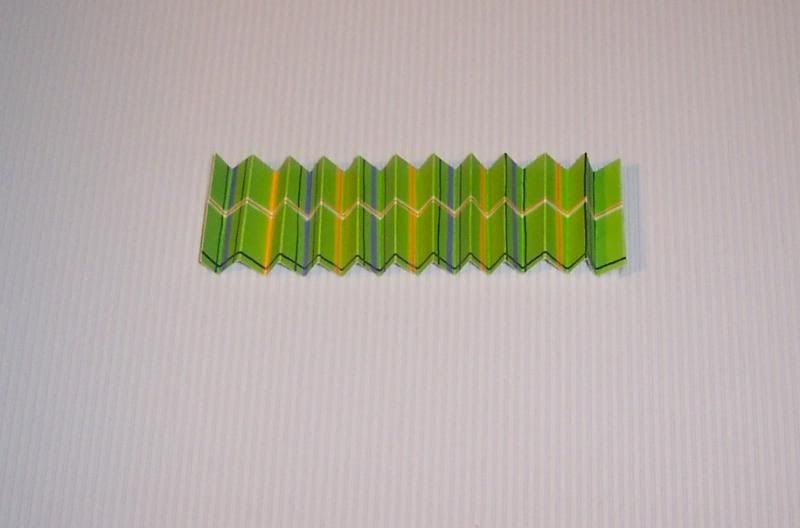
and then accordion fold it back and forth:
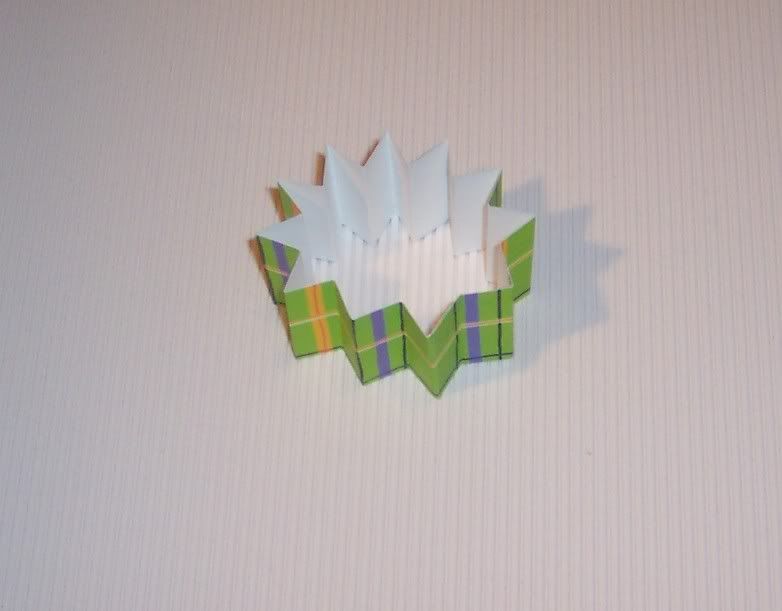
using a strong adhesive tape the two ends of your patterned paper to form a circle:
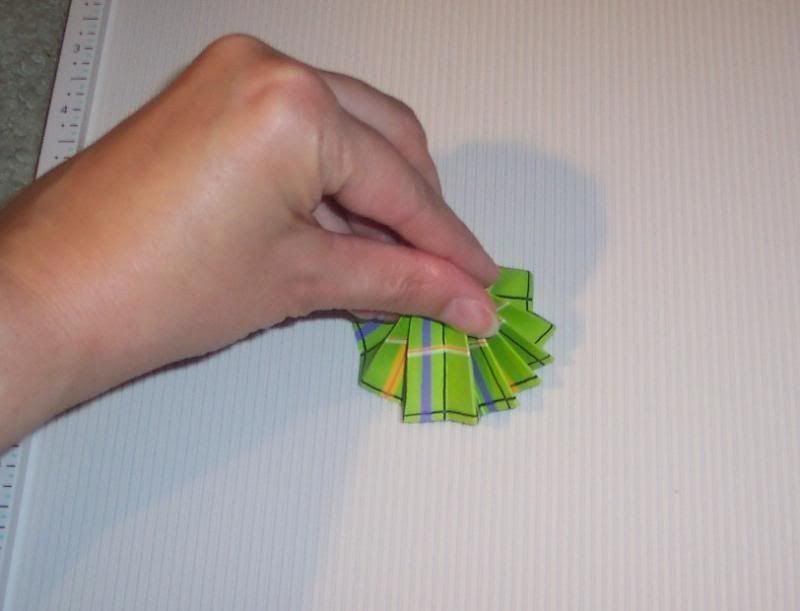
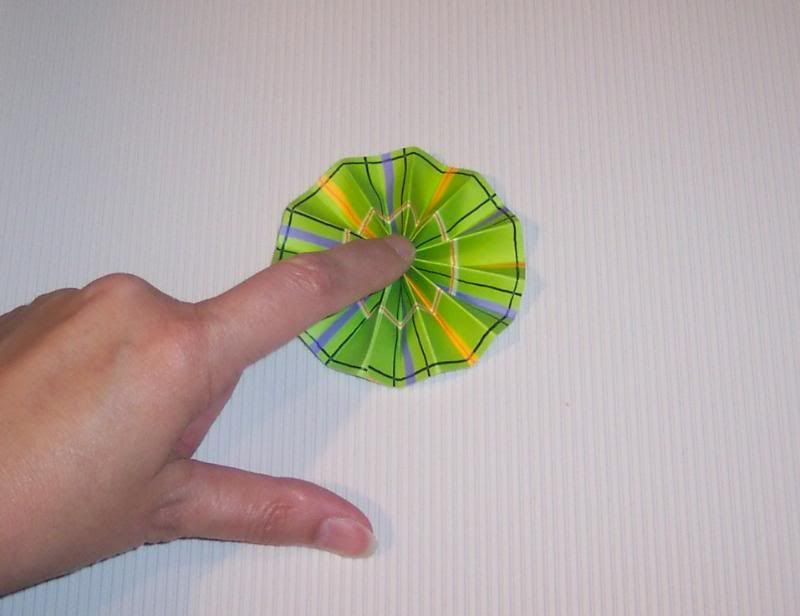
gather the circle, pinching the top and push downwards to flatten it out:
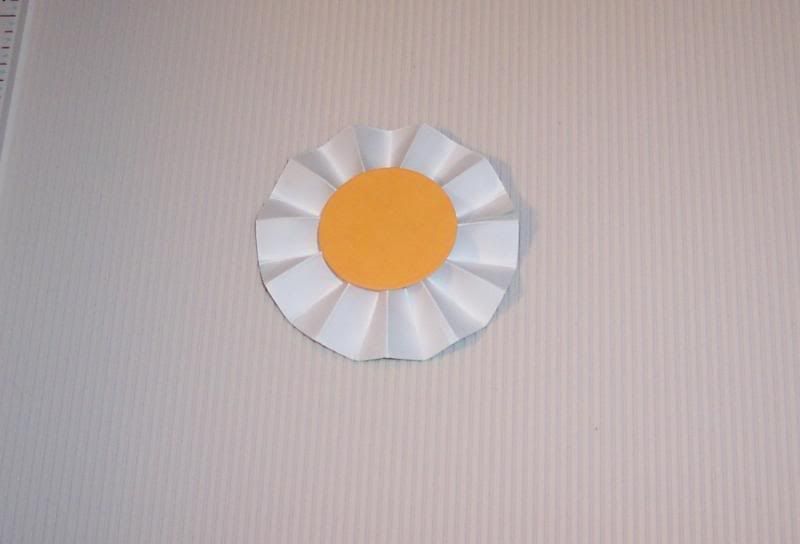
on the back side adhere one circle with strong adhesive:
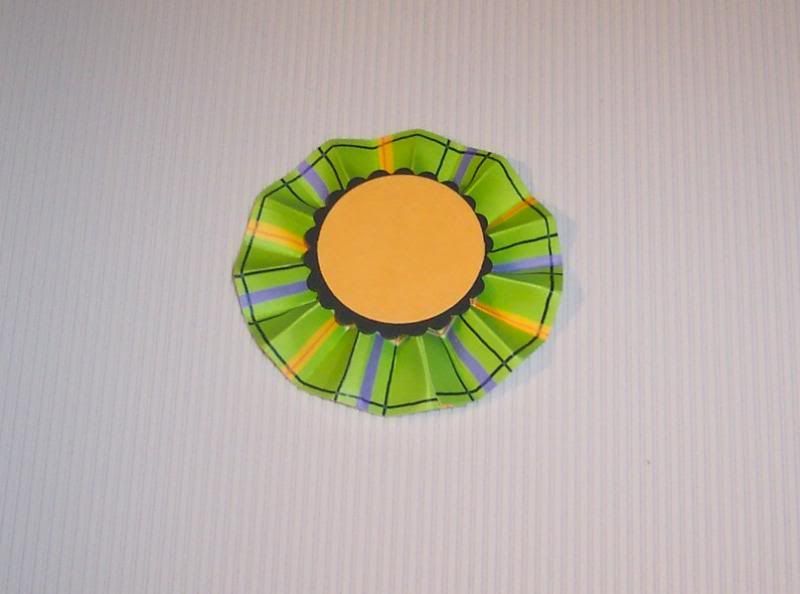
on the front adhere the other circle and any other layers you might want to add to decorate the front:
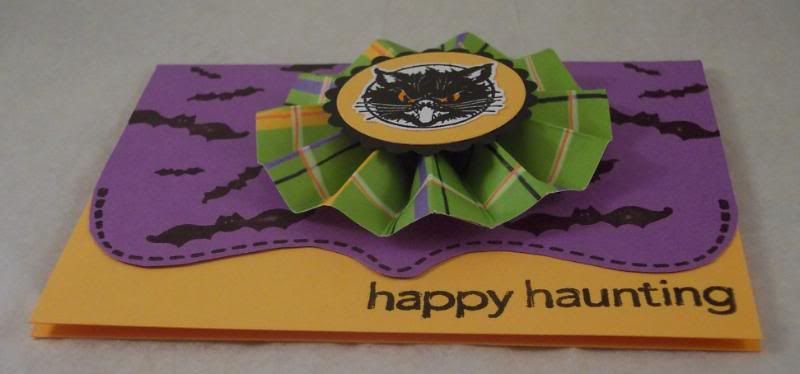
I also added a fun retro looking cat stamp on my circle layers.
Here’s what it looks like from the side:
depending on what papers and stamps you use these can be made for any occasion.
The cat stamp I used is from PSX, all others are from Close To My Heart.
Tags: , accordion embellishment, card, cat, embellishment, halloween, rosette, stamped, stamping

Hi, Heather! Great tutorial on how to make a rosette! 🙂
[…] my personal blog P is for Paper and I’ll show you step by step how to make one of these fun paper rosette […]
Thanks for the tutorial. Will be trying this today.
Thank you for the step by step tutorial. I def. want to try making one of those rosettes!
Janna