Archive for the ‘Greeting Cards and Tags’ Category
Sunday, April 24th, 2011
I am SO happy with the way this card turned out. It’s my second for the latest Lawnscaping “Critters” challenge. I got to thinking about the different animals in the sets and realized one has an owl and another has a cat, so I die cut a boat for an Owl and the Pussycat card. Stamps are from Lawn Fawn, papers are from My Minds Eye and the boat die cut is a Silhouette shape.
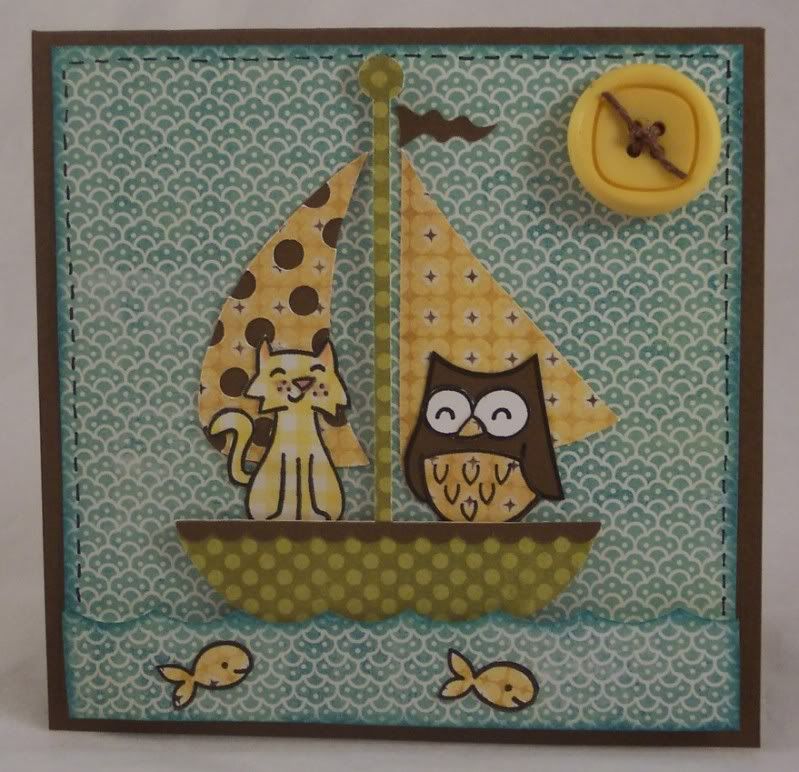
Tags:boat, card, cat, challenge, die cut, diecut, gretting, lawn fawn, lawnscaping, ocean, owl, pussycat, sea, silhouette, stamps
Posted in Greeting Cards and Tags | 5 Comments »
Sunday, April 24th, 2011
Here’s a card for another Lawnscaping challenge. The theme this time is “Critters”, of course I couldn’t resist make a couple of cards. This one will actually be my step mothers birthday card, she and my dad just got back from Florida and I thought this would be perfect with the sweet dolphin. Stamp is from Lawn Fawn and the pattern papers are from My Mind’s Eye.
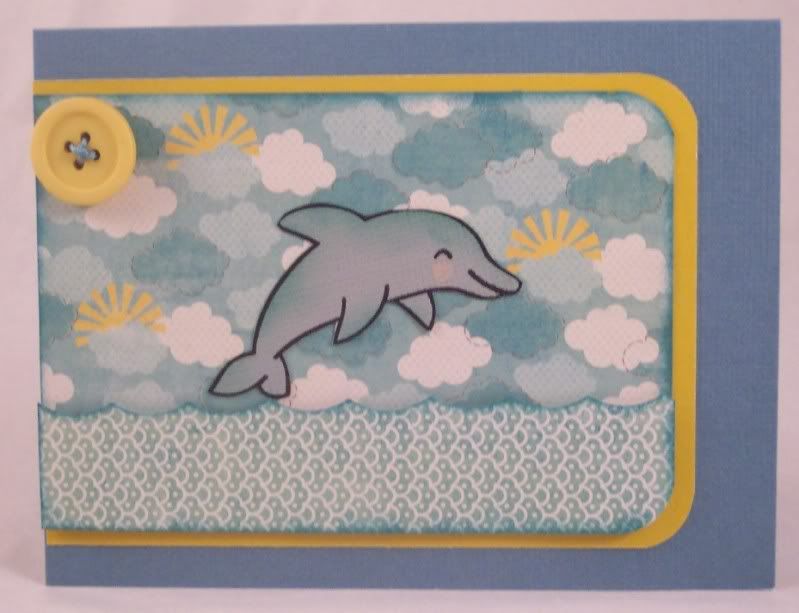
Tags:card, challenge, critters, dolphin, greeting, lawn fawn, lawnscaping, ocean, sea, stamped, summer, waves
Posted in Greeting Cards and Tags | 4 Comments »
Tuesday, March 15th, 2011
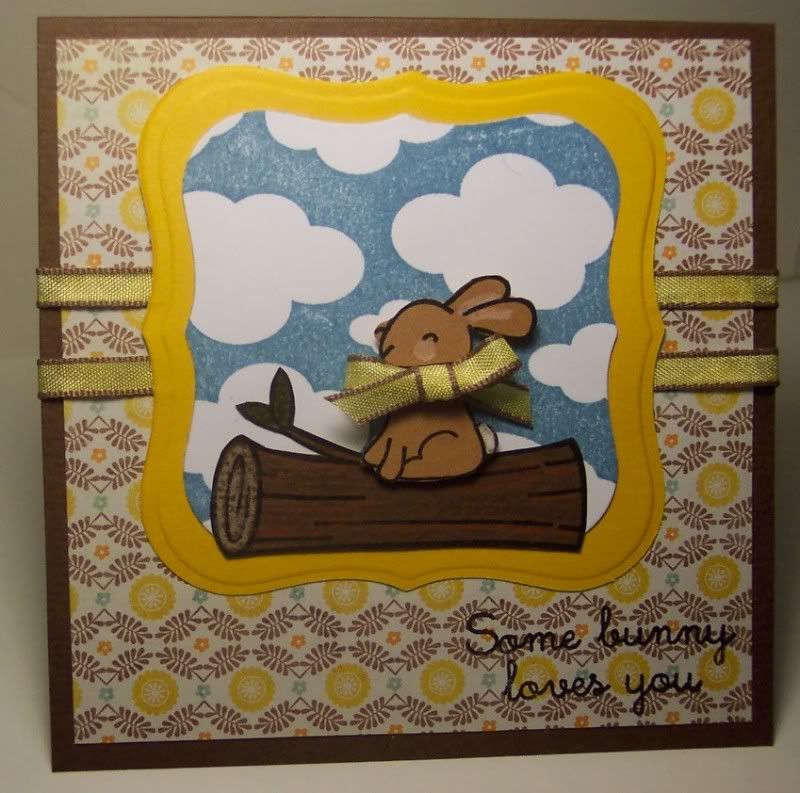
There are lots of great “challenge” blogs out there, especially for stamping. I don’t usually have a lot of time to participate but there’s a great new one called Lawnscaping and it’s for Lawn Fawn stamps, which is quickly becoming one of my favorite companies. The challenge this time is to take a stamp and use it in an unconventional way (a way it wasn’t intended for) so I took the Lawn Fawn winter bunny riding a sled, cut off the sled and his scarf and turned him into a woodland bunny. I also used the log from another Lawn fawn set, clouds from Hero Arts and words from Close to My Heart. I think it turned out pretty cute!
Tags:bunny, card, challenge, greeting, lawn fawn, rabbit, stamped, woodland
Posted in Greeting Cards and Tags, Uncategorized | 4 Comments »
Wednesday, December 15th, 2010
Are you ready for the holidays? The house is decorated, I’ve gotten all my gifts bought and wrapped, and my cards made and mailed, I think I’m ready! I wanted to share a few of my holiday cards with you today.
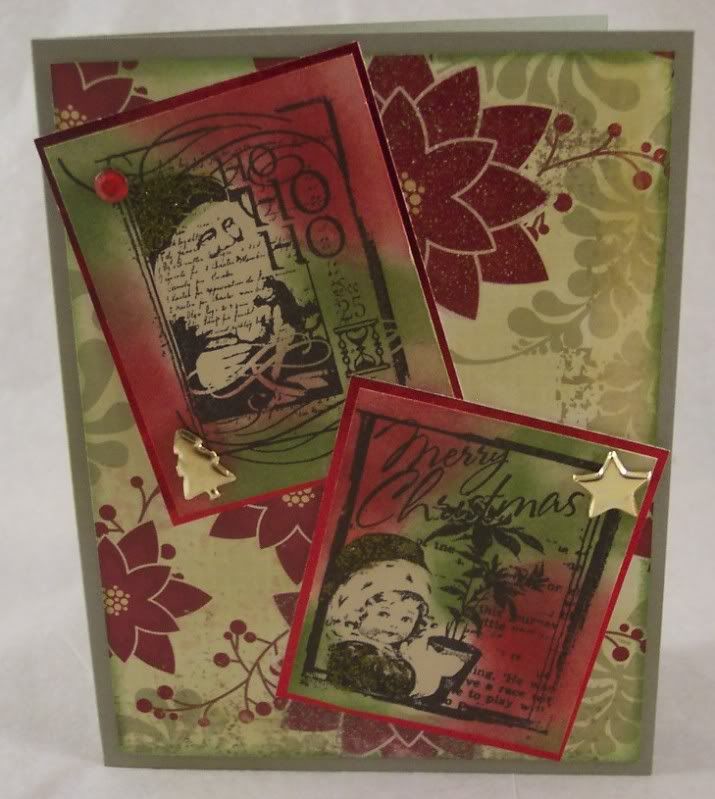
This first one was inspired by Tim Holtz (I love his 12 Tags of Christmas each year!) I stamped the image (from Recollections) with black Staz-On ink and then took cosmetic sponges to rub the red and green inks over the images, blending as I went. I added some sparkle with Tim’s Distressed Stickles too.
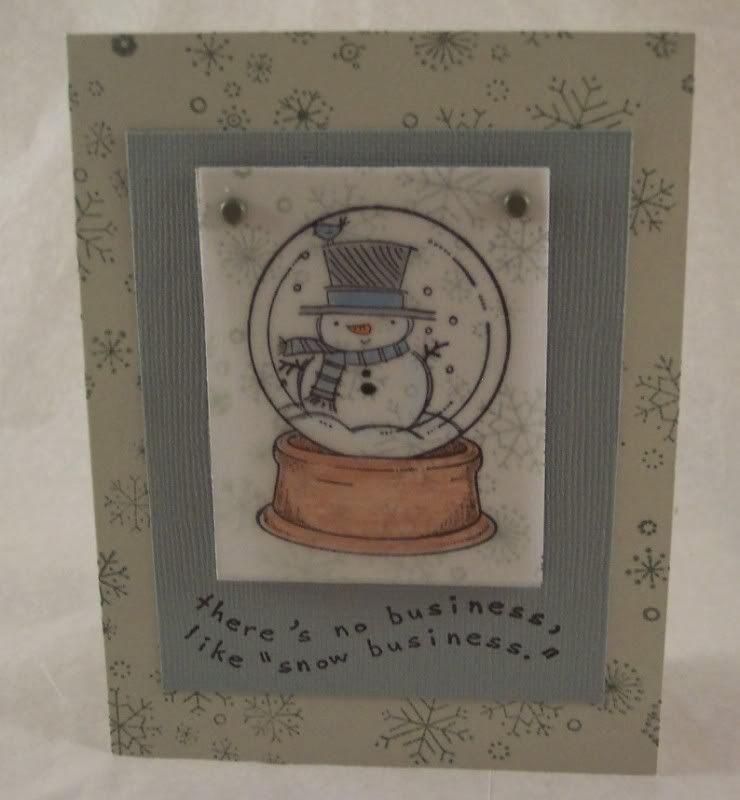
This next one I stamped the snow globe and snowman (from Inkadinkado) on vellum and colored on the backside of the vellum with colored pencils, it gives it a nice soft look.
This cute little scene was put together from stamps from a few different companies, the deer is Colorbox, the snowflakes and text from Inkdinkado, the tree and bird from Close To My Heart. The deer was kinda of plain so I used a black marker to add his eyes and spots, it helped give him more dimension. The berries on the tree were made with the blunt end of a red marker and I added Stickles to the branches and on the ground around the tree and deer for lots of sparkle.

I hope you all have a wonderful holiday season!!
-Heather
Tags:card, cards, chistmas, deer, greeting, holiday, santa, snow, snow globe, snowman, stamp, stamped, stamping, winter, xmas
Posted in Greeting Cards and Tags | 1 Comment »
Monday, November 15th, 2010
I made my own clear stamps, how cool is that!? I recently got a chance to try out the new Teresa Collins Stampmaker which allows you to make your own clear stamps at home. It’s very quick and pretty easy to use, I had a few issues with trying to make stamps with small thin lines and also making a photo stamp but I’ve since found out I didn’t follow directions and these problems should be easy to correct. I had a couple of air bubbles in a few stamps which resulted in spaces on the stamp that didn’t come out but I did get really great results on quite a few stamps. I think there’s a bit of a learning curve with it. I think playing around with it more and getting a good feel for it I’ll get better results in the future.
Here’s my review of it on Craft Gossip. And here’s the best news we are having a giveaway for one at Craft Gossip too! Click here to go to the giveaway and follow the directions, you’ll need to become a Facebook fan and follow the blog of the manufacturer and also leave a comment on my giveaway post (over at Craft Gossip not here on P is for Paper:)).
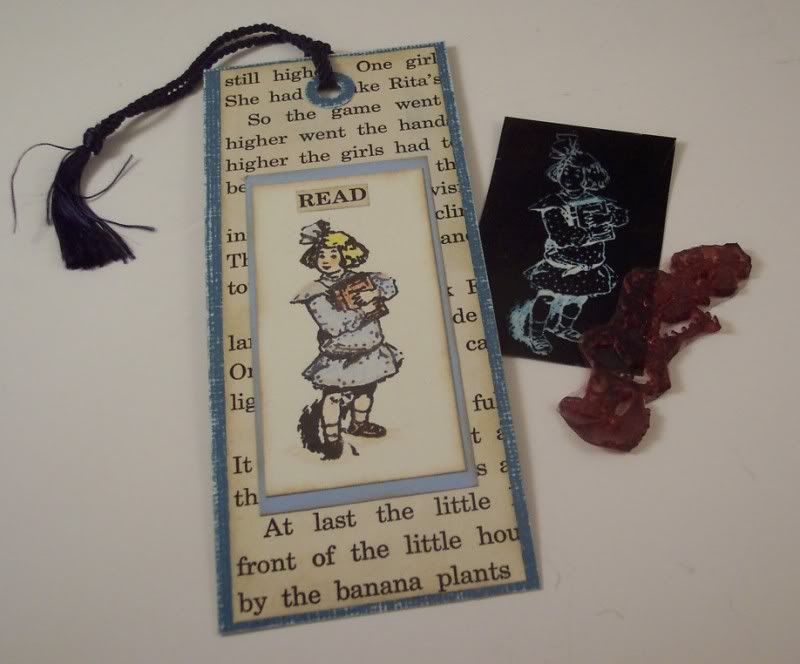
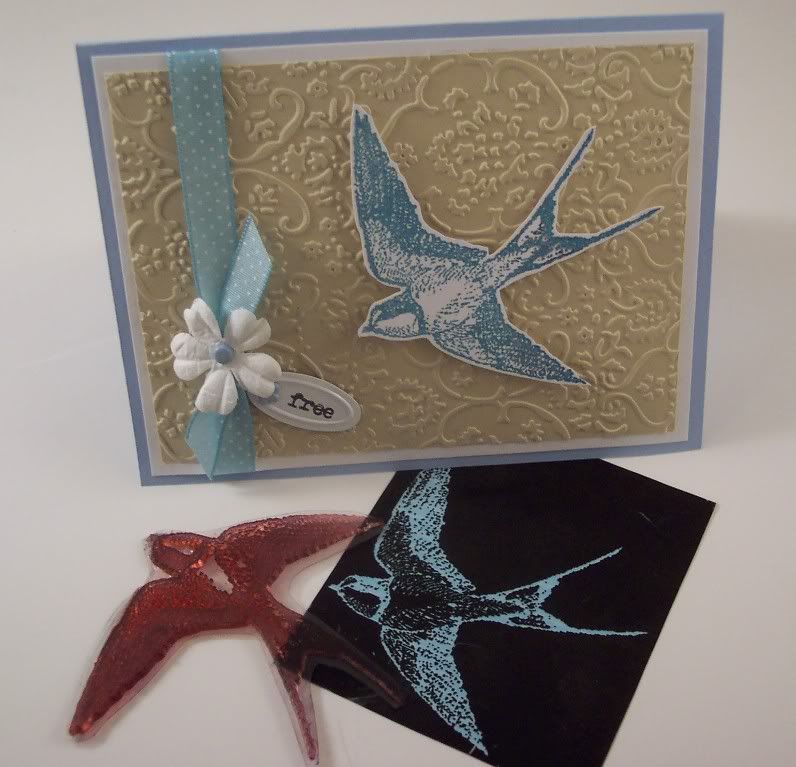
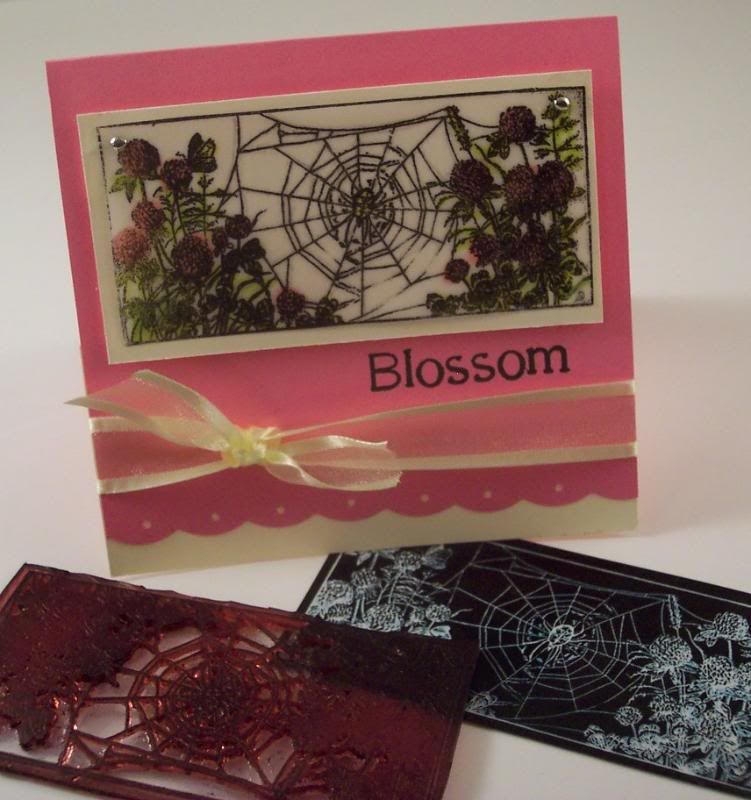
Here’s the projects I made with my new clear stamps along with the negative and stamp itself., I got most of my images from either Dover publications or copy right free images sites on the web.
I made this cute book mark with a cute image of a little girl holding a book:
I love this bird stamp, I put it on a background I embossed with my Cuttlebug:
This vintage spider web is such a cool image, I stamped it on vellum and then colored in on the back with markers. You can’t really tell in the pic but I also added some glitter to the web to look like dew:
And for this stuffed sachet I stamped the bee onto sticky back twill from Close to My Heart and sandwiched a little batting between the two pieces of twill. I added the details with a small permanent pen:
(this project is out for publication)
I love my new stamps and I’m looking forward to making more, I’ll share my results with you when I do.
Posted in Announcements and Acknowledgments, Greeting Cards and Tags | No Comments »
Thursday, October 14th, 2010
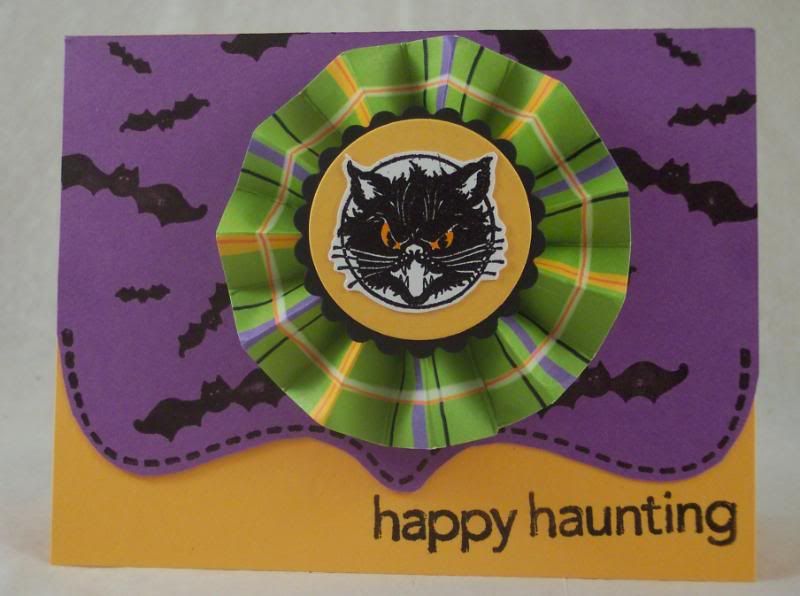
I’m not really sure what the official term for these accordion folded paper embellishments are that are popping up all over on cards and scrapbook pages but I’ll go with rosette  They make a cool dimensional addition to any card or scrapbook page, you could also glue two back to back with a ribbon hanger and make a fun ornament.
Here’s what you need:
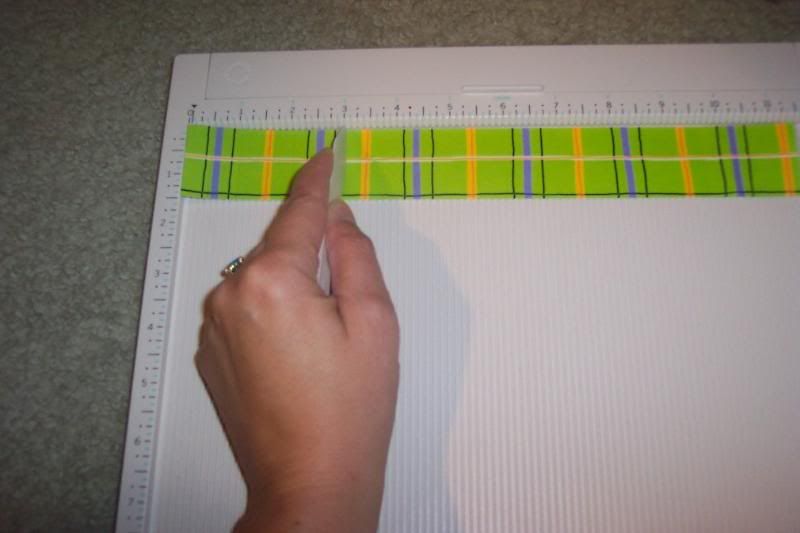
one 1 1/2″ x 11 1/2″ strip of patterned paper
two 1 1/2″ punched cardstock circles
strong adhesive (I used red line tape)
scoring board with bone folder ( I used my Martha Stewart board)
Start by scoring your patterned paper every 1/2″:
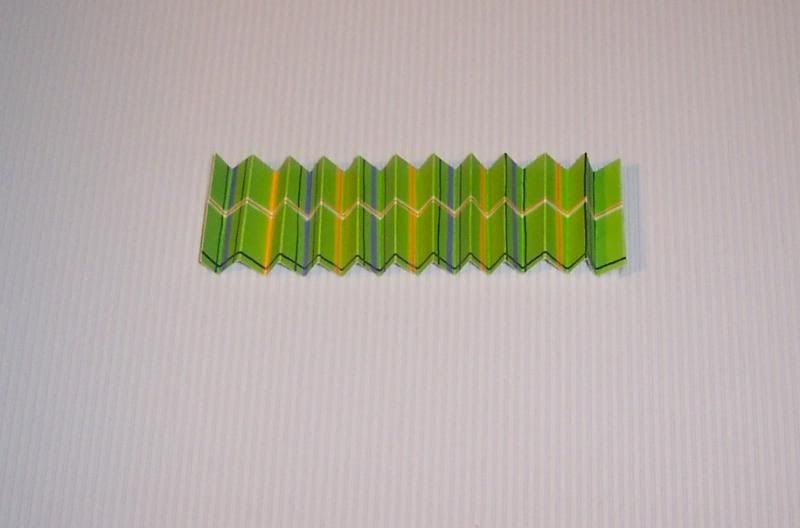
and then accordion fold it back and forth:
using a strong adhesive tape the two ends of your patterned paper to form a circle:
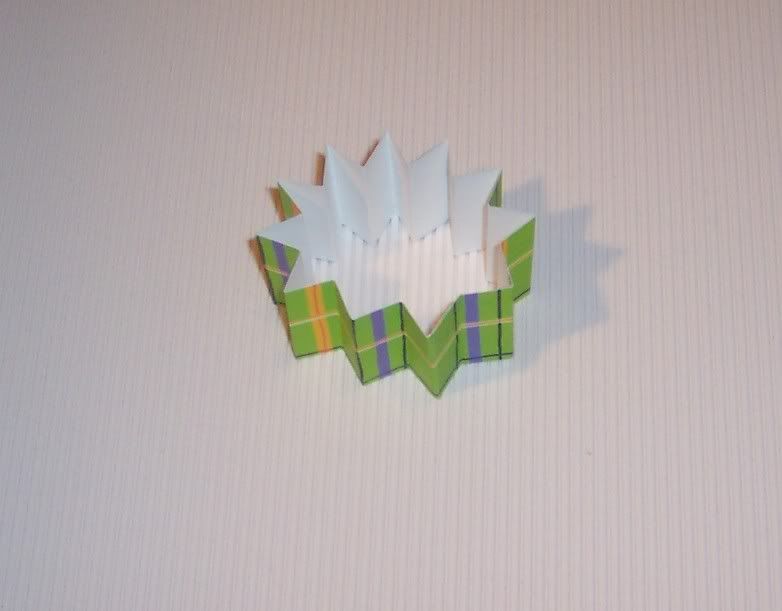
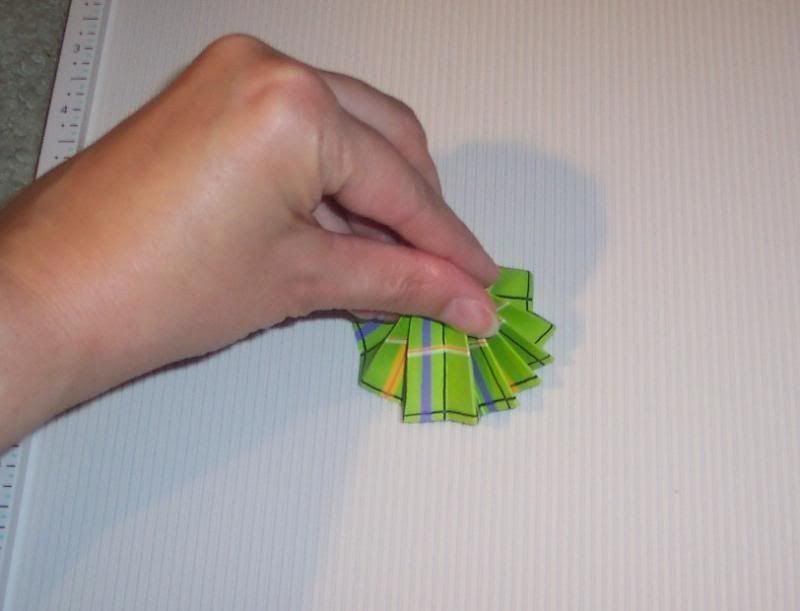
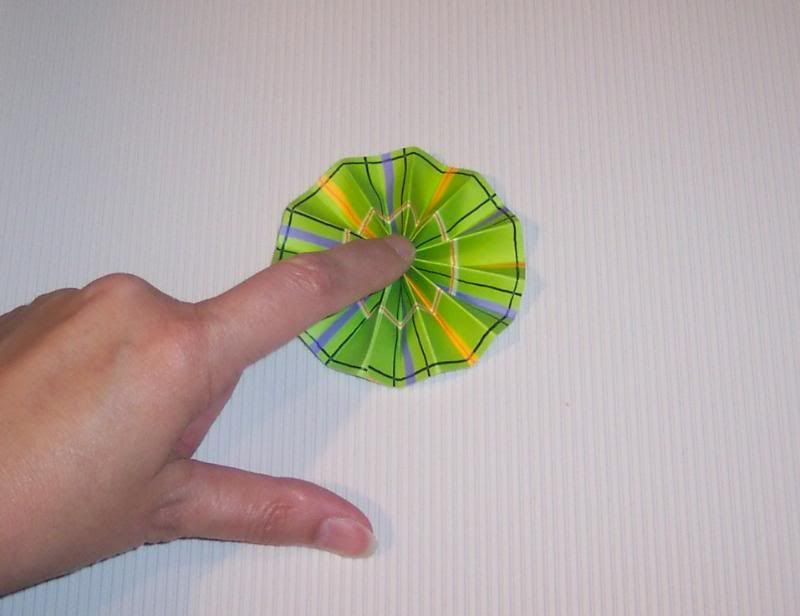
gather the circle, pinching the top and push downwards to flatten it out:
on the back side adhere one circle with strong adhesive:
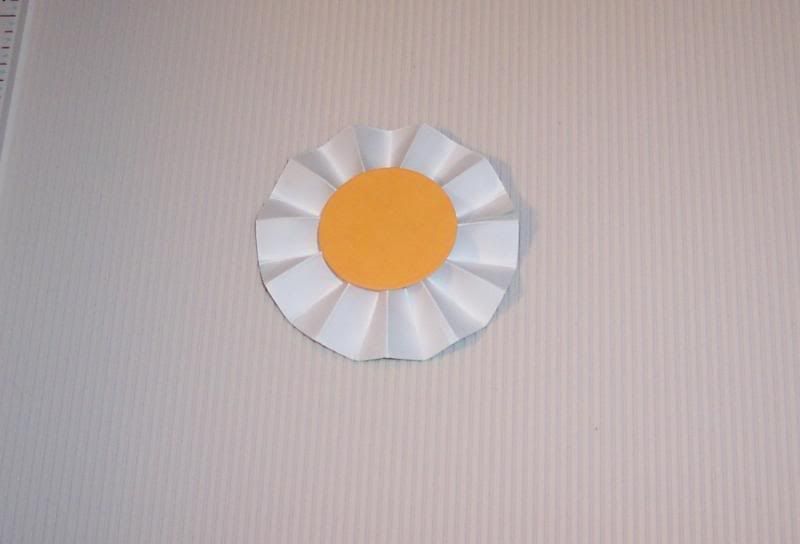
on the front adhere the other circle and any other layers you might want to add to decorate the front:
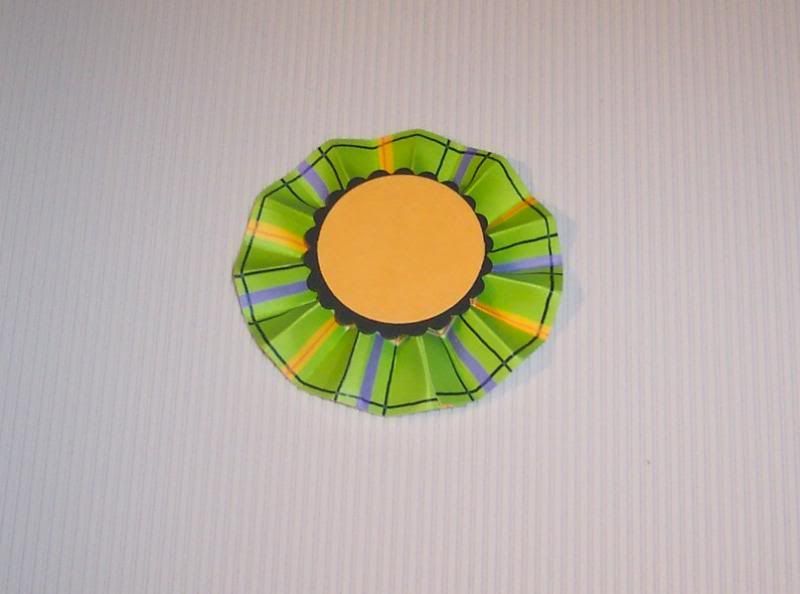
I also added a fun retro looking cat stamp on my circle layers.
Here’s what it looks like from the side:
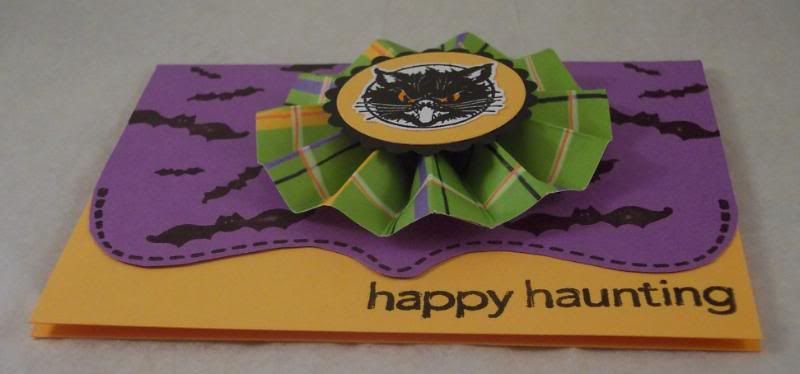
depending on what papers and stamps you use these can be made for any occasion.
The cat stamp I used is from PSX, all others are from Close To My Heart.
Tags:, accordion embellishment, card, cat, embellishment, halloween, rosette, stamped, stamping
Posted in Greeting Cards and Tags | 4 Comments »
Tuesday, August 3rd, 2010
Over at my blogging job as stamp editor at Craft Gossip I got the opportunity to review (and keep!!:)) a Silhouette die cutting machine. I am in love with this machine, it’s amazing! The generous people at Silhouette not only gave one to me but are also giving one away over at Craft Gossip. I wanted to give my readers a heads up, so follow this link and read my review and then leave a comment (at Craft Gossip not here) to be entered.
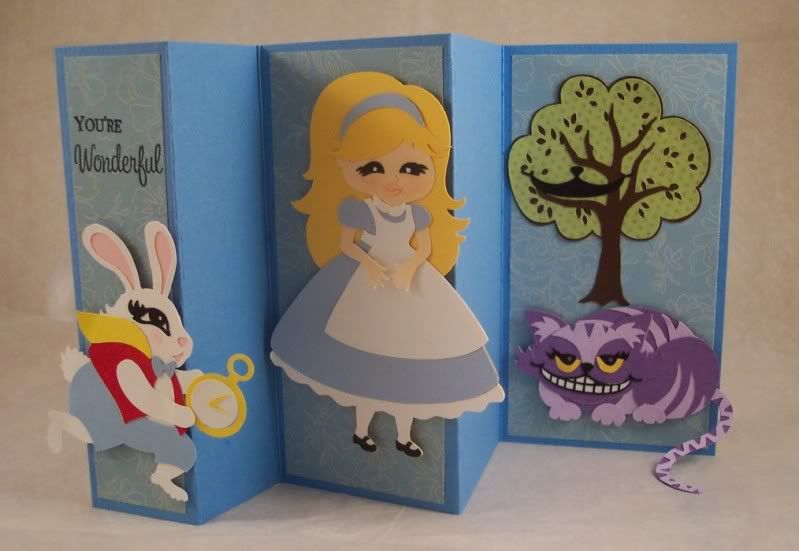
Here is my first project made with my new Silhouette, no surprise it’s an Alice and Wonderland theme! I made an accordion card and cut out all the fun Wonderland characters with card stock and patterned paper with the Silhouette.
Tags:alice, blue, cards, cheshire cat, die cuts, die cutting, greeting, silhouette, white rabbit, wonderland
Posted in Announcements and Acknowledgments, Greeting Cards and Tags | 1 Comment »
Tuesday, May 18th, 2010
Oh my gosh, has it really been that long since my last post?! Spring time is just so busy, I’ve been doing so much yard work, planting, weeding, mowing, etc. it’s taken up alot of my free time. I’ll try to do better
I haven’t posted any cards or stamping lately so I wanted to share a fun card I made for a class recently. They loved it, especially the flower and I wanted to share how I made it.
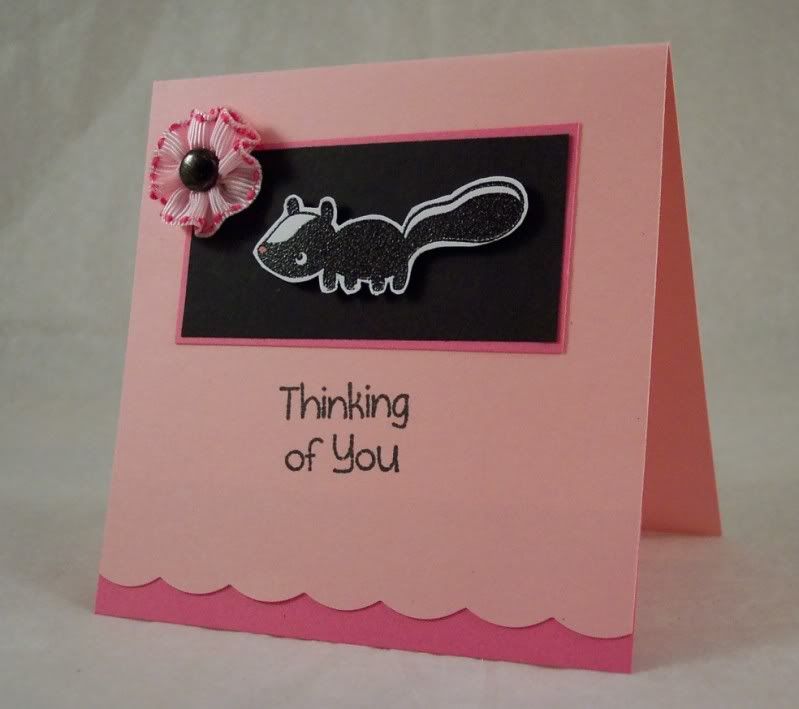
First off you need a large brad and some ribbon that has stitching through it, it comes in lots of colors and can be found at most craft stores. Cut a 5″ piece of ribbon and begin pulling the threads from the *same* long side on both ends. Keep pulling and gathering the ribbon as you go, when it forms a circle tie the ends of the ribbon threads together, then trim off the ends of the threads, careful not to cut through the knot. Then insert a large brad through the ribbon flowers open center and open up the brad, this will hold it in place and you can use a large glue dot to hold the flower to your project. Easy and cute, huh?

The skunk and sentiment stamp comes from a set from The Paper Company and he’s been embossed in black, the bottom of the card has been cut with a scalloped pair of decorative scissors.
Tags:crads, flower, greeting, how to, note, ribbon, skunk, stamped, stamping, stamps, technique, tip, tutorial
Posted in Greeting Cards and Tags | 3 Comments »
Tuesday, November 17th, 2009
Sorry, just couldn’t resist that title 
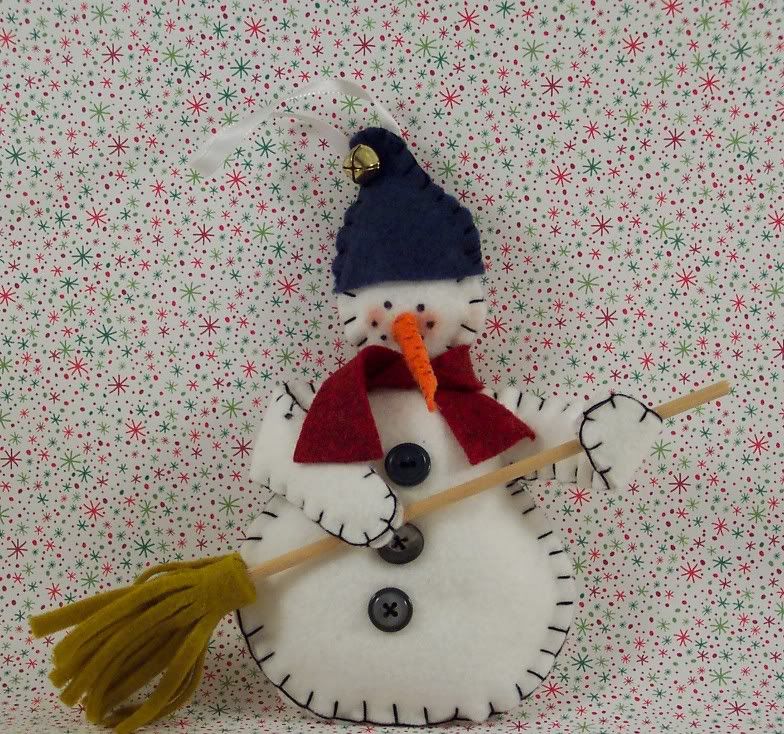
Continuing my work with felt here’s a couple of holiday ornament I’ve made. They are all felt that have been blanket stitched around the edges with embroidery floss.
This first is a Snowman ornament, he’s stuffed with poly fill, I made him a broom using a wooden dowel and felt. I especially love the nose, I rolled orange felt into a cone shape and glued it on.
This next one is a felt mitten, it’s the perfect size to hold a gift card or tiny gift, use as a tag on a present or just hang on the tree.
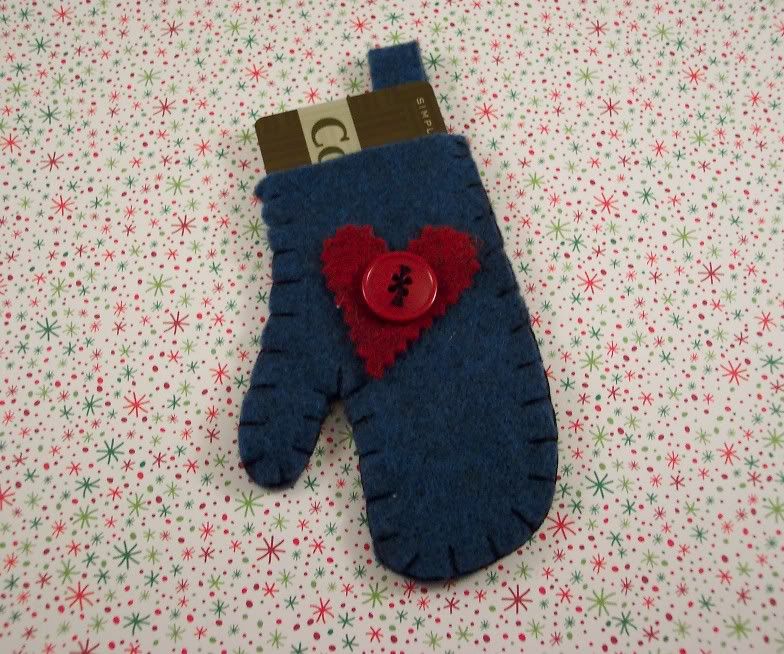
I’ve made several different colors of mittens and snowmen in different color hats and scarves, they’ll all be available in my Etsy shop.
Tags:chistmas, decoration, felt, holiday, mittens, ornaments, snowman
Posted in Greeting Cards and Tags, Hanging Collage, Misc. Collage, Uncategorized | No Comments »
Wednesday, August 5th, 2009
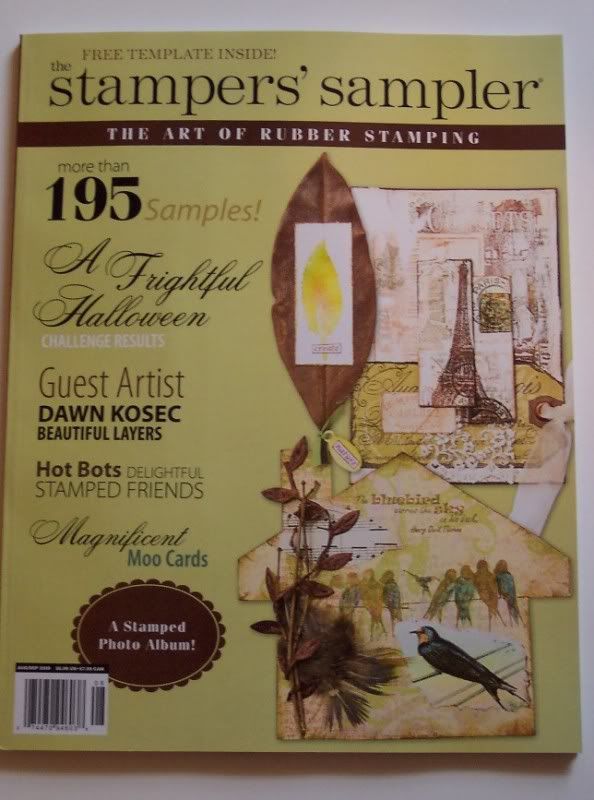
Woohoo! I’m so excited to be published in the Aug/Sept issue of Stamper’s Sampler magazine!!
My teal, white and black paisley card is on page 12, I used all Close To My Heart stamps, inks and papers for this card.

Tags:card, magazine, paisley, published, stampers sampler
Posted in Announcements and Acknowledgments, Greeting Cards and Tags | 5 Comments »
