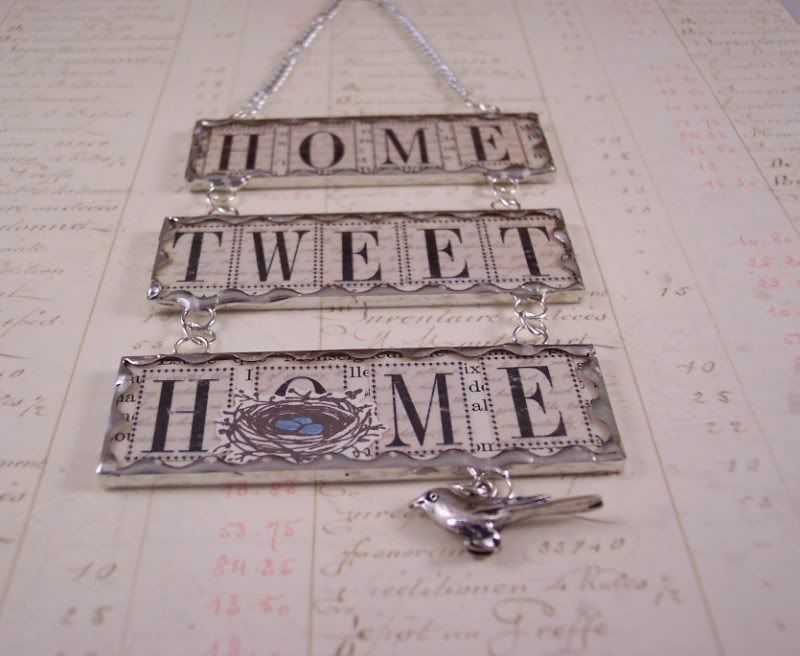
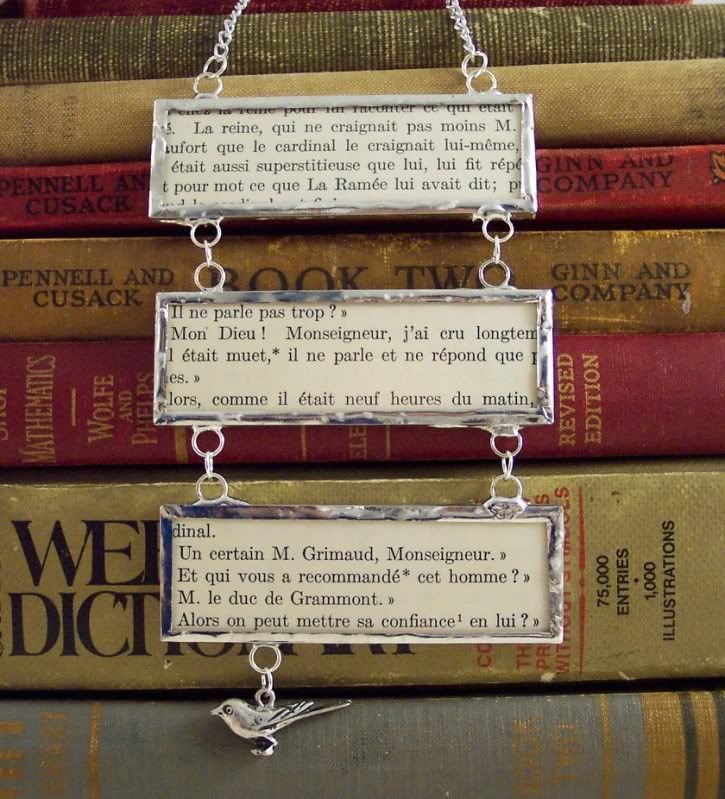
I wanted to make something a little different than what I normally make with my soldering and decided to make a wall hanging, it was inspired by a piece from Sally Jean who is an amazing collage and soldering artist. I took 3 glass panels, each 3″ x 1″ and cut backgrounds for them from vintage French book paper and added the words “Home” “Tweet” and “Home” to each, on the last one I also added a cute little bird nest with blue eggs. I soldered each panel with scalloped edge solder and soldered jump rings to each then attached the panels together with more jump rings, hung a chain from the top and a tiny silver bird charm from the bottom. I’m thrilled with how it came out! 🙂
Archive for the ‘3D and Assemblage’ Category
A Little Something Different
Thursday, April 23rd, 2009Gottcha!
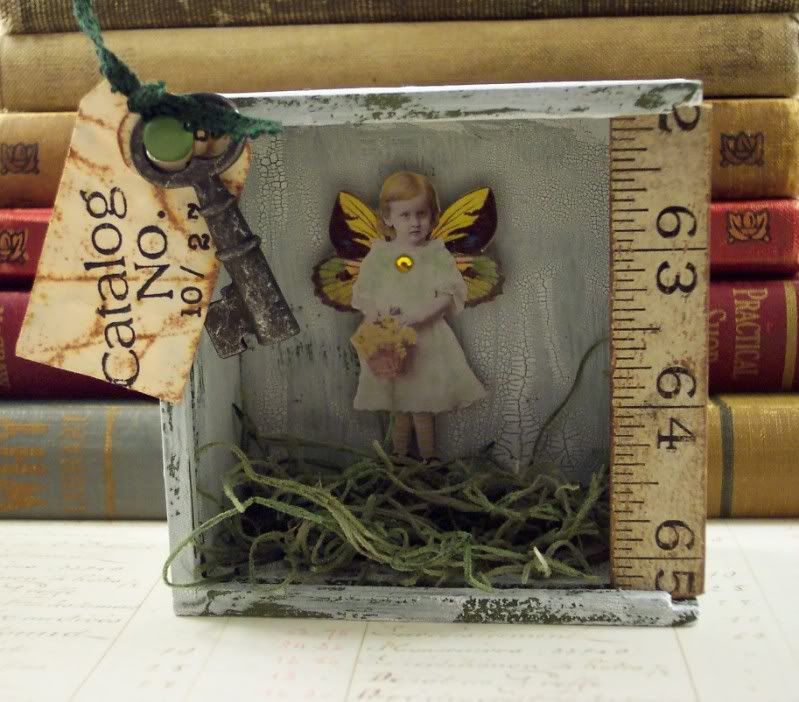
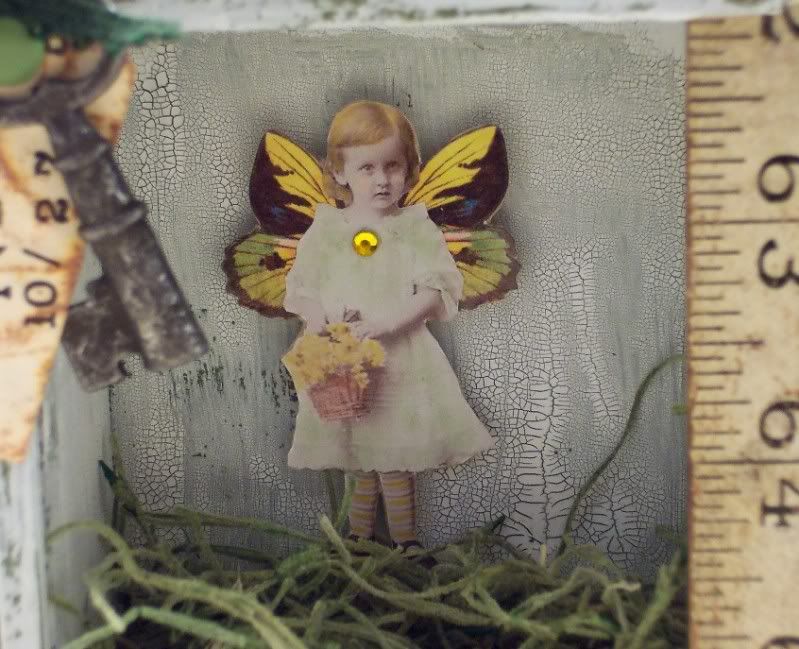
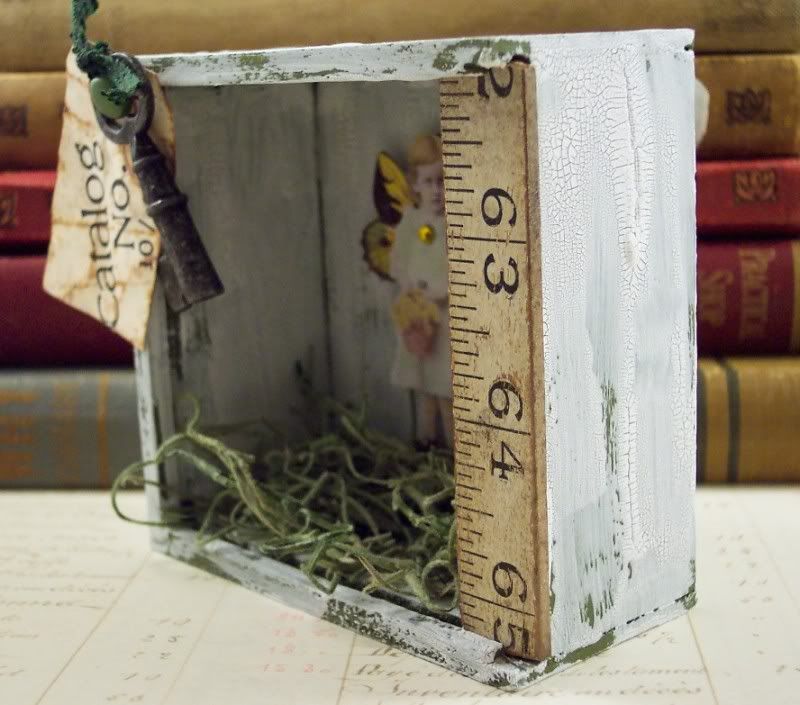
Monday, April 6th, 2009I caught another fairy:) I took a vintage image of a little girl holding a basket of flowers, colored her and added a rhinestone to her dress and gave her some yellow and green wings. I placed her inside a wooden box I painted green and then crackled with white crackle paint. ( Tim Holtz’ Picket Fence white), I think the white makes it look very shabby chic:) I also added some fake grass at her feet, an aged tag, vintage looking key and a piece of vintage wooden yard stick.
close up of fairy:
side view to show the crackle:
Nesting
Tuesday, March 17th, 2009Happy St. Patrick’s Day everyone! We always celebrate in my family because we’ve got a lot of Irish ancestors and it’s also my brother’s birthday. When we were little we always left a piece of cake out for the leprechauns 🙂
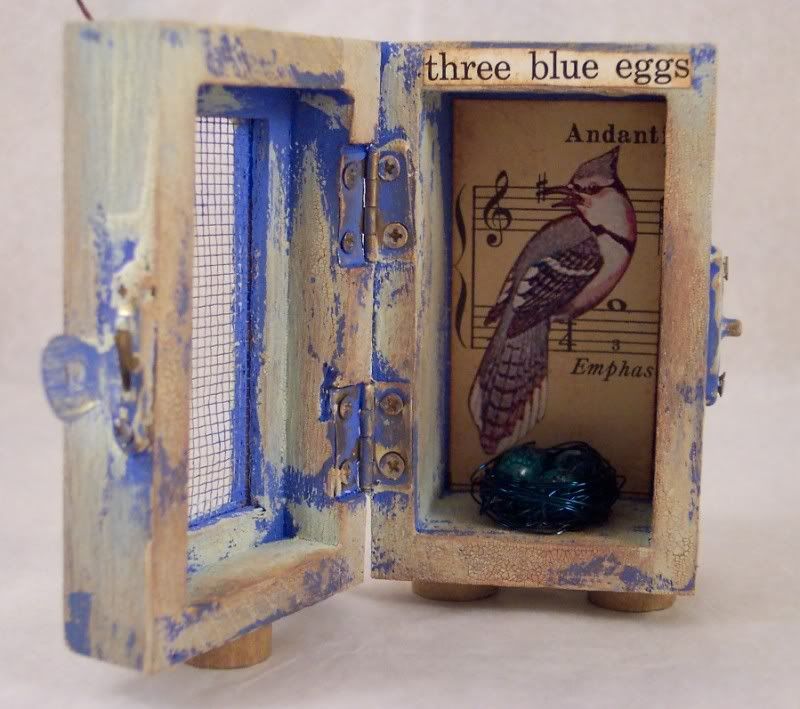
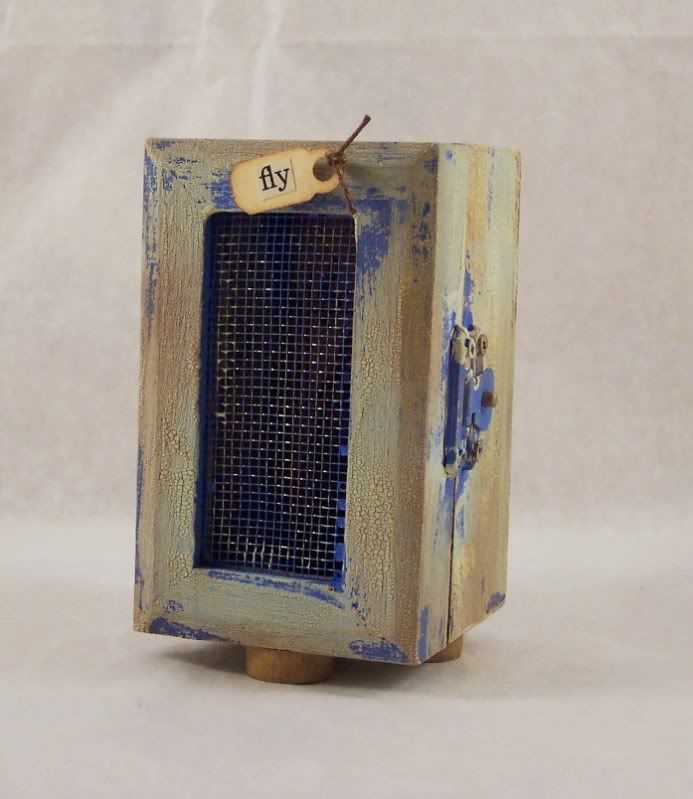
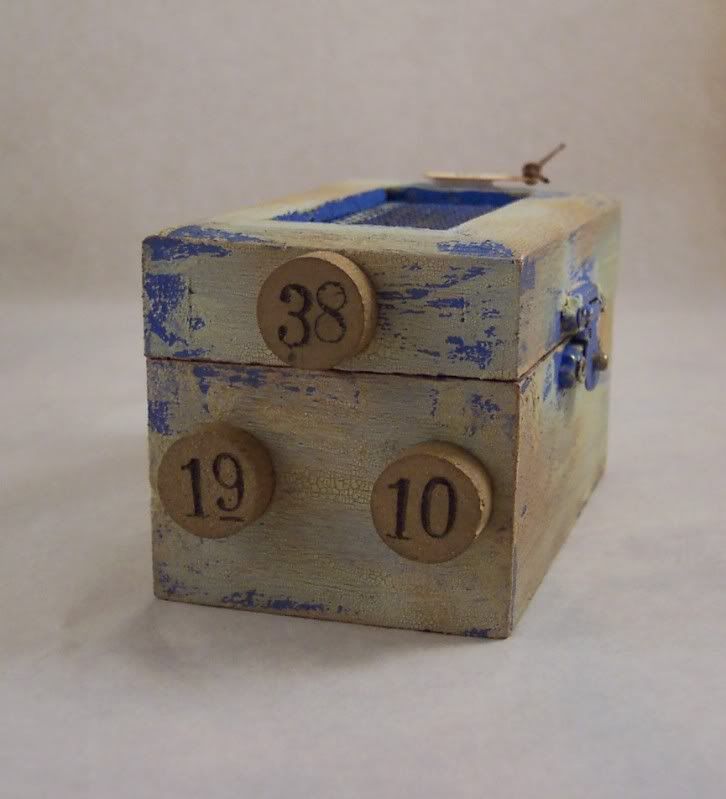
Sadly I don’t have anything green to share but instead it’s blue. It’s a bird shrine box. I took a small wooden box with a hinged and latched lid that also has a wire screen in the front and painted it blue then used Tim Holtz’ crackle paint and distress inks to age the box. I added a tiny tag to the front door with the word “fly” cut from a vintage book. Inside I made a tiny collage from an image of a blue jay on some vintage music paper and over the door added the words “three blue eggs” also from a vintage book. My favorite part is the tiny wire nest I made and glued inside. I took a very long piece of thin blue wire and ran three blue speckled beads onto the middle and just started wrapping the wire around and around and then pushing it down around the sides of the beads to form a nest shape. It’s the first one I’ve made and I think I’ll probably be going to get lots of wire to make more:) Then finally I glued three vintage game piece to the bottom for feet.
For a Good Cause
Tuesday, February 24th, 2009On Etsy there is a shop (open until the end of March) where all the proceeds go to The Red Cross to help people affected by the recent fires in Australia. There are loads of wonderful items donated from some terrific and generous artists for sale, you should really go buy something:) http://www.etsy.com/shop.php?user_id=6902734
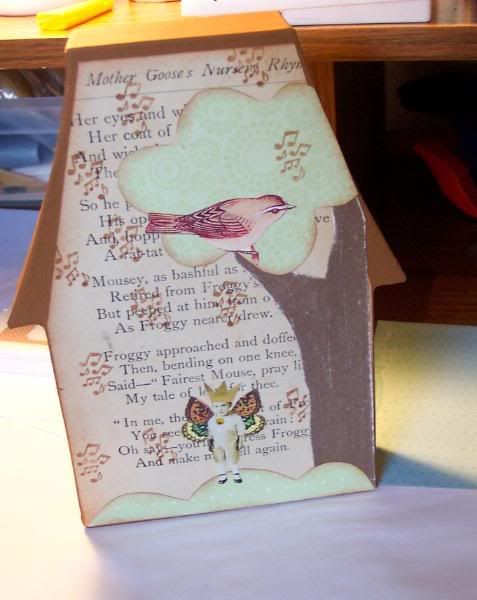
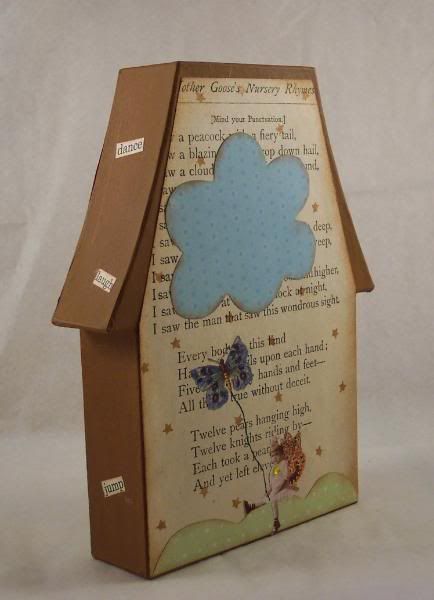
I belong to a team on Etsy called “Metsy”, it’s a group for mixed media artist and some of us have done paper mache houses to donate to the shop. Mine is listed here:
http://www.etsy.com/view_listing.php?listing_id=21463566
be sure to also check out the other beautiful houses by my fellow team mates. A huge thanks to Stacey ( http://artsnark.blogspot.com/) for donating the blank houses!!
I took some pictures while I made mine and wanted to share my process.
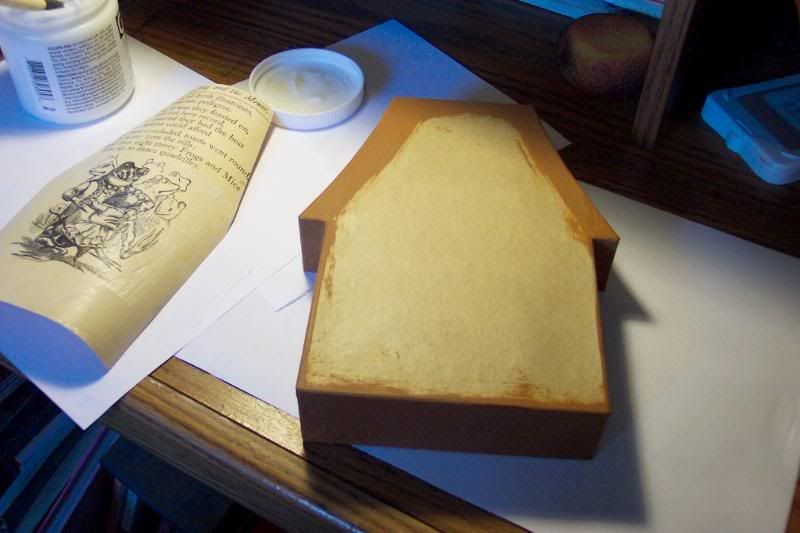
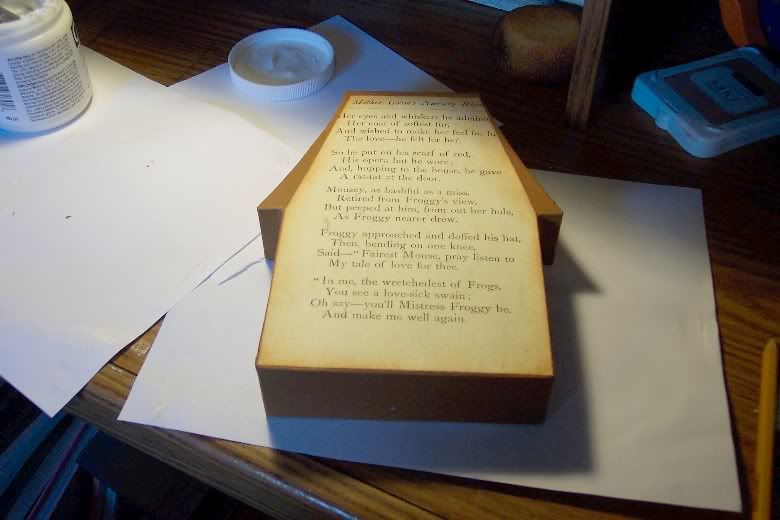
I first painted the edges of the house with acrylic paint and cut out pages from a vintage children’s book and applied them to the house with gel medium:
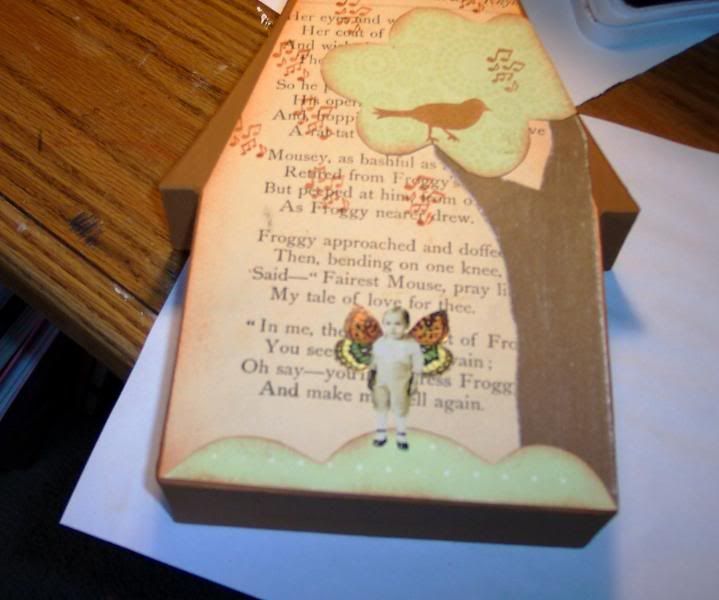
Then I took pattern paper and cut out some scallop shapes for hills, a tree and a cloud and inked the edges with a sponge:
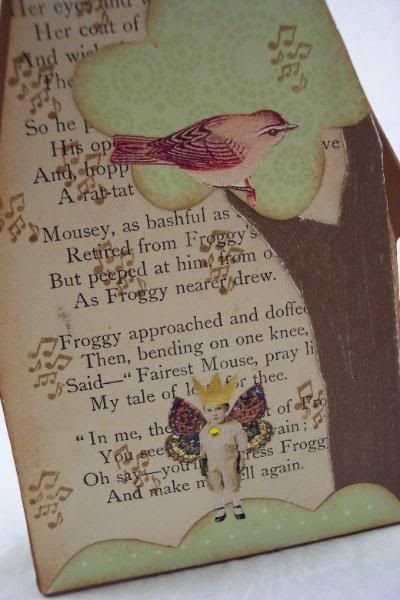
I then cut out a tree trunk from white core card stock and sanded it. I cut out an image of a little boy and some wings and a gold crown and glued the hill, tree trunk, tree top and fairy to the house. I also stamped a bird in the tree and music notes.
But….. I didn’t like the stamped bird and covered it with a vintage image of a bird from an old field guide:
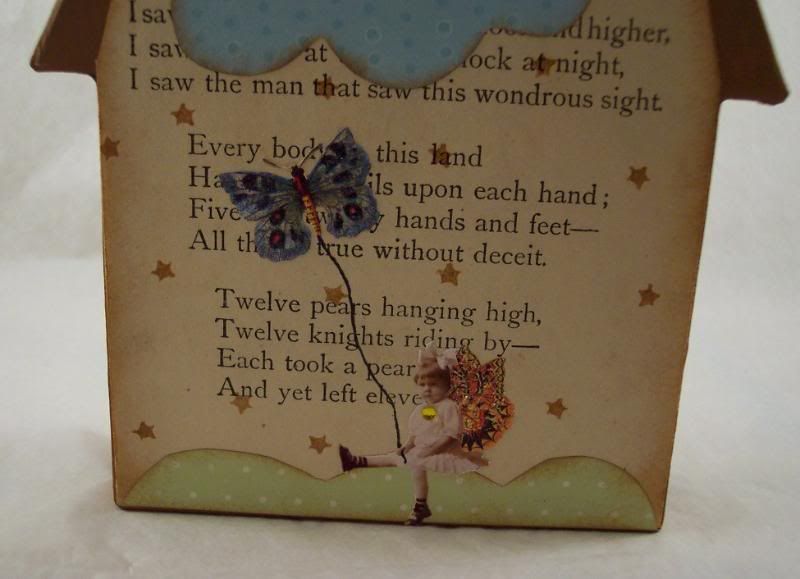
The other side was a similar process of adding a hill, cloud, fairy flying a butterfly, stamped stars, etc. I also added rhinestones to the fairys clothes and Tim Holtz Distress glitter glue to all the wings. The sides of the house seemed too plain so I cut out and inked fun words like play, wish, laugh, fairy, etc and added them to the top and sides of the house:
I really love the finished house (and I hope it sells to help out with the relief effort:))
close ups:
Caught Another One
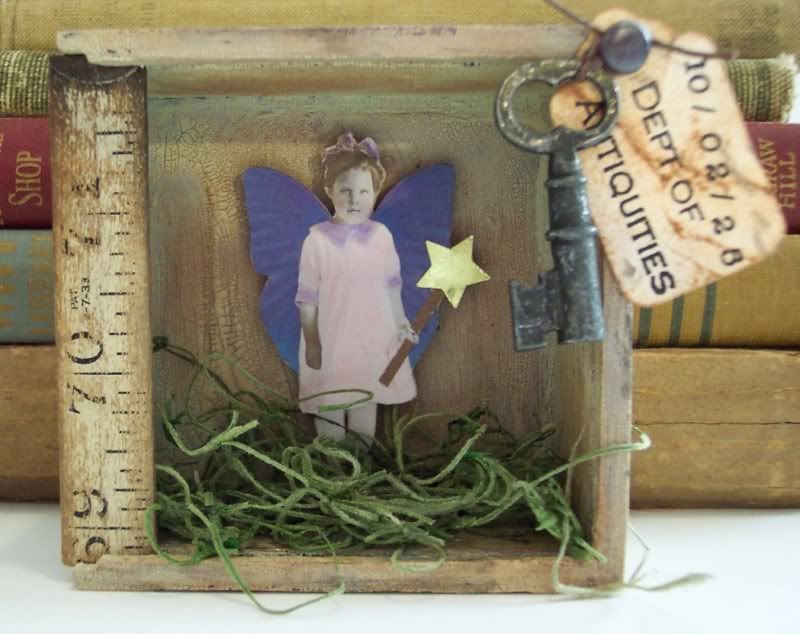
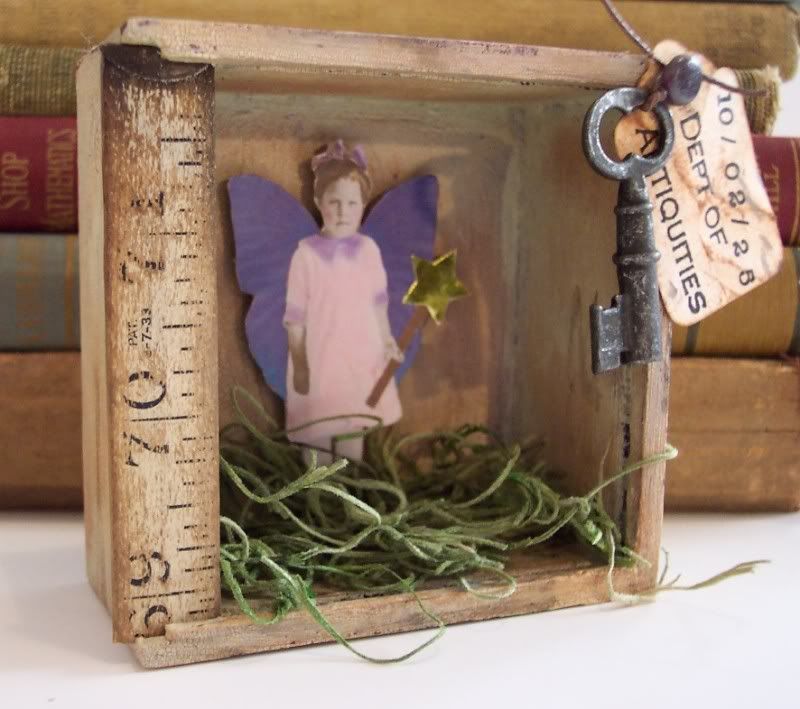
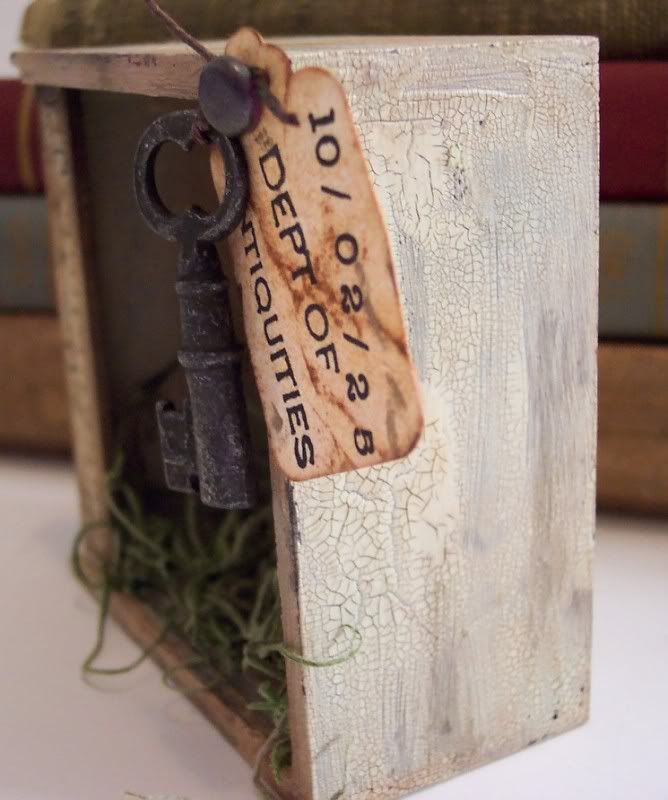
Saturday, December 20th, 2008I made another Fairy Specimen box. I base coated the wooden box in a purple paint and then used Tim Holtz crackle paint over top. I love this crackle paint alot, I need more, I’m almost out!:) I also aged the box with inks, it helps the crackles stand out. The fairy has purplish blue wings and is hold a big star wand, I added some fake grass at her feet. I then added a tag, key and a piece of an old wooden measuring stick to the outside of the box.
Fairy Specimen Box
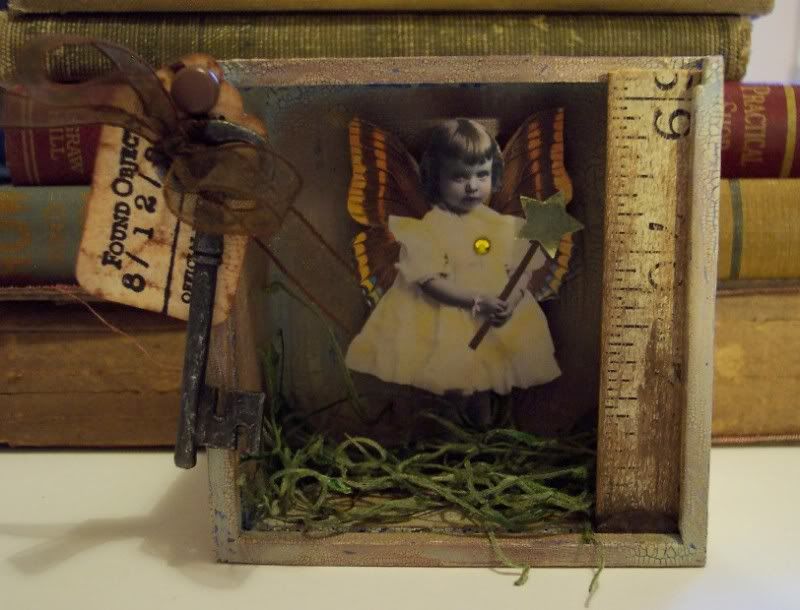
Monday, December 1st, 2008I wanted to take a break from jewelry and made this cool specimen box with a fairy inside. I took a wooden box and painted it blue, then covered it in Tim Holtz’ crackle paint, dried it and then added some of his inks to age it up. I made a collage of a fairy with a vintage image of a little girl, added wings and a fairy want to her and mounted her in the box (she stands out from the box a bit. I glued fake “grass” at her feet and cut off a piece of old wooden yard stick and attached it to the box along with an old look key and tag tied with w ribbon. The tag say “Found Object Official Investigator” . I love the way it turned out!
Haunted House
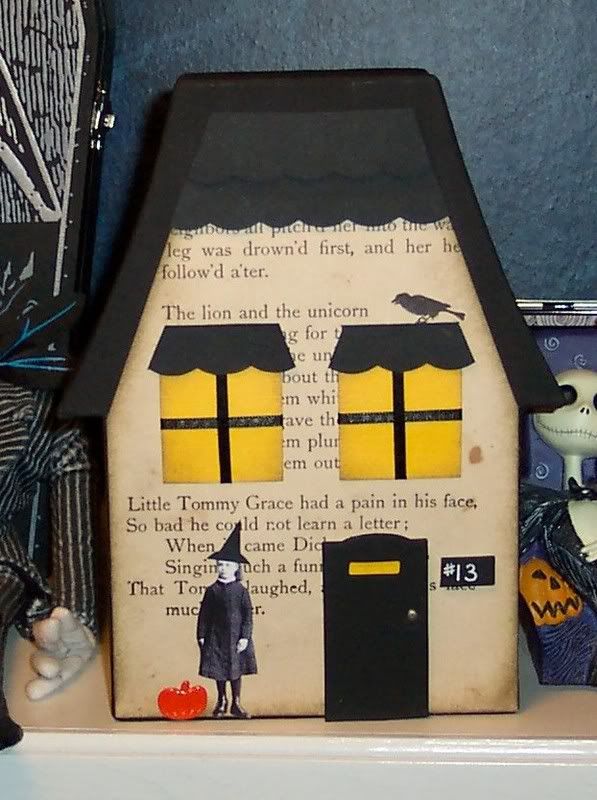
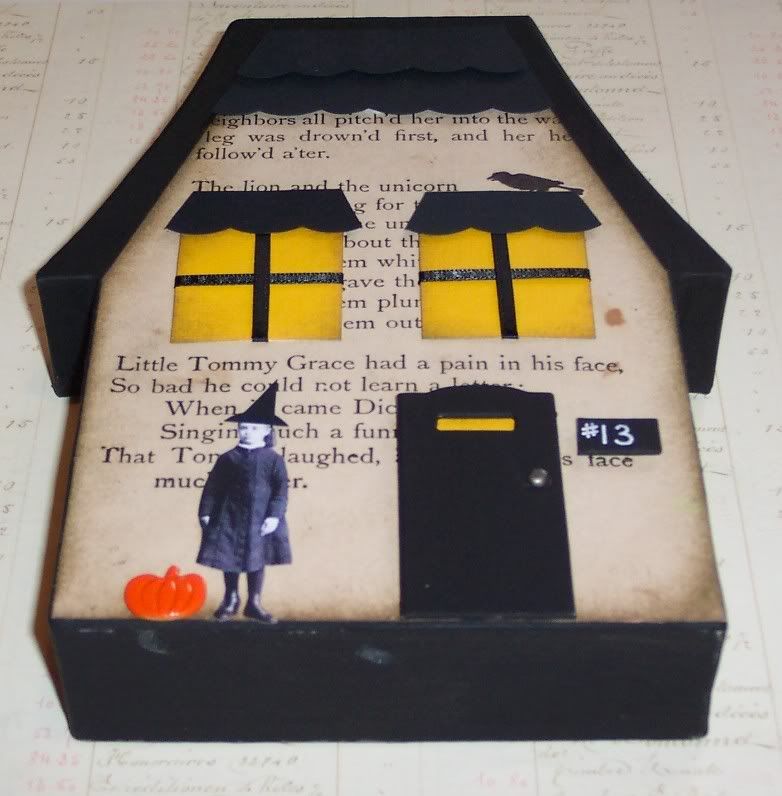
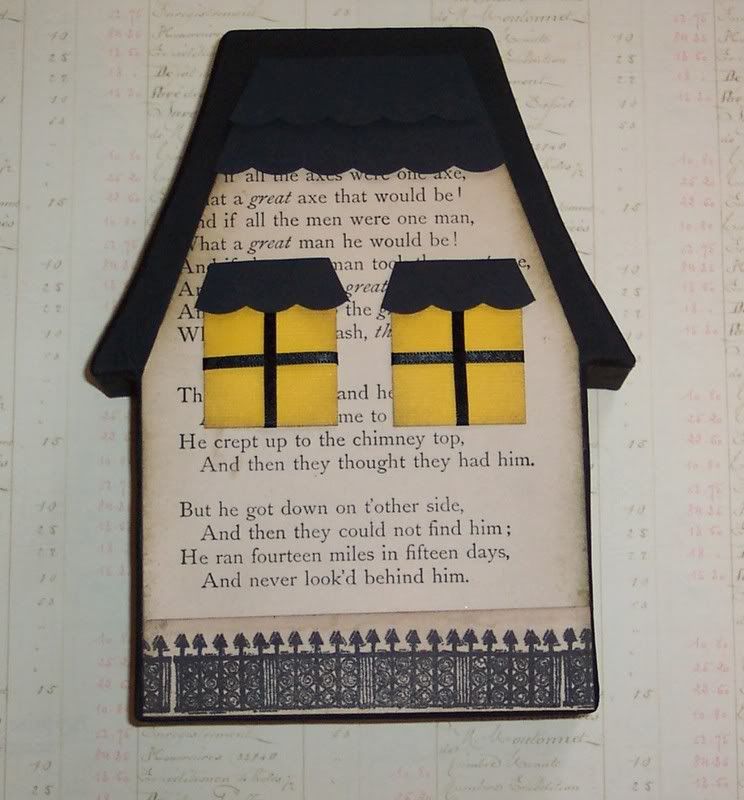
Thursday, October 2nd, 2008I found some really cool paper mache house shapes at the craft store and thought they’d be fun to collage on. I made this haunted house yesterday. I’ll probably make some Christmasy ones soon too. For the Haunted House I painted it black, covered the front and back with pages from a very old vintage book. I cut out windows from yellow cardstock and wrapped them with ribbon. I cut out scalloped strips and made gables and window awnings, all popped up for dimension. The front door and house number are painted chipboard. I stamped a raven on the front of the house and a fence on the back. Then finally I turned an old image of a little girl into a witch and added a pumpkin embellishment. I love the way it turned out!
The house is currently for sale on my Etsy shop if anyone is interested in purchasing it.
http://www.PisforPaper.etsy.com
Shrine Boxes
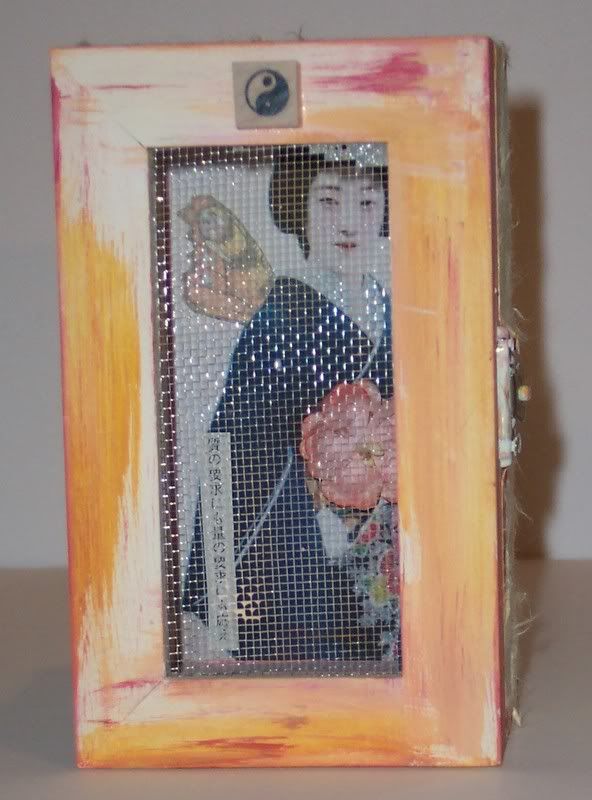
Friday, February 29th, 2008I found these really cool boxes at Michael’s, they are wooden with a wire mesh opening on the top and they close with a metal latch and hinges. I thought I could turn them on their sides and make some cool “shrines” with them.
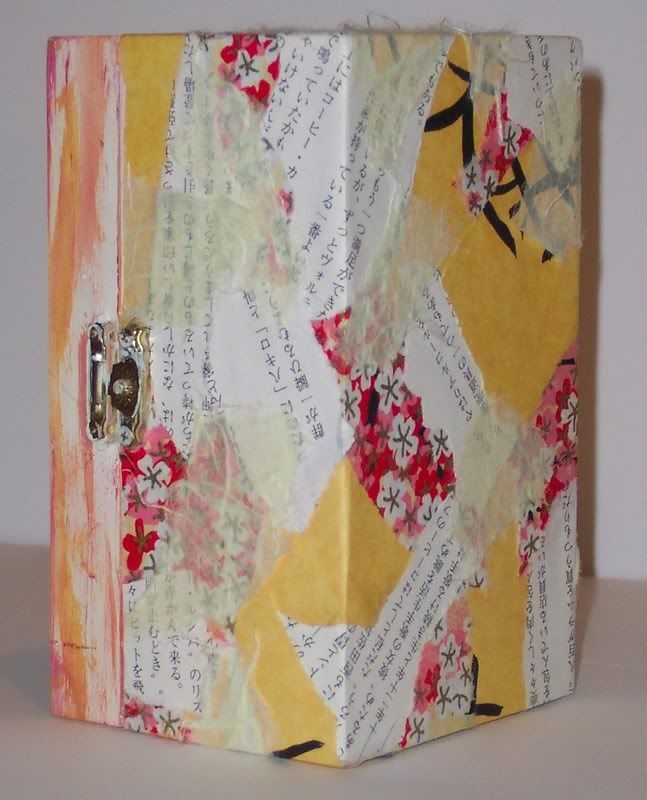
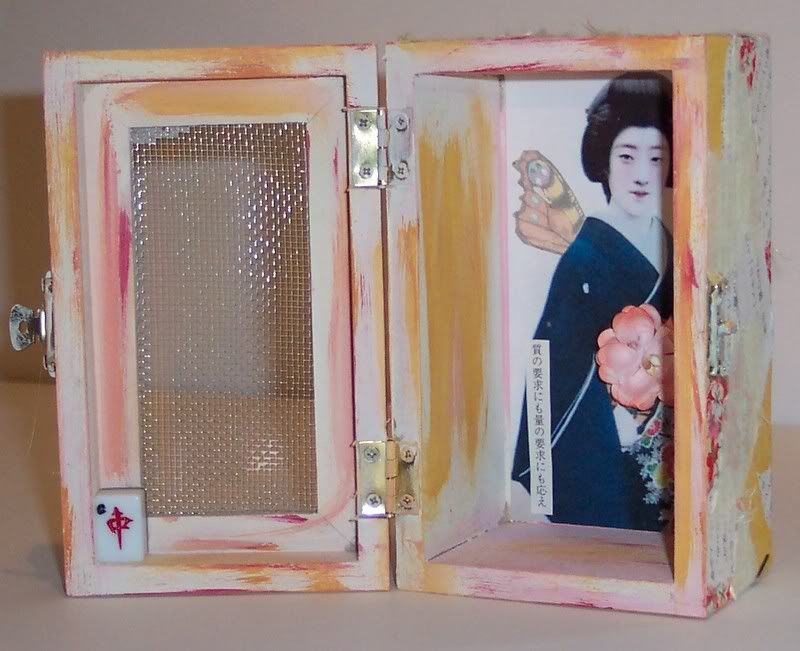
This first one is an Asian design, which is where the shrine inspiration comes from. I painted the front “door” and insides with different colors of acrylic paint. Then tore pages out of an old Chinese poetry book and also tore washi and origami papers and layered them all over the sides and back of the box adhering them with matte Modge Podge (you could also use Gel Medium). I then collage the image of a Geisha, added wings, a flower and text to her and adhered it to the inside back of the box. I also added some Asian game pieces.
Here’s the shrine open from the front:

And a couple of shots of the sides and back:
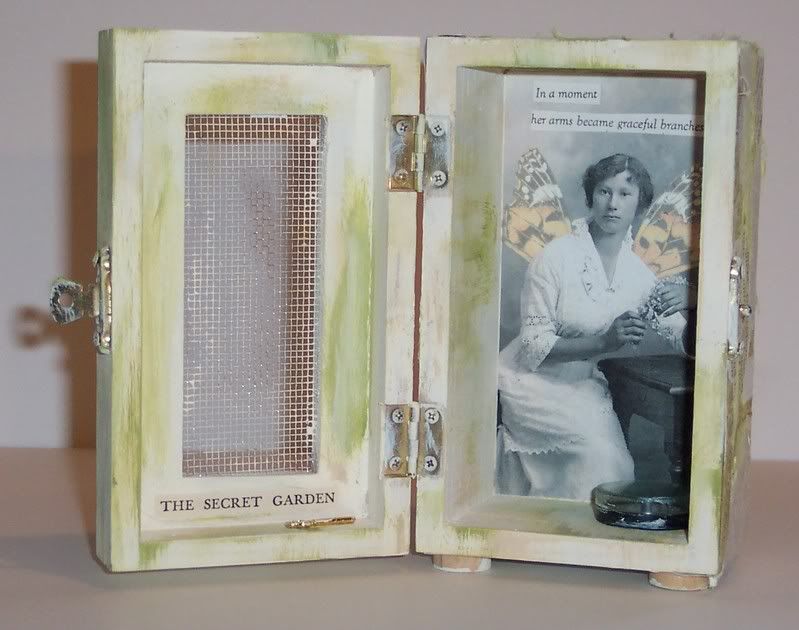
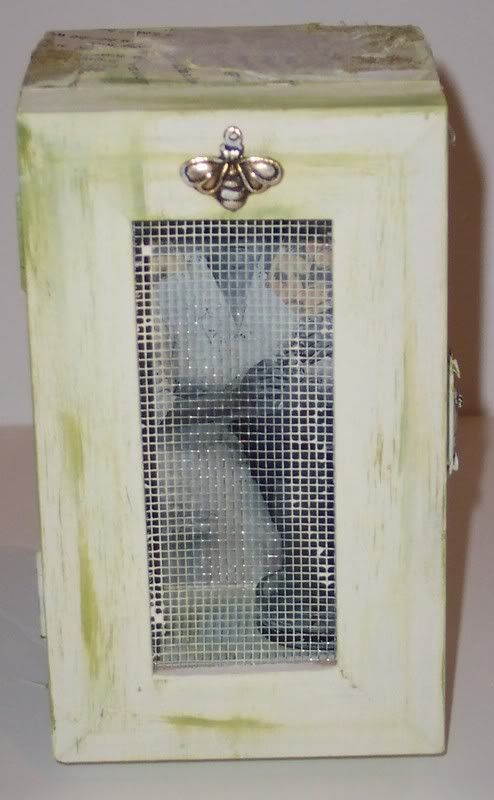
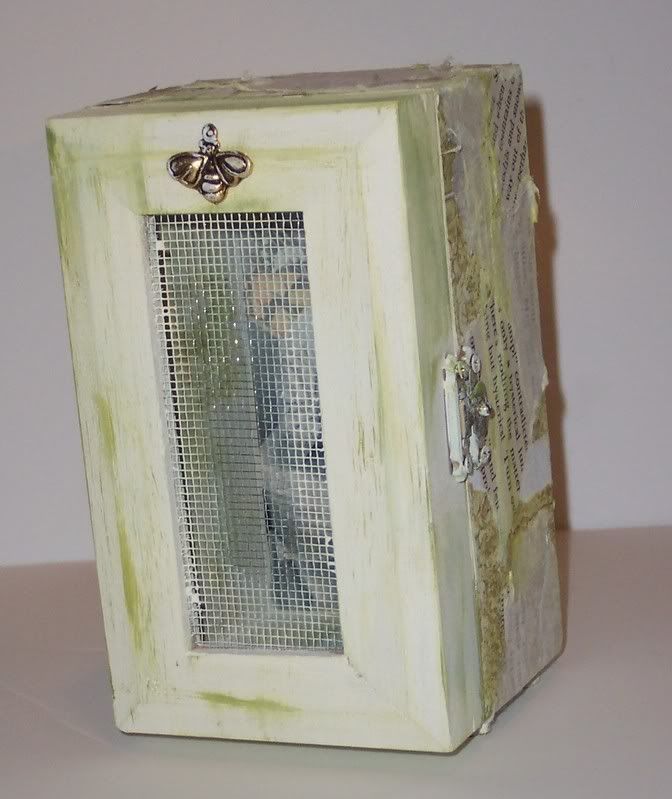
Here’s another shrine I did with the theme “Secret Garden”, inspired of course by the book. This box was also painted and covered in torn pieces of mulberry paper and pages from an old book. I collaged the image of a woman and added wings to her (yeah, I do that alot:)) and some text and also added a small compass inside the box. The door of the box has a neat bumble bee charm on the outside of it. On the bottom of this shrine I wanted some “feet” for it to stand on so I attached some old round wooden game pieces to the bottom of each corner of the box.
Here’s the front open:
Here’s a view of the front closed:
And one so you can see the side:
Captured Fairies!
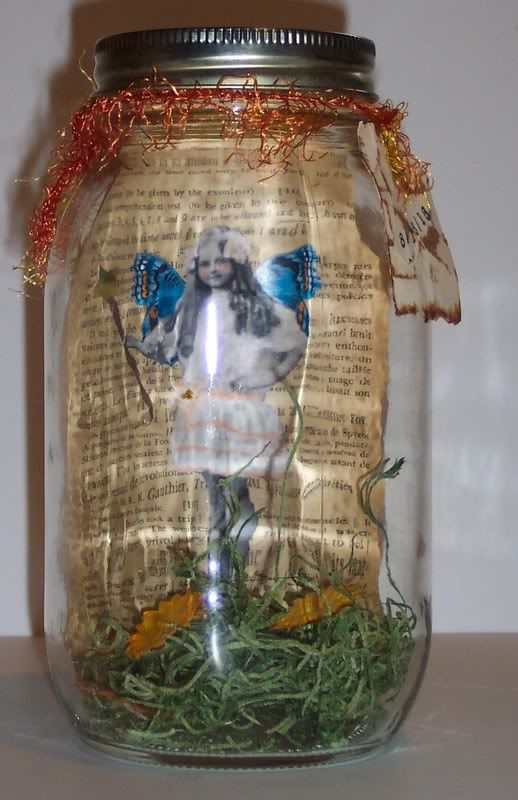
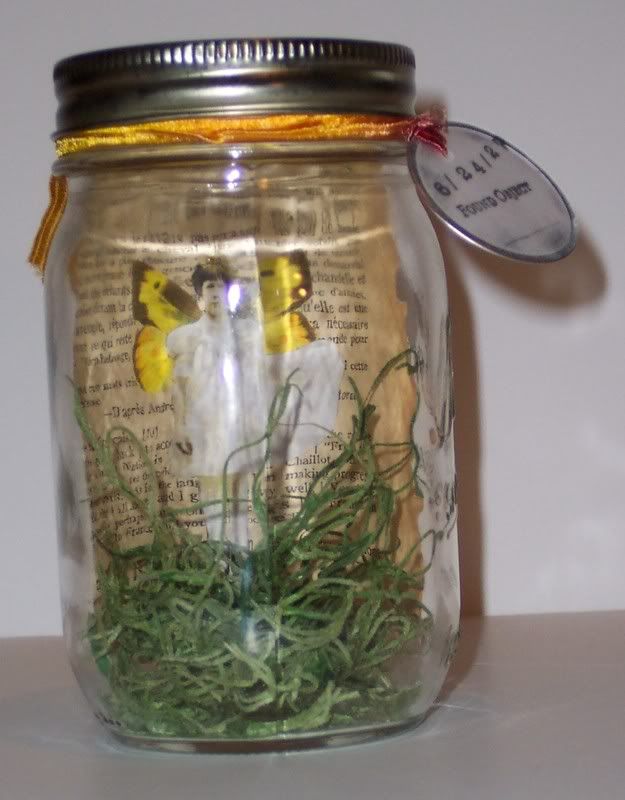
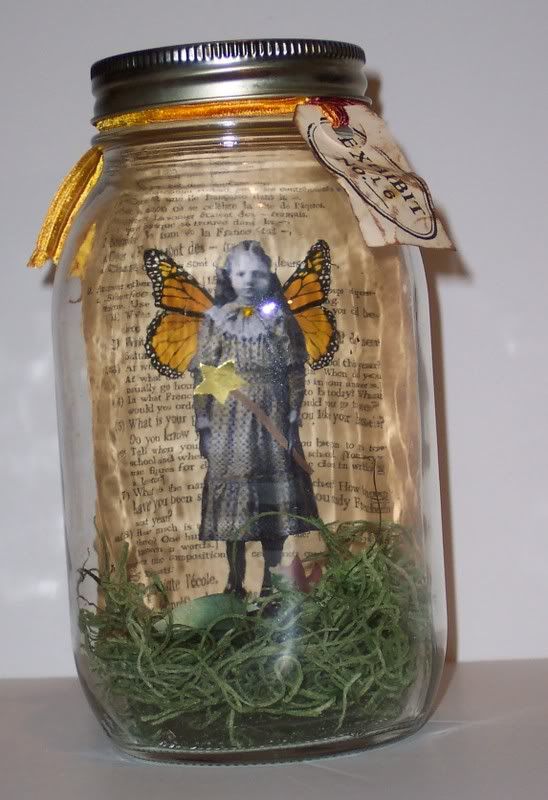
Friday, February 15th, 2008Here’s another fun thing I like to do with my fairy collages and that’s “capture” them in jars. The collages were done on old sheets from a French text book using images of children with butterfly wings added. I also like to add things like crowns and wands to them. The grass in the bottom of the jars is dyed Spanish moss I got from the craft store, I’ll sometimes add little flowers or leaves in the grass too. The lids of the jars are aged with inks and I also age shipping tags and stamp cute things like “Found Object” or “Specimen #___”. I like using large canning jars that do not have a pattern or writing on the glass. These can be found at most craft stores or you can use real old jar and just turn the writing to the back.
These jars are really difficult to photograph (I’m definitely *not* a photographer:)) because of the glare and distortion of the glass jars but here are a few pictures to give you an idea of what they look like.
These three jars are currently for sale, $10 each plus shipping. Contact me if you’re interested in purchasing one. I can take M.O., paypal or credit cards.


