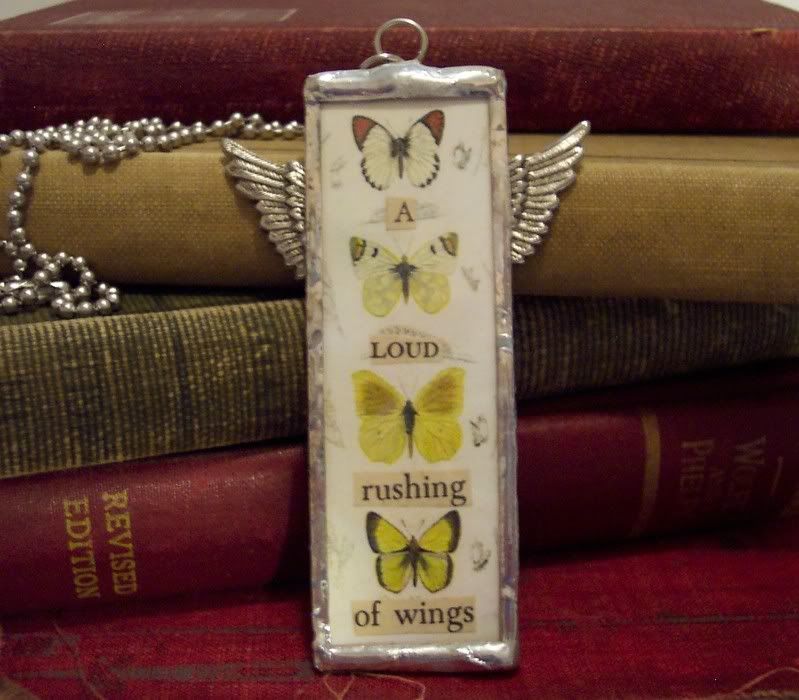
Here’s my latest collage necklace. I took an image from an old field study of butterflies and collaged the words “A Loud Rushing of Wings” cut from an old art book over top. I sandwiched it between two microscope slides and soldered it. Then I added two silver wing charms to either side.
Archive for August, 2008
Take Flight
Saturday, August 30th, 2008Project Published on Website!
Tuesday, August 26th, 2008I’m so happy, one of my projects has been published on Craftbits.com website! They are a fun site with lots of projects, patterns and ideas for all different types of crafts. Instructions and pictures for my altered wooden letter can be seen here:
http://www.craftbits.com/viewProject.do?projectID=2173
Be sure to check it out:)
Swim with Me Across the Seas
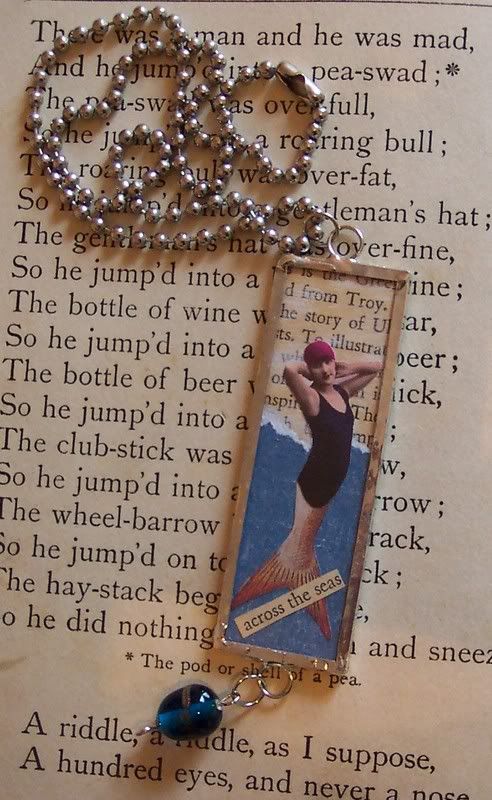
Sunday, August 24th, 2008I’ve really been making alot of soldered pendants lately:) Here’s one I did last week with a collage of a mermaid. I used an old photo of a bathing beauty and attached her lower half to the tail of a fish from an old field guide and *presto* a mermaid! The background is made from a white washed book page and sanded blue cardstock. The quote is cut from an old art book. I attached a pretty blue and gold glass bead to the bottom of the soldered pendant.
Button, Button, Who’s Got the Button?
Thursday, August 21st, 2008This is one of my latest collage pendants. I took a very old and worn vintage button and attached it to a piece from an old book page that I white washed. I attached the word “wonder” (I love that word for some reason:)) also cut from an old book to the front. Sandwiched the whole thing between glass and soldered around and also added a dark patina to the solder. Then I took an old wooden game piece and soldered it as well. Then strung them both on a gold ball chain for what I think is a really cool looking necklace.
This piece is currently for sale at my Etsy shop:
http://www.etsy.com/view_listing.php?listing_id=14414619
To Dye For!
Tuesday, August 19th, 2008Did you ever have something that just wasn’t quite right for your project? Well, consider aging, dye, distressing, etc. Sometimes it can make something look perfect for your project. I wanted to show you how to tea dye some lace. For my large mannequin I wanted some lace trim and found the right style and size but it was white and I needed something more aged looking so I decided to dye it using tea. It’s really easy and works with lace, ribbons, fabric and even paper!
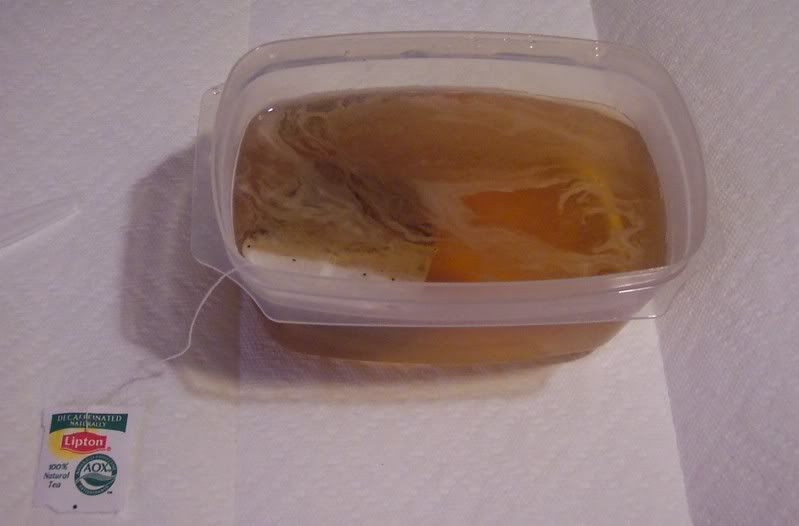
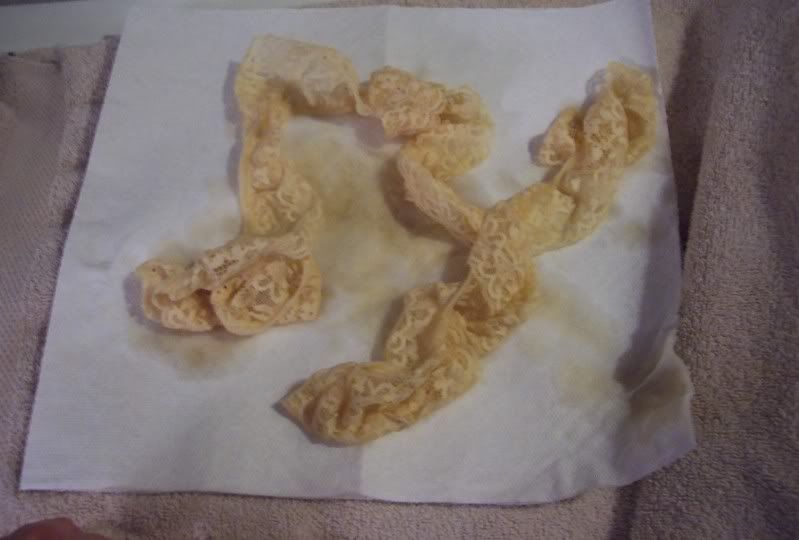
I started out by putting hot water from the tap into a plastic container and putting in a large tea bag and letting it seep for about five minutes
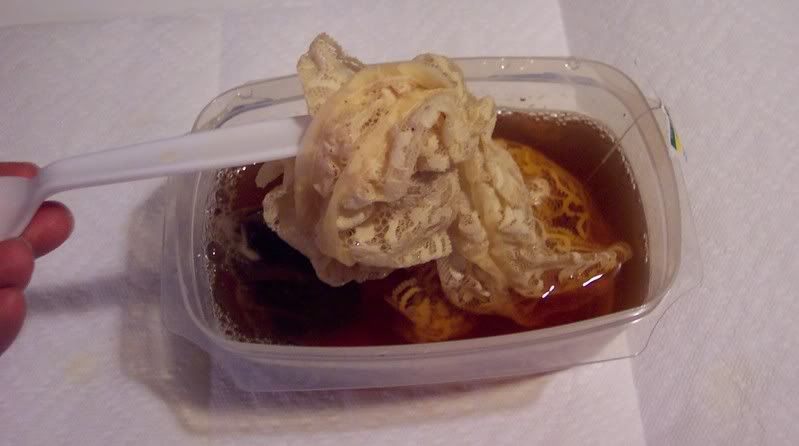
Then I dunked in the lace, pushing it down into the water with a plastic spoon, making sure it was totally submerged
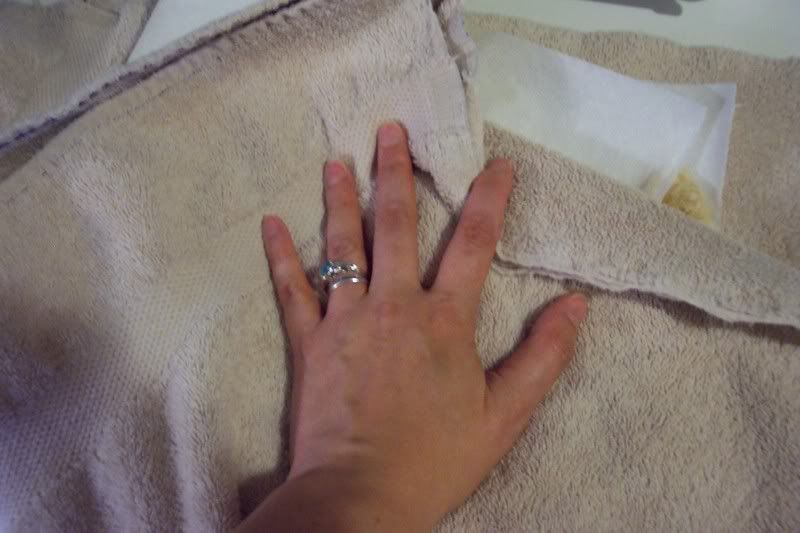
I let it sit in the water for about 30 minutes (let it sit longer or add more tea for a darker look). Then I removed it and placed it on a stack of paper towels between an old towel
Then I pressed out as much of the the water as I could
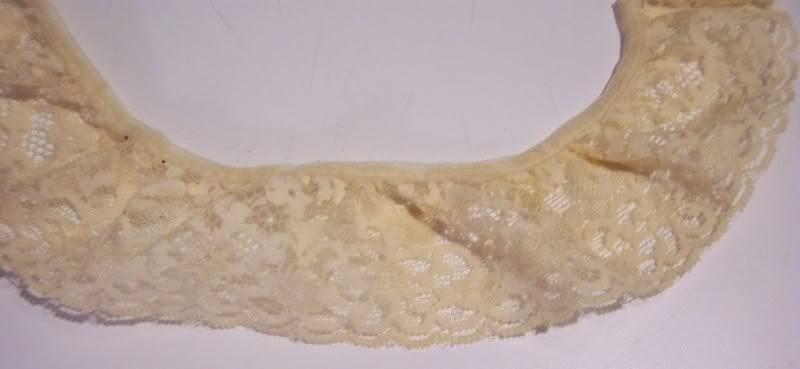
Then I hung it over a hanger to dry (which didn’t take long) and it came out looking nice and old:)
Give it try sometime and let me know how it works. You’ll get different result depending on what you are dying, so you might want to try a scrap first before you ruin 6 yards of expensive ribbon:)
A Work in Progress part 3
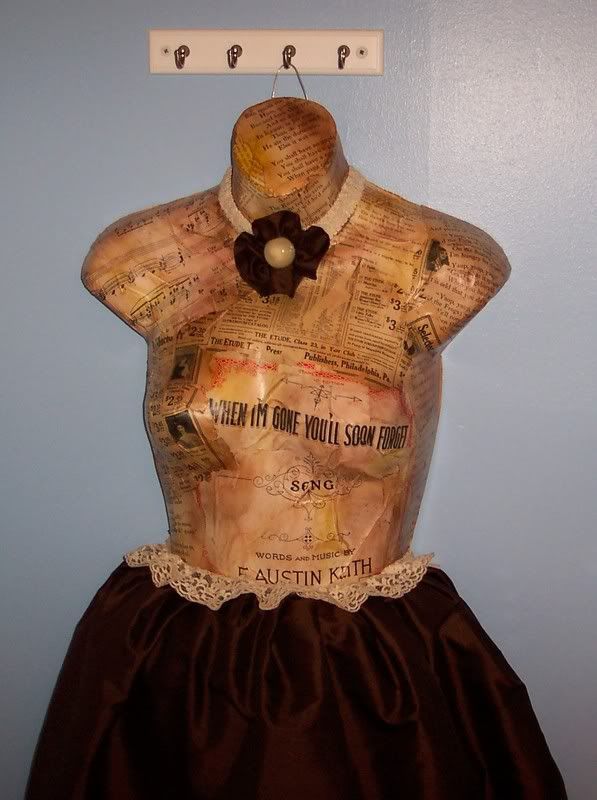
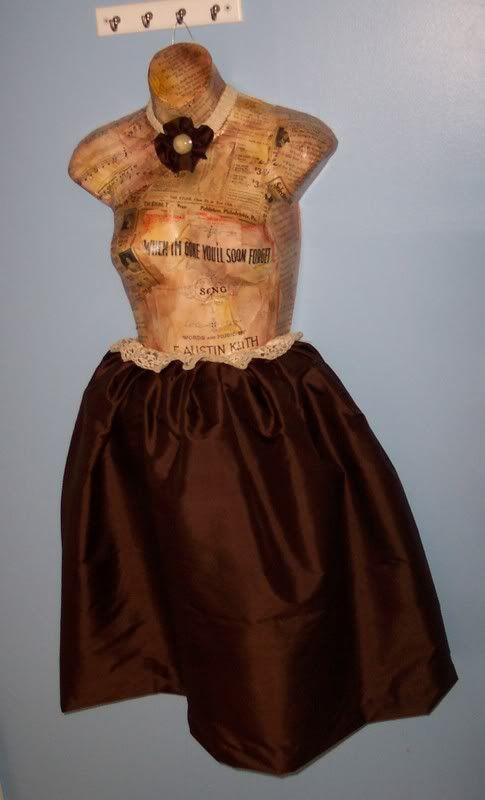
Saturday, August 16th, 2008This is my last attempt at the large mannequin I’ve been working on for the last month. I got some beautiful chocolate silk for the skirt and put two layers of tole underneath to get it to really poof up. I got some white lace and wanted to antique it so I tea dyed it to go around the top of the skirt. I had a scrap of the silk left so I made a rosette with it and changed the button and attached it to the neck. I’m really happy with the outcome.
If you haven’t seen them here are my other posts about this piece:
Categories
Friday, August 15th, 2008I recently went through all my posts here and separated them into categories, so if you’re looking for a particular type of item I’ve done it’ll be easier for you to find them.
Down the Rabbit Hole
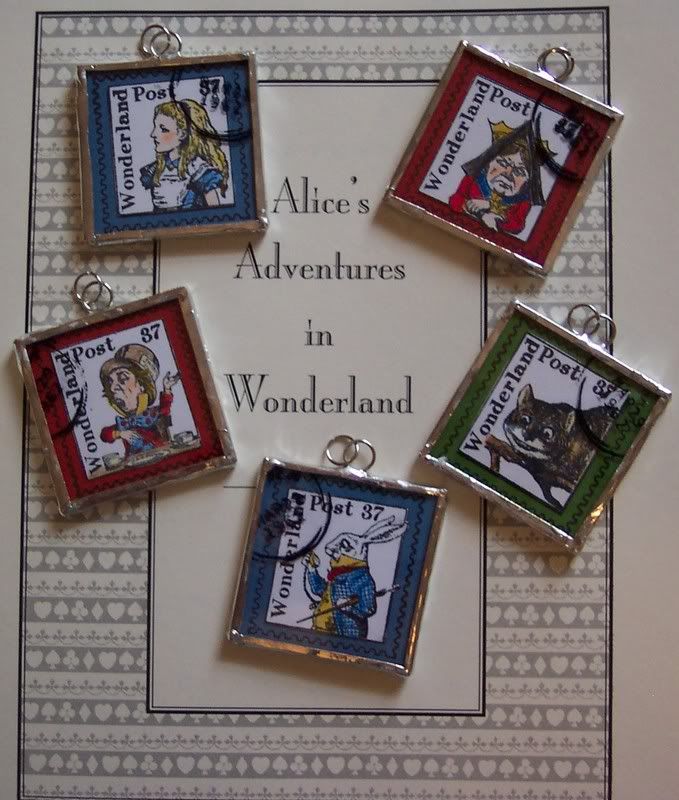
Tuesday, August 12th, 2008One of my favorite books (and movies) is Alice In Wonderland, I get alot of inspiration from them. Today I made a set of soldered pendants with some wonderful rubber stamps I have that show the different characters on postage stamps. I stamped, colored and collaged them then sandwiched them between 1 1/2″ square pieces of glass and then soldered them. I also added a postage mark to the outside of the glass.
Here they are all together:
“Curiouser and Curiouser”
Happy Halloween!
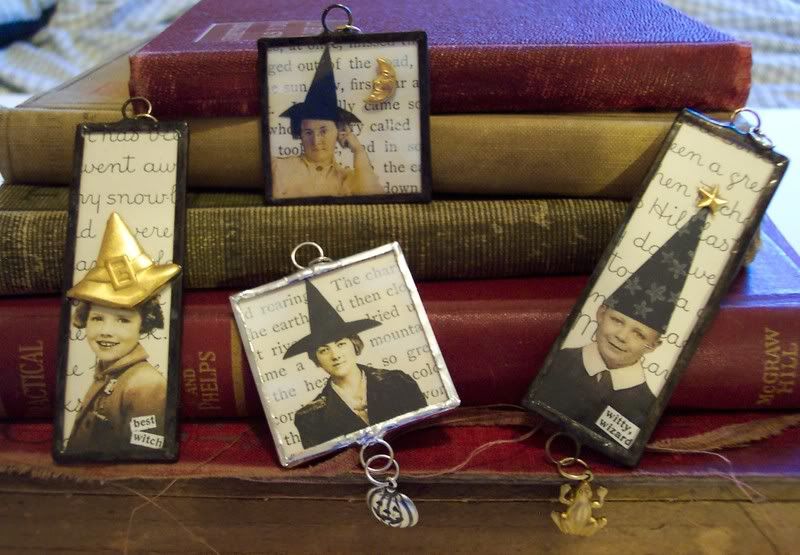
Saturday, August 9th, 2008Yeah, yeah I know it’s early but I’m already staring on Halloween stuff so I thought I’d post some. Halloween is my favorite holiday, my husband and I even got married the night before Halloween:)
Here’s the first of this years Halloween creations, some soldered pendants. My favorite is the little wizard with the toad charm, I think he might be related to the Weasley family;)
Counter clockwise from the top I’ve titled them: “Waiting for the Full Moon”, “Wittiest Wizard”, “Just Witchy” and “Best Witch in Her Class”.

