Posts Tagged ‘paper’

Something a Little Different

Monday, October 26th, 2009

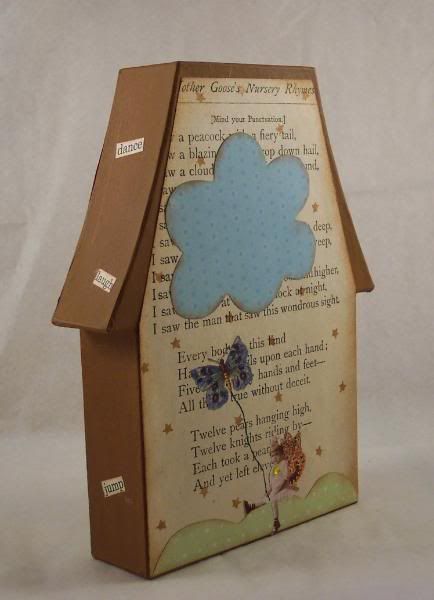
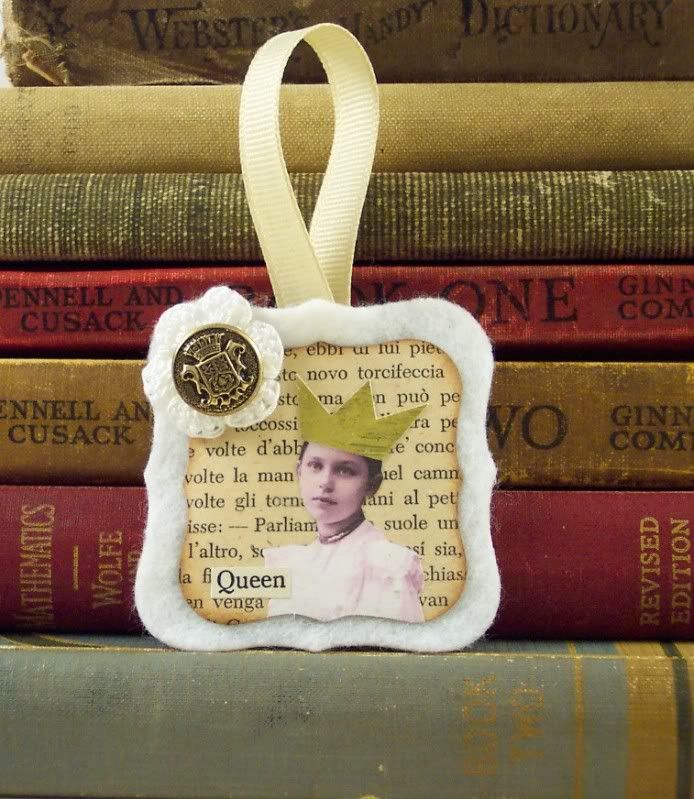
I recently got a new book at the library called “Pretty Little Felts”, the author, Julie Collings had made some amazing things using felt, including some great paper and felt ornaments. I was really inspired by them and decided to put my own twist on them and give some a try myself.

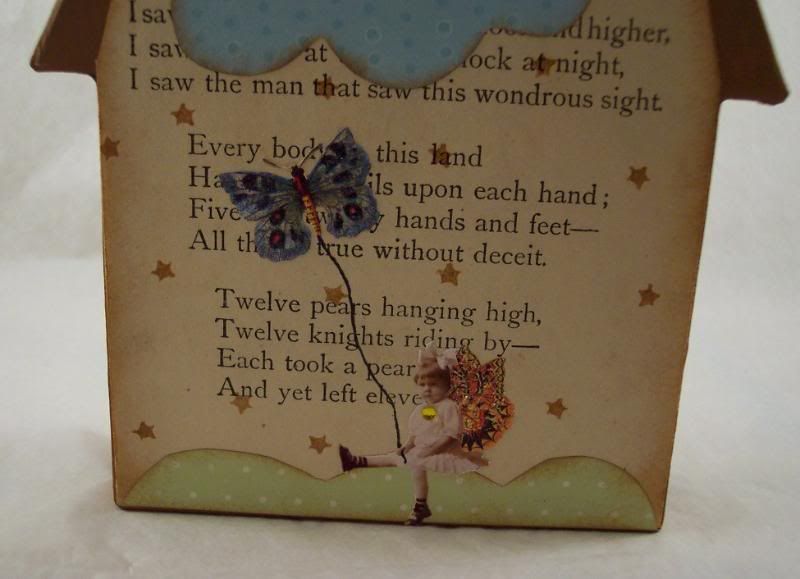
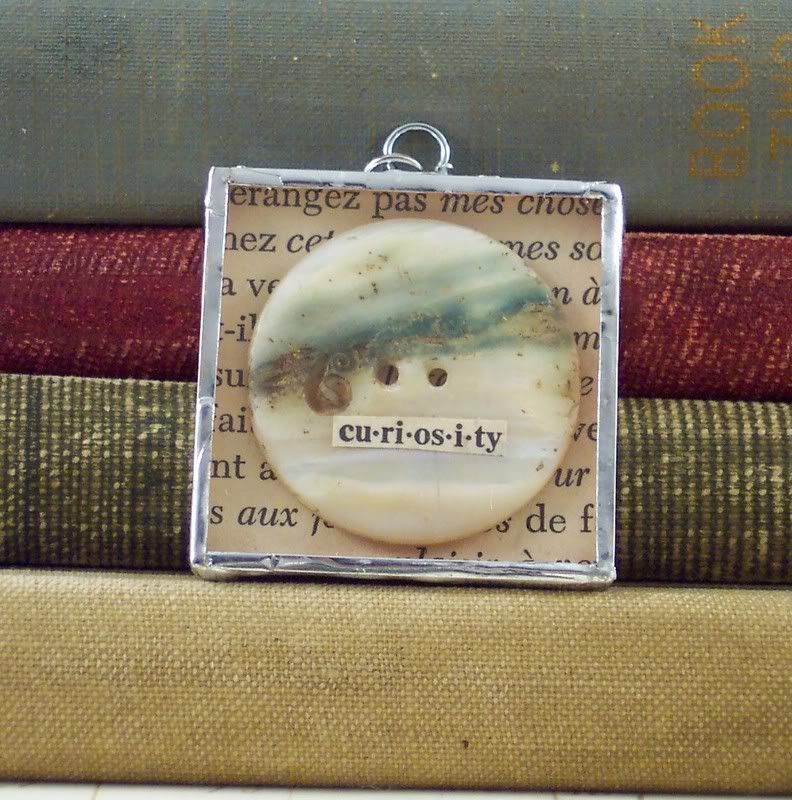
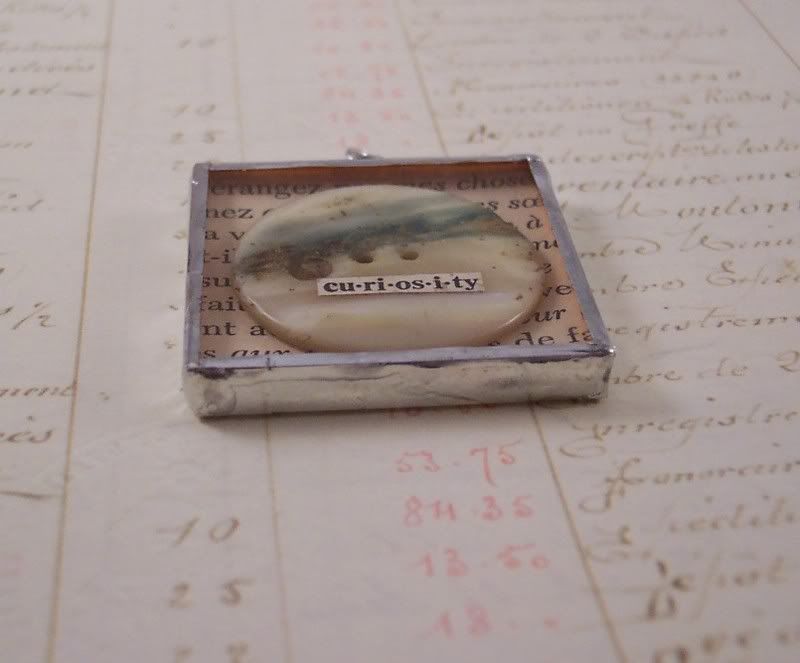
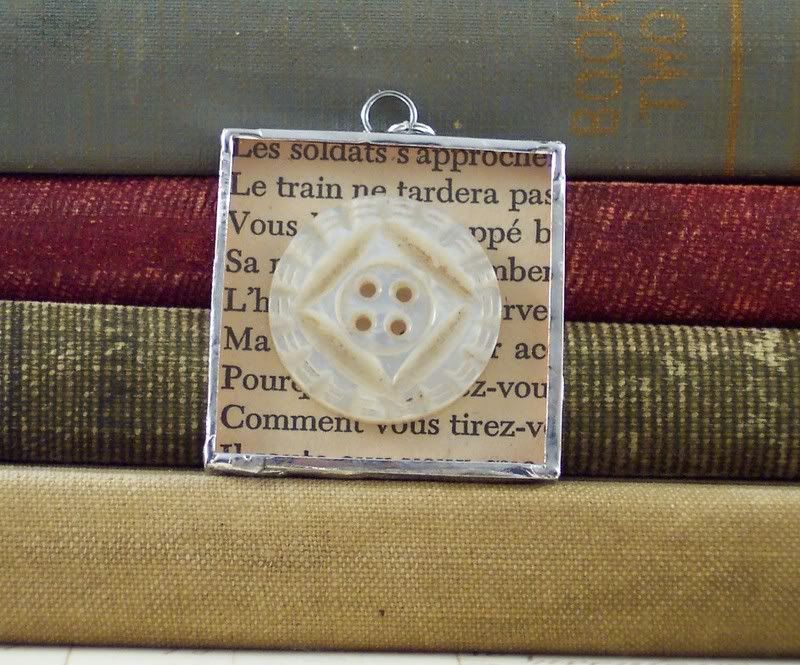
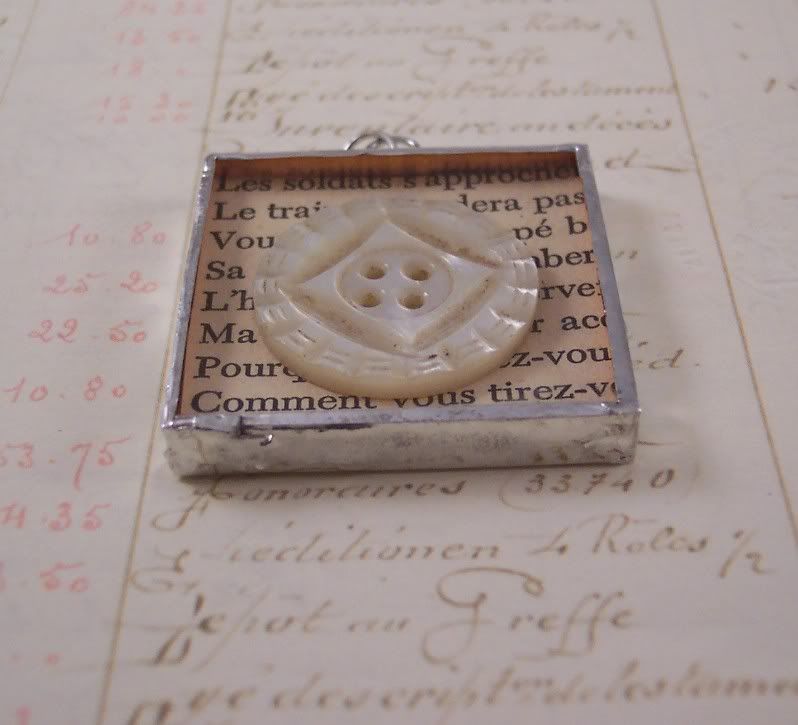
I made some tiny collages, very similar to what I’ve done in the past for other projects using vintage papers as backgrounds and adding other collage images and words on top, I then sealed the paper using gel medium, I stitched a loop of ribbon to my felt shapes and then adhered the paper collages on top. I then added embellishments like crocheted flowers and vintage buttons. I’m really happy with how they turned out 🙂

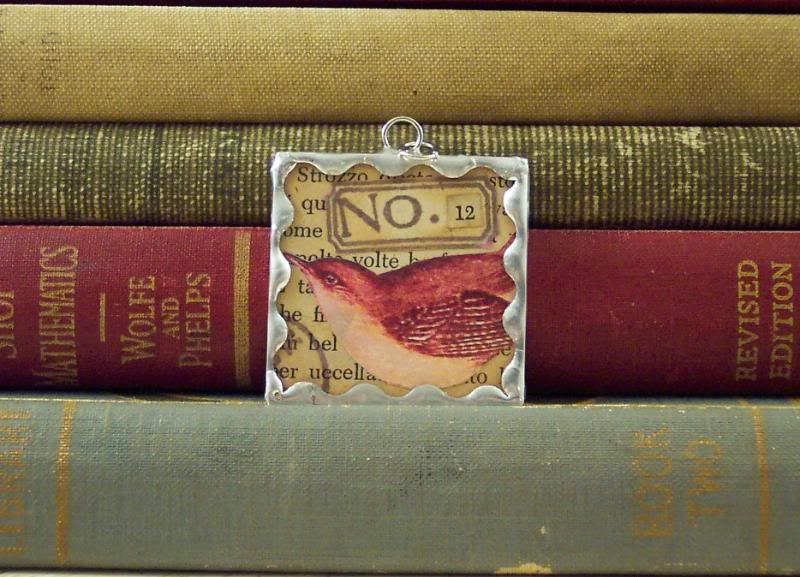
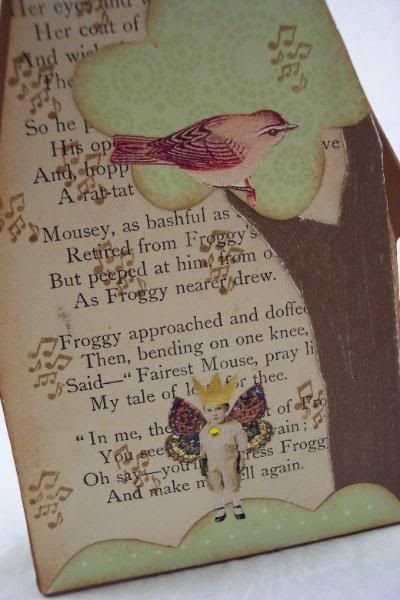
This one is a favorite theme of mine, a bird:

Photobucket

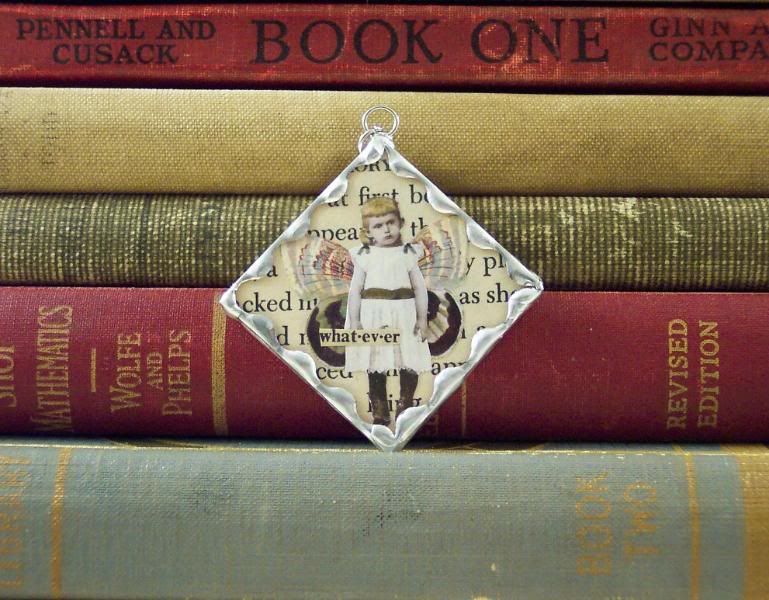
This one is a pretty little girl I tunred into a Queen, reminds me of the White Queen from Alice in Wonderland:

Photobucket

these are both on sale here in my Etsy shop  right now, look for more of these coming soon:)

Halloween Tussy Mussy Project

Thursday, October 1st, 2009

I thought it would be fun to share the instructions for a project I just finished. It’s a paper Tussy Mussy for Halloween. Tussy Mussy’s are a Victorian era hanging cone usually for flowers but this one holds candy.

Photobucket

Start with a 12×12 piece of pattern paper or cardstock, mine has bats on it, flip it to the back side and turn it so one corner faces towards you and with a pencil draw a half circle from the left corner to the right corner then cut along your lines. Here’s a picture of what it should look like.

Photobucket

Next apply adhesive down one long side of the back of the cut paper and roll the other side toward the adhesive forming a cone shape.

Next apply adhesive around the top outside opening of the cone and wrap tinsel garland around, I wrapped twice.

Cut a small piece of the tinsel garland and roll it into a ball, adhere it to the bottom of the cone with a strong adhesive.

Next attach a 7″ long piece of ribbon inside the top of the cone, use a strong adhesive or brads to attach it.

Next add a stamped decoration or tag to the front, I used my Cuttlebug and Spellbinders Tag#1 to die cut and emboss a grey tag and a smaller white tag. I stamped a cute Moon and Kitty stamp on the white tag and colored it with glitter gel pens and edged it with a black marker, then layered it onto the grey tag and colored around the edges of the grey tag with a glitter pen too. I also added brads to the tag for some embellishment and then attached it to the cone with foam dots.

Photobucket

Fill with candy and hang it on someone specials door!

If you make one too please send me a link!

Book Giveaway!!

Wednesday, September 9th, 2009

This is my first giveaway on my blog and I’m really excited about it! I recently participated in a design challenge put on by Klutz Publications using their new book “Paper Fashions Fantasy” and they’ve generously donated 2 books for me to giveaway to my readers!!

I really LOVE this book and had so much fun working with it! It’s got fantastic plastic templates, papers, ribbons, beads, sequins. glitter glue and cute little hangers, along with ideas and instructions for making paper doll clothes and accessories especially geared toward fairies, princesses, witches and mermaids (right up my alley, right??:)) For the contest I was inspired by my favorite princess Snow White and one of the best villains ever, the Evil Queen. It was really easy to use the templates and supplies that came with the book to make my own versions of these classic outfits. I will definitely be using this book in the future to add fairy wings, witches hats, crowns and more to my stamped and collage creations.

Photobucket

Photobucket

So if you’d like to be entered to win one of these fun books just leave a comment here on this post starting from now until next Wednesday Sept. 16th at midnight EST, one comment per person please. I’ll randomly draw two winners and announce them on the 17th and you’ll be notified by e-mail if you win so I can get your mailing address. Please note that comments need to be approved before they show up, so don’t worry if you don’t see your comment right away, I will approve them all and you will be entered in the drawing. GOOD LUCK!
And visit the Klutz website for more info on this and other books:  http://www.klutz.com/

Photobucket

Lots More New Pendants

Tuesday, July 21st, 2009

Here’s some more of my new collaged and soldered pendants.

 I really love these first two, they are tiny collages done on vintage French book paper, I added lots of brown ink to age them even more, stamped postage cancellation marks and a tiny stamped vintage looking label and added numbers to them so they looked like old specimen labels. One features a bird, the other a butterfly:

Photobucket

Photobucket

here’s another fairy with an attitude, she’s got a bored look on her face and I added the word “whatever”, cut from a vintage dictionary:

Photobucket

and lastly something a little different for me, a tiny paper piecing of a house and a tree, I cut and punched them out of cardstock and patterned papers, the background is vintage French book paper. I also added a small metal key to the bottom:

Photobucket

For a Good Cause

Tuesday, February 24th, 2009

On Etsy there is a shop (open until the end of March) where all the proceeds go to The Red Cross to help people affected by the recent fires in Australia. There are loads of wonderful items donated from some terrific and generous artists for sale, you should really go buy something:)  http://www.etsy.com/shop.php?user_id=6902734

I belong to a team on Etsy called “Metsy”, it’s a group for mixed media artist and some of us have done paper mache houses to donate to the shop. Mine is listed here:

 http://www.etsy.com/view_listing.php?listing_id=21463566

be sure to also check out the other beautiful houses by my fellow team mates. A huge thanks to Stacey ( http://artsnark.blogspot.com/) for donating the blank houses!!

I took some pictures while I made mine and wanted to share my process.

I first painted the edges of the house with acrylic paint and cut out pages from a vintage children’s book and applied them to the house with gel medium:

Photobucket

Photobucket

Then I took pattern paper and cut out some scallop shapes for hills, a tree and a cloud and inked the edges with a sponge:

Photobucket

I then cut out a tree trunk from white core card stock and sanded it. I cut out an image of a little boy and some wings and a gold crown and glued the hill, tree trunk, tree top and fairy to the house. I also stamped a bird in the tree and music notes.

Photobucket

But….. I didn’t like the stamped bird and covered it with a vintage image of a bird from an old field guide:

Photobucket

The other side was a similar process of adding a hill, cloud, fairy flying a butterfly, stamped stars, etc. I also added rhinestones to the fairys clothes and Tim Holtz Distress glitter glue to all the wings. The sides of the house seemed too plain so I cut out and inked fun words like play, wish, laugh, fairy, etc and added them to the top and sides of the house:

Photobucket

I really love the finished house (and I hope it sells to help out with the relief effort:))

Photobucket

Photobucket

close ups:

Photobucket

Photobucket

Button Up

Friday, February 6th, 2009

I recently went through some stuff I had stored in my dad’s basement and found my old button jar. It’s a huge mason jar with tons of vintage buttons in it, I was so glad to find it:) I made a couple of soldered pendants with a couple of the more unusual ones.

This first one appears to be a shell button (maybe mother of pearl), the back side was pitted, dirty and had some cool green running through it. I cut the word “curiosity” from an old dictionary and added it to the button, glued it to a piece of vintage French book paper and sandwiched it between glass and using a wider tape than normal soldered around it. It makes for a very cool shadow box look I think.

Photobucket

Photobucket

The second one also looks to be shell, it’s white with a little sparkle to it and has a beautiful embossed design in it.

Photobucket

Photobucket