Posts Tagged ‘tutorial’

BRRRRRR!

Monday, November 25th, 2013

Winter is finally here, it was 17 degrees yesterday when I woke up, brrrr!

Yeti Holiday Card

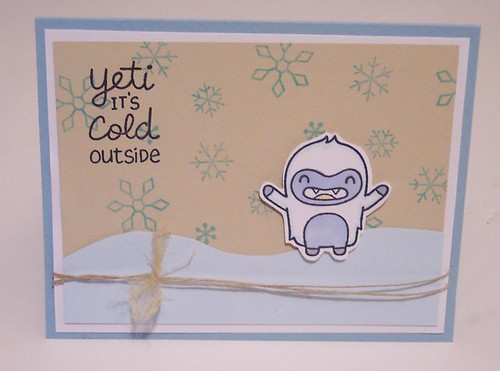
To get in the mood for this frigid weather I made this adorable, abominable snowman card using stamps from Lawn Fawn.

Here’s how…..

Supplies- Light blue, pale blue, tan and white cardstocks; Lawn Fawn” Yeti” and “Critters in the Snow” (snowflakes) stamp sets; blue and black inks, jute string, alcohol markers, foam tape

– First cut a piece of light blue cardstock in half and fold for the card base

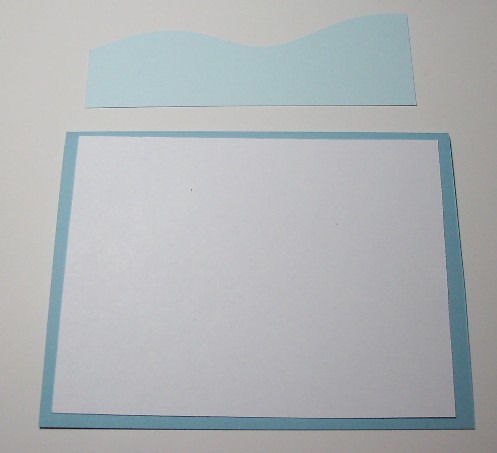
-Next cut a piece of white cardstock to 5 1/4″ x 4″ and cut a pale blue piece to 5″ long and using your scissors cut a wave shape across the top

yeti2

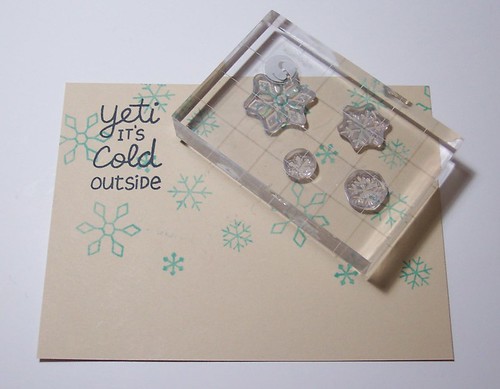
– Next trim a tan piece of cardstock to 5″ x 3 3/4″ and randomly stamp snowflakes with blue ink. Tip: Place several clear snowflake stamps onto the same block to make stamping quicker. Next stamp the words in black.

yeti4

– Adhere the tan piece of cardstock on top of the white then adhere the blue wave piece, wrap a 24″ piece of hemp string around the bottom, tie in a knot and fray the edges. Adhere this to the cardstock base.

– On white cardstock using black ink stamp the yeti and color with alcohol markers and cut out. Mount him to your card using foam tape.

yeti3

Yeti Holiday Card

His name is Flower

Tuesday, May 18th, 2010

Oh my gosh, has it really been that long since my last post?! Spring time is just so busy, I’ve been doing so much yard work, planting, weeding, mowing, etc. it’s taken up alot of my free time. I’ll try to do better 🙂

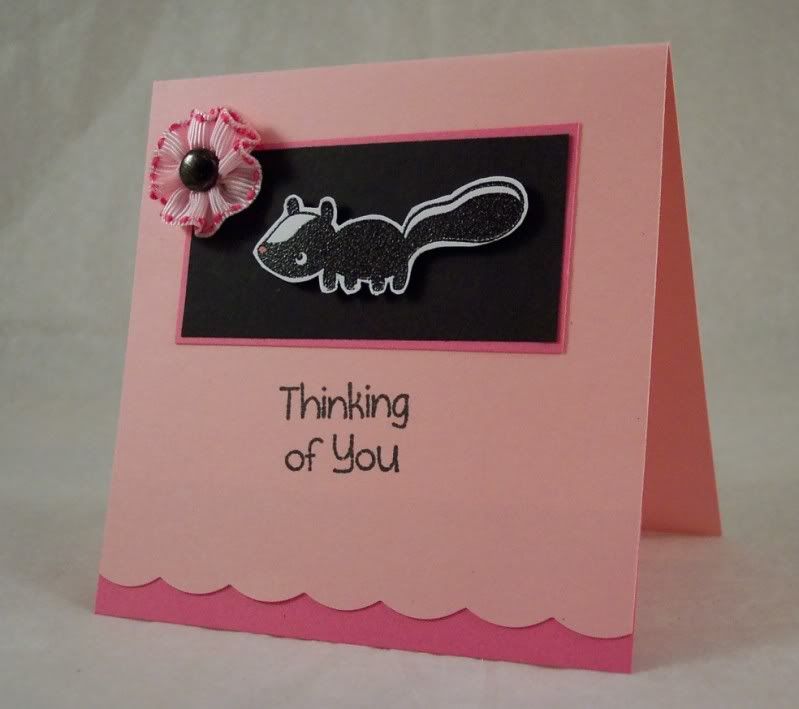
I haven’t posted any cards or stamping lately so I wanted to share a fun card I made for a class recently. They loved it, especially the flower and I wanted to share how I made it.

Photobucket

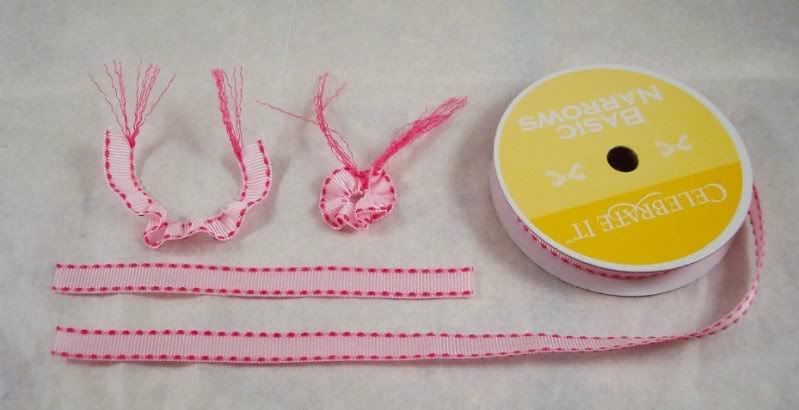
First off you need a large brad and some ribbon that has stitching through it, it comes in lots of colors and can be found at most craft stores. Cut a 5″ piece of ribbon and begin pulling the threads from the *same* long side on both ends. Keep pulling and gathering the ribbon as you go, when it forms a circle tie the ends of the ribbon threads together, then trim off the ends of the threads, careful not to cut through the knot. Then insert a large brad through the ribbon flowers open center and open up the brad, this will hold it in place and you can use a large glue dot to hold the flower to your project. Easy and cute, huh?

Photobucket

The skunk and sentiment stamp comes from a set from The Paper Company and he’s been embossed in black, the bottom of the card has been cut with a scalloped pair of decorative scissors.