Posts Tagged ‘fairy’
Tuesday, June 26th, 2012
I found the cutest little canvas boards at the craft store a few weeks ago! I’ve used the larger sizes for a long time and was thrilled to find these mini ones. I personally like boards instead of stretched canvas for a lot of projects, they are sturdy and “firm”, you don’t have that sagging in the middle of a regular canvas.
I thought they were the perfect size for magnets so I made a couple of birds and a fairy one too. Perfect for a little art on your fridge or file cabinet.
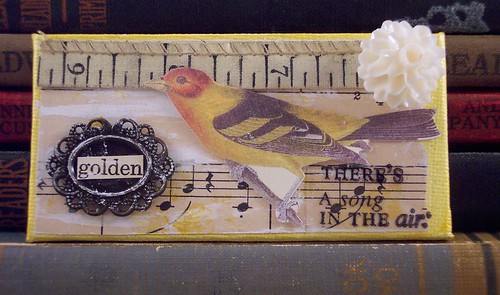
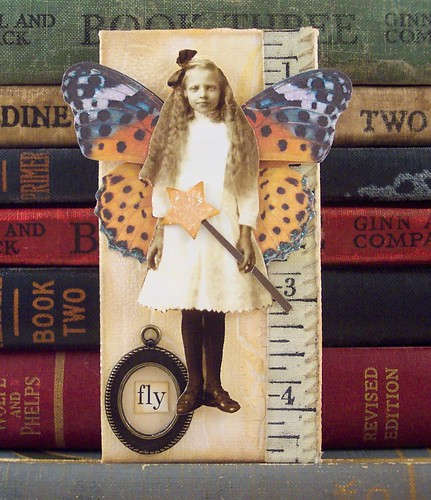
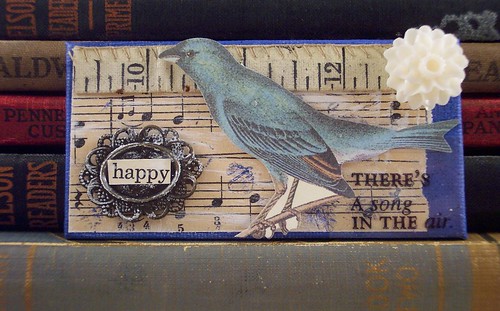
These are currently available in my Etsy Shop.
-Heather
Tags:3D, altered, art, assemblage, bird, blue, boards, canvas, cnavas, collage, fairies, fairy, mixed media, yellow
Posted in 3D and Assemblage, Collages on Canvas, Misc. Collage | No Comments »
Friday, February 10th, 2012
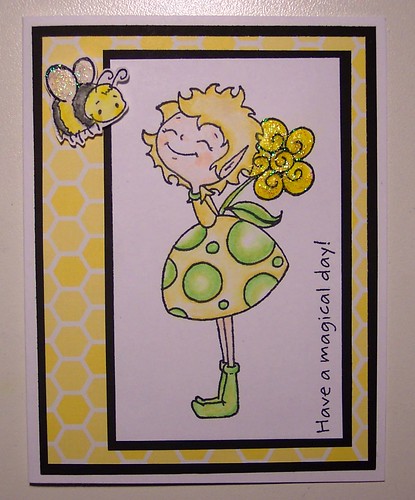
Here’s a card I made recently for my mom for her birthday, she loves fairies as much as I do and she loves bees and gardening so I thought she’d love this little pixie and bee from Sweet November stamps. The sentiment is from MFT and the pattern paper is from Echo Park.
-Heather
Tags:bee, card, cards, crafts, echo park, fairies, fairy, floral, flower, greeting, MFT, paper, pixie, stamped, stamping, sweet November, yellow
Posted in Greeting Cards and Tags | No Comments »
Friday, February 3rd, 2012
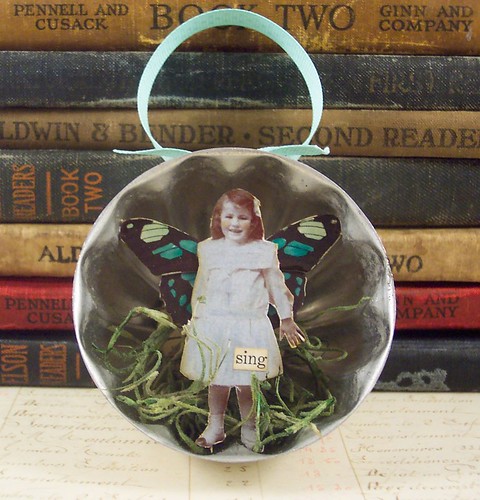
Awhile ago at an antique shop I picked up a stack of vintage Jello mould tins and have been staring at them trying to figure out what to make. Here’s my first idea, I turned them on their sides and put captured fairies in them with a ribbon loop at the top to hang them from. I added some vintage paper at the back and some faux grass at their feet. I think they turned out pretty sweet.

Tags:3D, altered, art, assemblage, blue, captured, caught, collage, fairies, fairy, jello, mixed media, mould, ornament, tin, trapped, vintage, yellow
Posted in 3D and Assemblage, Hanging Collage | No Comments »
Friday, November 18th, 2011
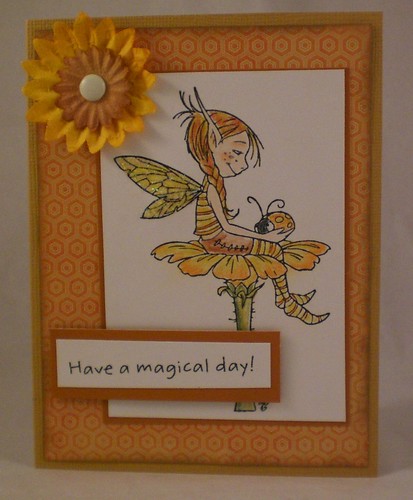
Wow, it’s been forever since my last post! Hubby and I have been sick with chest colds and bronchitis for a couple of weeks 🙁 But I wanted to pop in and share a card I made this week for my sister in law’s birthday, she loves fairies too and I’d just gotten this wonderful stamp from Emerald Faeries.
Tags:card, emerald faeries, fairies, fairy, greeting, pixie, stamp, stampedT
Posted in Greeting Cards and Tags | No Comments »
Wednesday, August 3rd, 2011
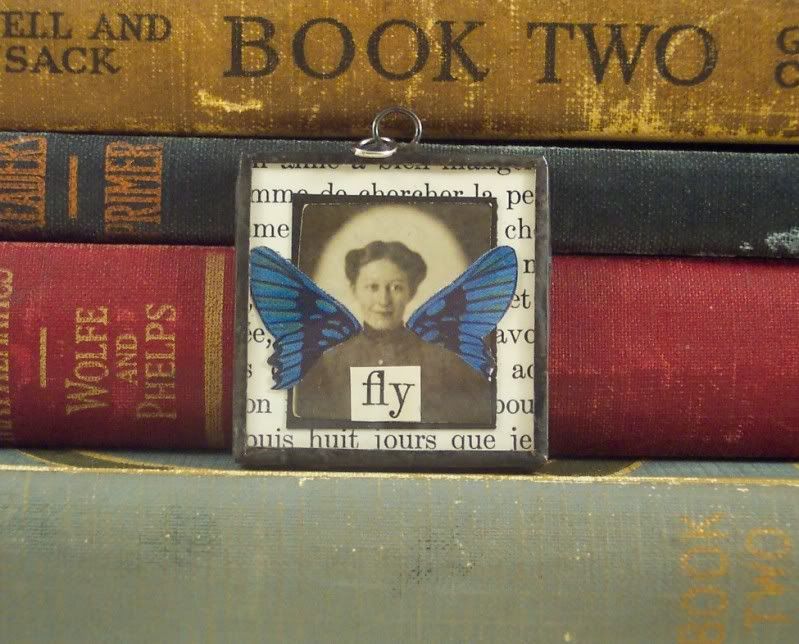
A while ago I had found some lovely small vintage photos at an antique store. I think they must have been a type of model shot, some had the same girls in different outfits. They are the perfect size for jewelry. I turned this pretty girl into a fairy by adding blue wings to her. I didn’t want to cut the actual photo so I cut the edge of the wings to match her shoulders and applied them onto the photo. I also added the word “fly” from a vintage book and mounted her on vintage French book paper. The tiny collage is sandwiched between glass and soldered around the edges. Because the photo is black and white I added black patina to the solder to pull everything together.
Tags:blue, collage, fairy, girl, jewelry, mixed media, pendant, photo, photograph, solder, soldered, vintage, wings, woman
Posted in Collage Jewelry | No Comments »
Sunday, March 6th, 2011
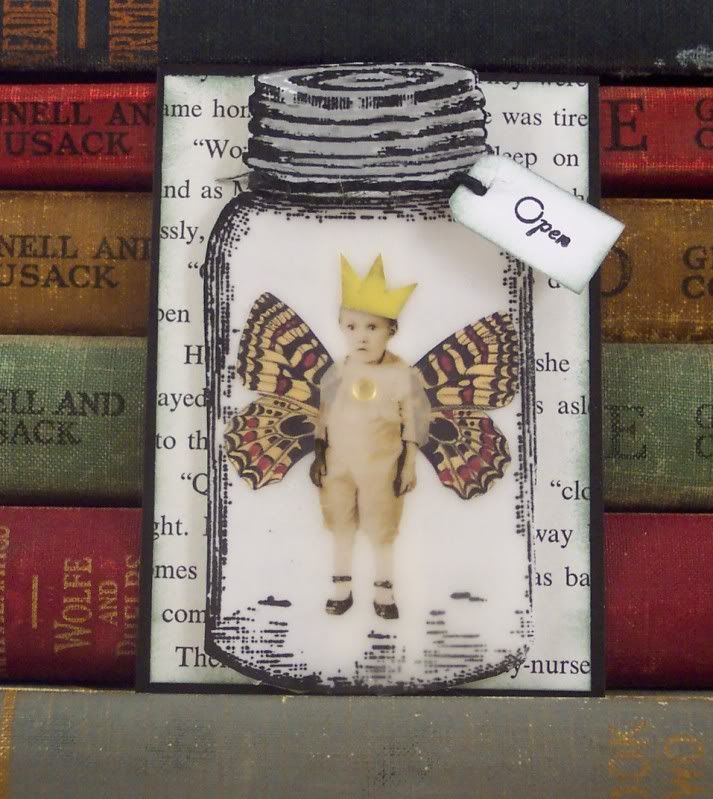
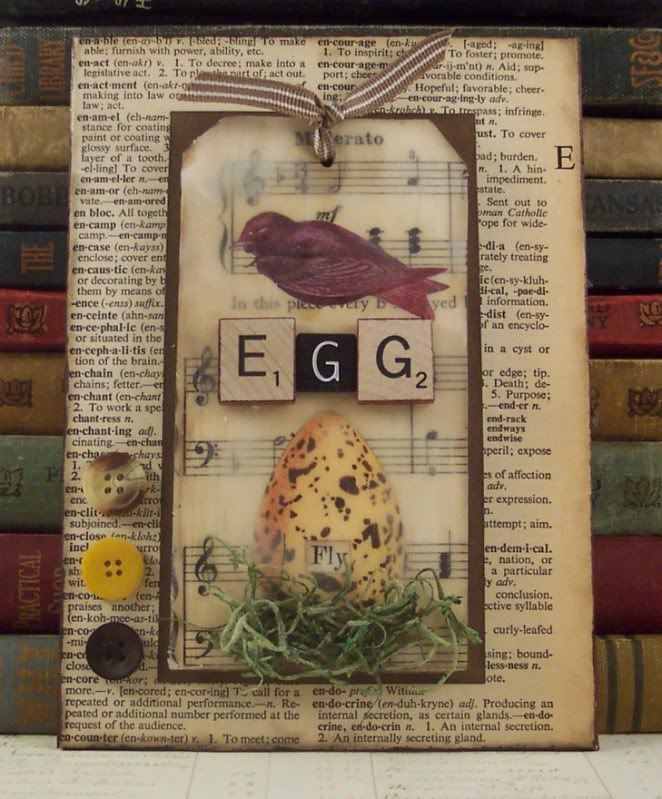
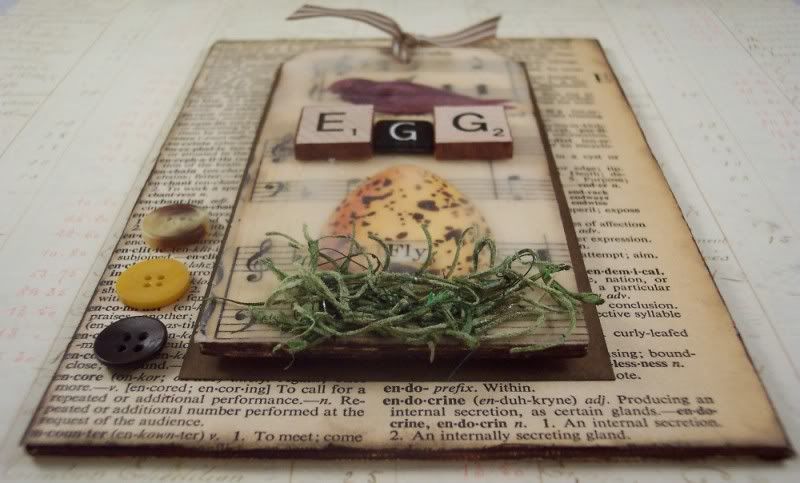
Melting wax that is. I decided I hadn’t played with bees wax for awhile so I got my little crock pot out and played around with it the other day. I made some more captured fairy in a jar art cards, like I did in the past, dipping the collaged jars into the bees wax, they always turn out cute. I also did a bird collage I’m really happy with. I started with a wooden tag and collaged vintage music sheet and images of a bird and egg and the word “fly” cut from a vintage book. Then I took a brush and covered the tag with the melted wax. One of the cool things about wax is it can be remelted. So in a couple spots were it was too thick and cloudy I used my heat tool and melted it a bit to thin it out. You can also use a mini iron to melt the wax as well. I then added some game pieces that spell “egg” and faux grass for a nest. I covered a 5 x 7 canvas board in vintage dictionary paper, mounted the tag in the middle on cardstock and then added a few vintage buttons.
Here’s a couple of my fairy art cards:
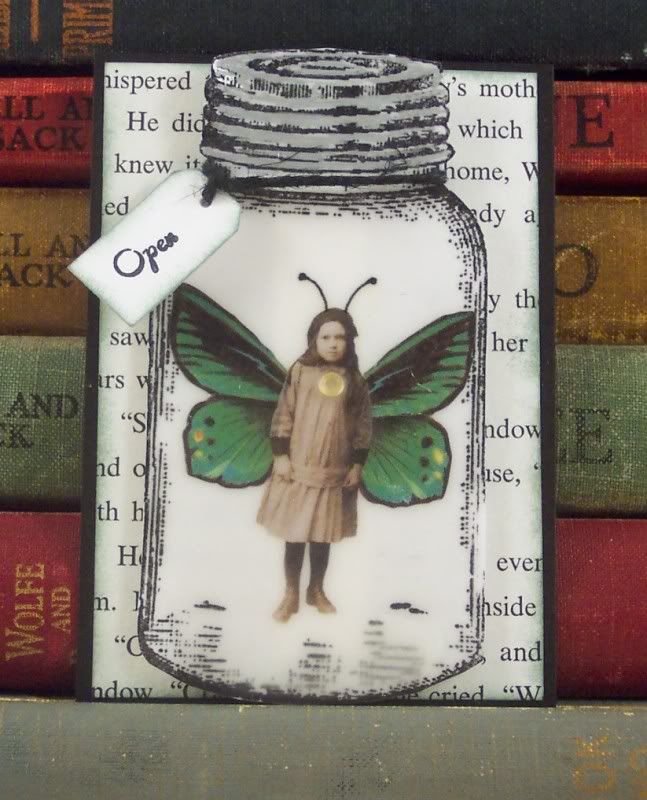
doesn’t he look shocked to be captured?:
and this is my bird and egg collage:
Tags:ACEO, art, art card, ATC, bees wax, beeswax, bird, buttons, canvas, captured, collage, egg, encaustic, fairy, fly, jar, mixed media, paper, tag, vintage, wood, wooden
Posted in 3D and Assemblage, ATC, Collages on Canvas | No Comments »
Wednesday, February 9th, 2011
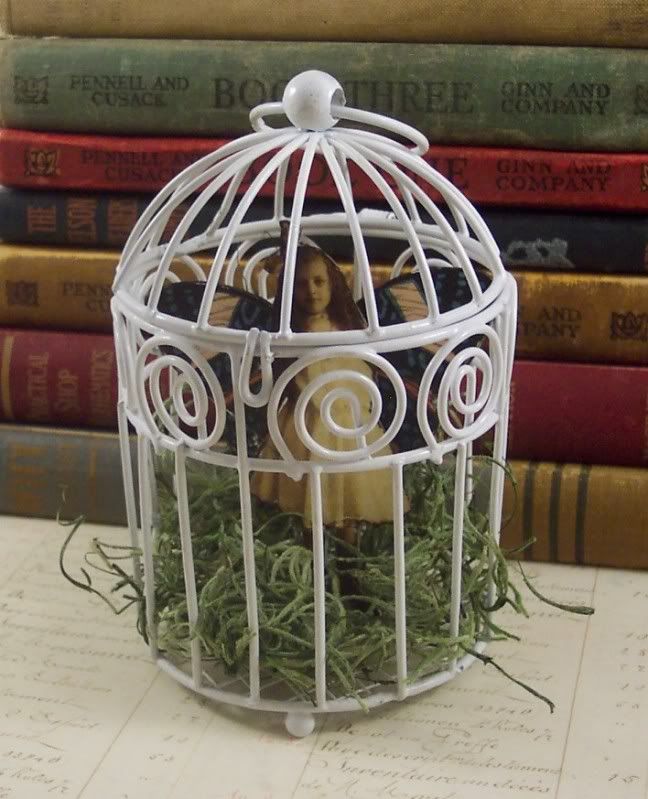
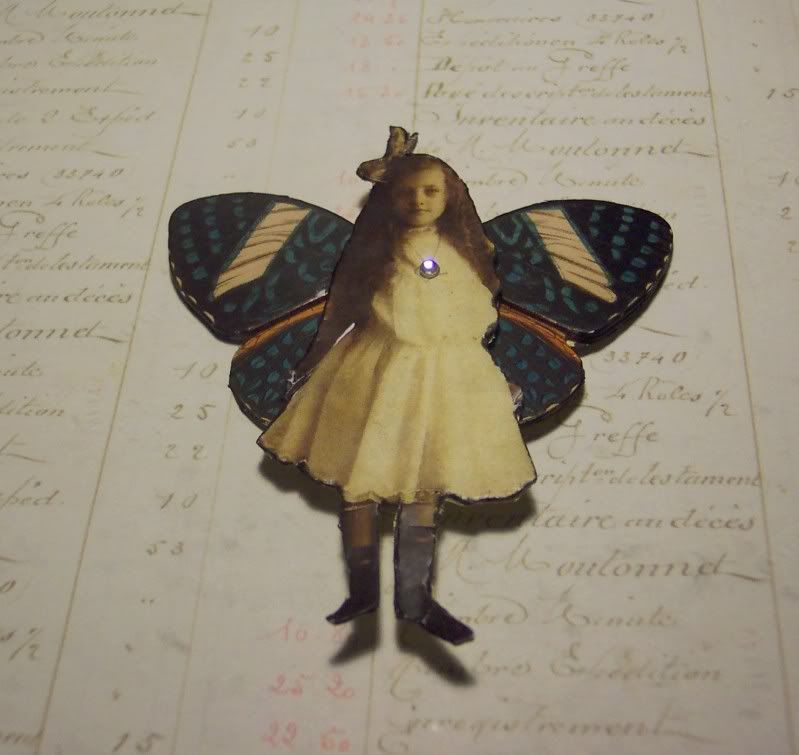
I found these cool little metal bird cages at the craft store and thought they were fun. I turned this one into a captured fairy cage. I used a photocopy of a cute vintage girl and adhered her to chipboard and cut her out, then added some chipboard wings behind her and a rhinestone. I put faux grass in the bottom of the cage and set her inside. Pretty simple but pretty cute too 🙂
Tags:3D, assemblage, butterfly, cage, caged, chipboard, collage, fairies, fairy, wings
Posted in 3D and Assemblage, Hanging Collage, Misc. Collage | No Comments »
Monday, September 21st, 2009
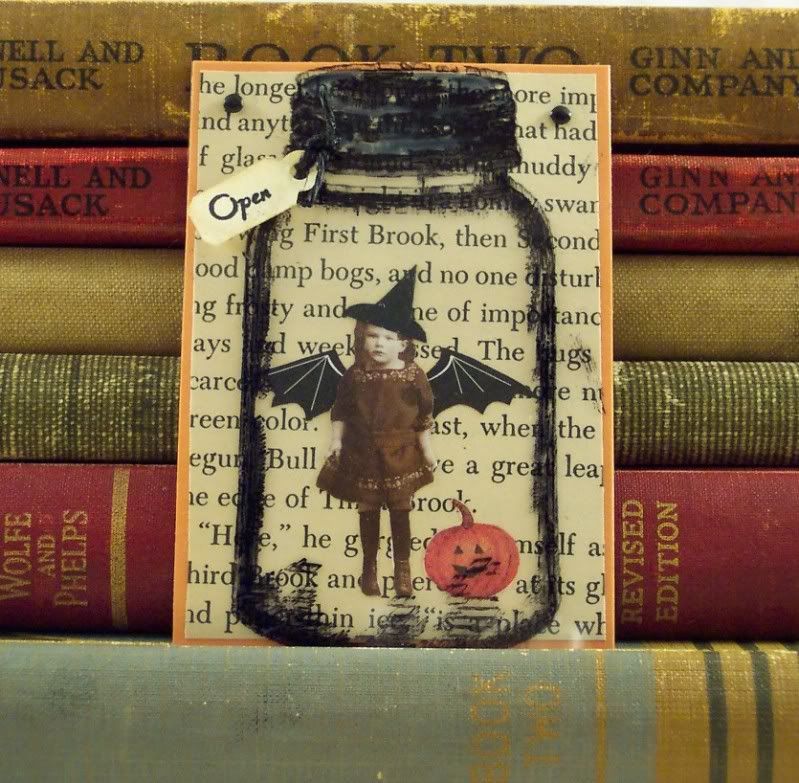
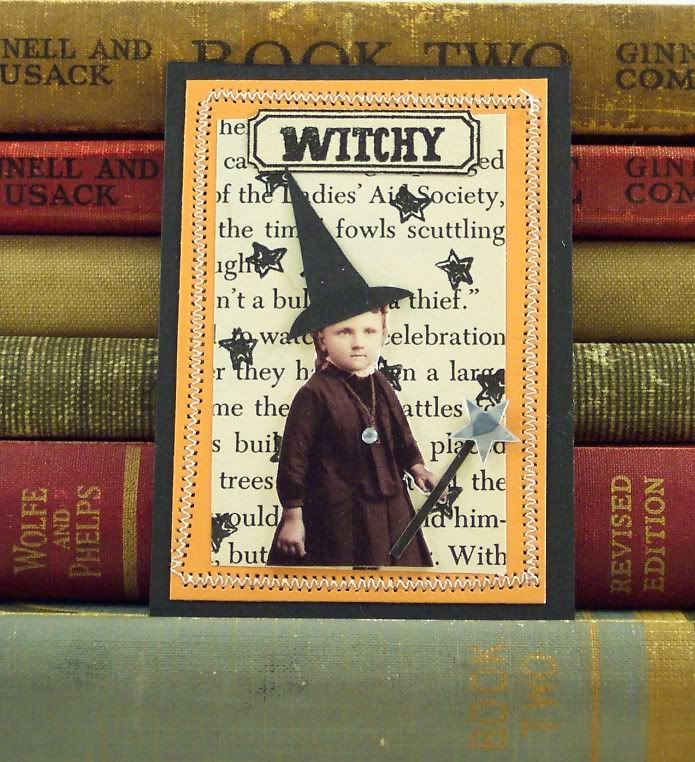
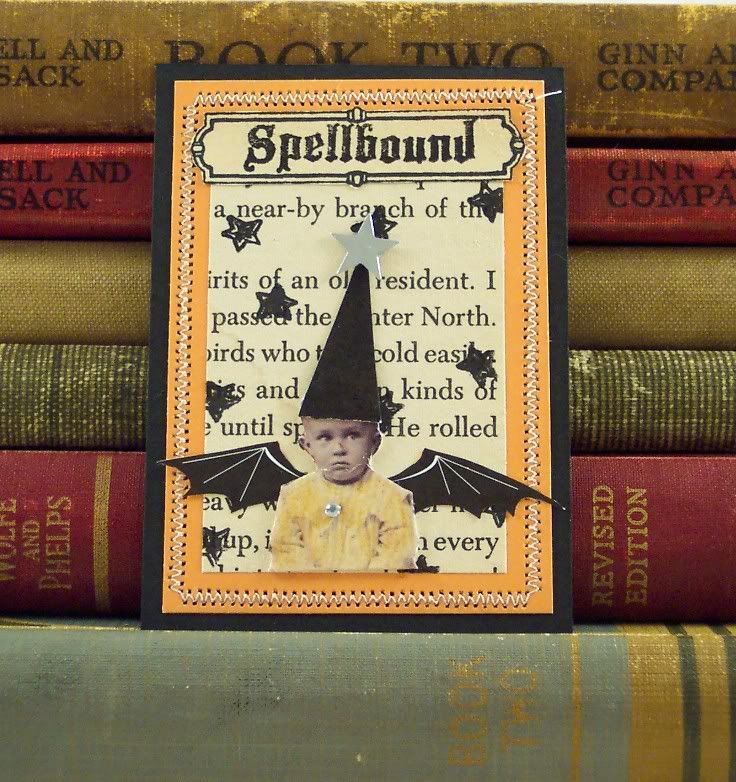
I just finished some fun art cards (atc or aceos measuring 2 1/2 x 3 1/2) for Halloween.
The first is a captured Halloween fairy in a jar, I stamped the jar on transparency and adhered it with tiny brads to vintage book paper and cardstock.
These next two use images from Tim Holtz’ Doo Dad line, I made the little girl a witch and the boy a wizard with bat wings, both have silver star and rhinestone embellishments and old fashioned stamped labels. They are on backgrounds of vintage book paper with stamped stars and orange and black cardstocks I sewed together on the sewing machine with zig zag stitches.
All of these cards are currently for sale in my Esty shop: http://www.PisforPaper.etsy.com
Tags:ACEO, art cards, ATC, black, captured, card, fairy, halloween, jar, orange, witch, wizard
Posted in ATC | 5 Comments »
Tuesday, July 21st, 2009
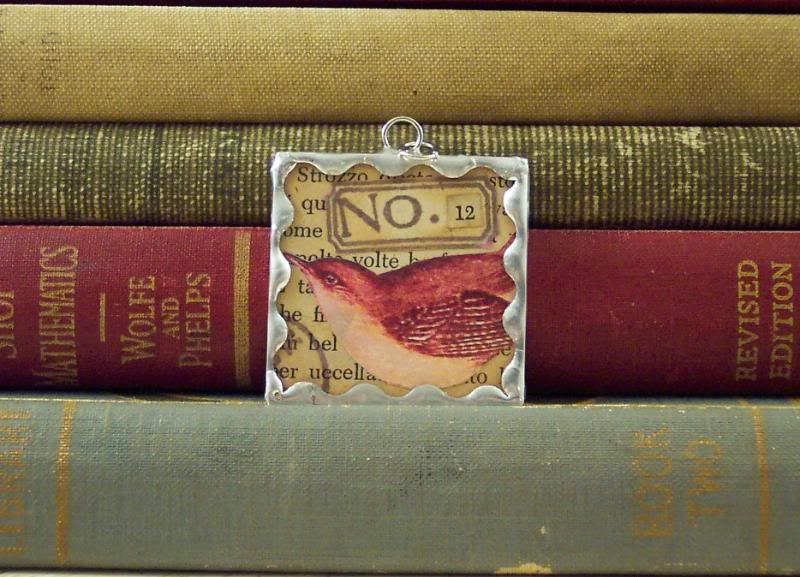
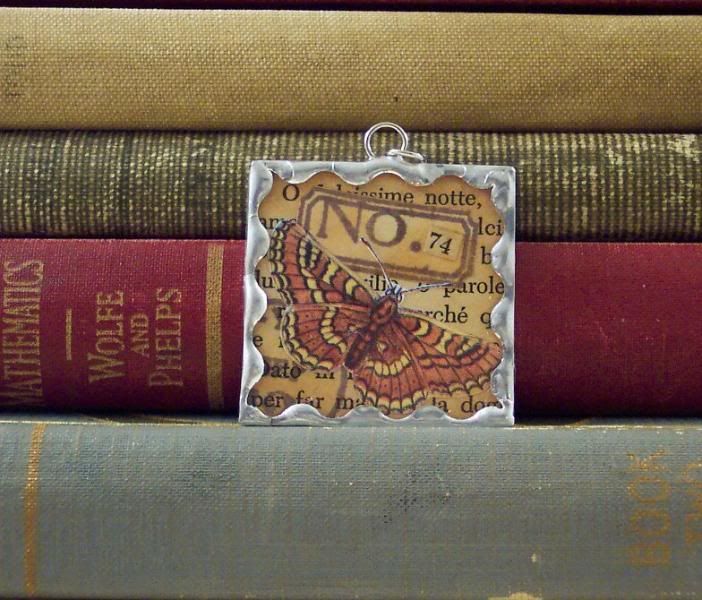
Here’s some more of my new collaged and soldered pendants.
I really love these first two, they are tiny collages done on vintage French book paper, I added lots of brown ink to age them even more, stamped postage cancellation marks and a tiny stamped vintage looking label and added numbers to them so they looked like old specimen labels. One features a bird, the other a butterfly:
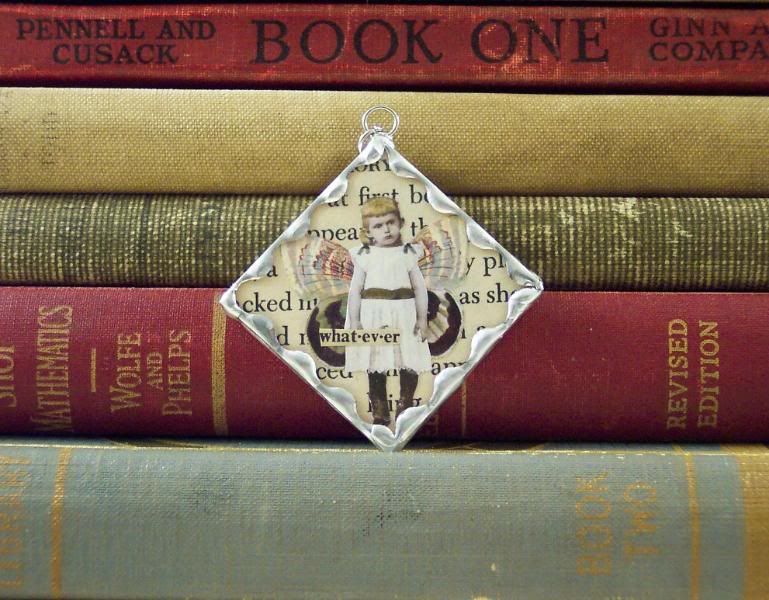
here’s another fairy with an attitude, she’s got a bored look on her face and I added the word “whatever”, cut from a vintage dictionary:
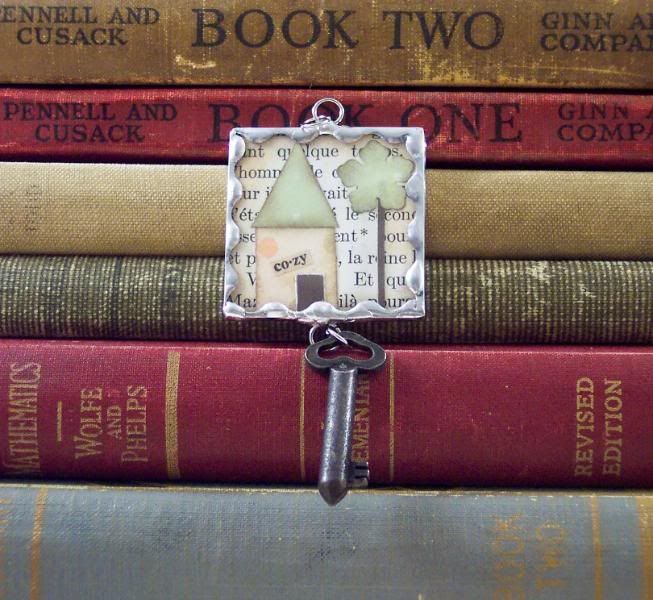
and lastly something a little different for me, a tiny paper piecing of a house and a tree, I cut and punched them out of cardstock and patterned papers, the background is vintage French book paper. I also added a small metal key to the bottom:
Tags:, bird, butterfly, faires, fairy, glass, home, house, jewelry, paper, pendant, soldered, specimen
Posted in Collage Jewelry | 3 Comments »
Monday, June 15th, 2009
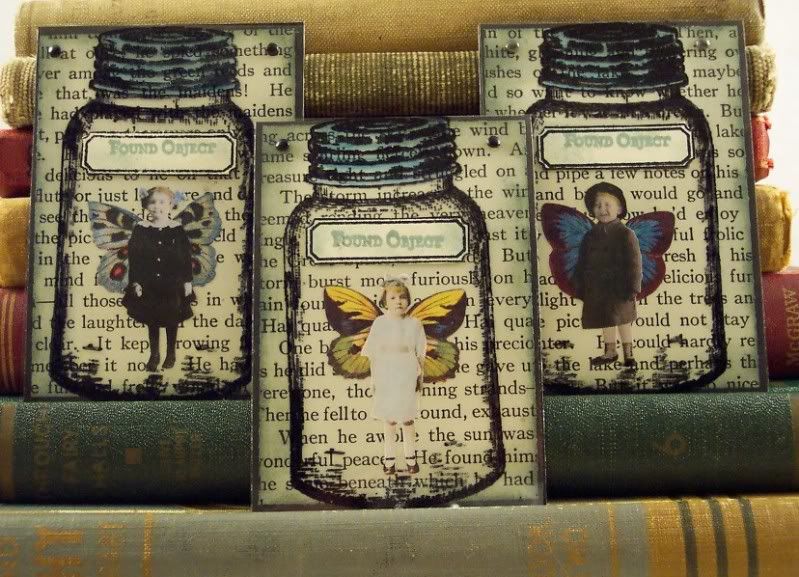
Here’s a group of Art Cards I did last week. I used my canning jar stamp and stamped it on transparency sheets and put a captured fairy underneath on the base of vintage book paper and cardstock, attaching the transparency with tiny brads. I also added an old fashioned label to the jars and stamped “found object” on the label. Simple but cute I think:)
Tags:ACEO, art card, ATC, captured, caught, fairies, fairy, jar, transparency
Posted in ATC | 4 Comments »


