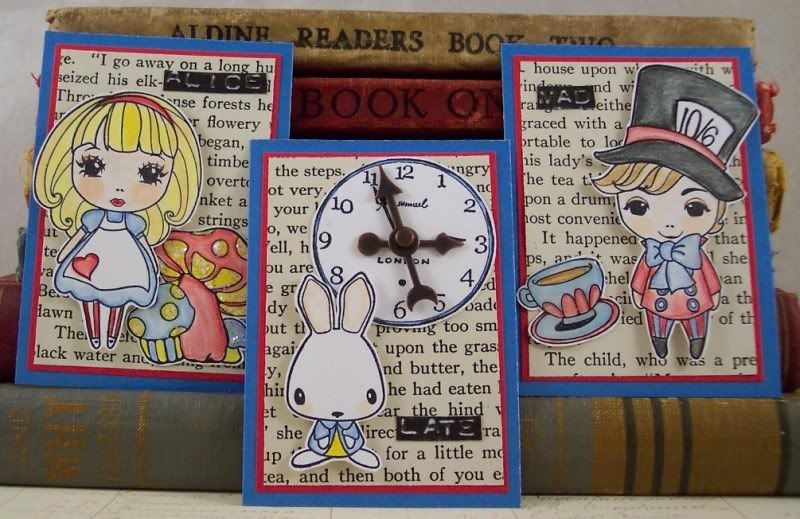
I recently got some adorable stamps from The Greeting Tree, they are really cute versions of characters from Alice in Wonderland and I thought they were the perfect size for art cards (2 1/2″ x 3 1/2″). Each character was stamped on white cardstock with black staz-on ink and colored using colored pencils and orderless mineral spirits for blending. I cut each out and added them to layers of vintage book paper and cardstocks. Plus I added a stamped embellishment to each, Alice got glittery mushrooms, the Mad Hatter got a glossy tea cup and the White Rabbit got a clock with movable clock hands (from Tim Holtz). I also ran a very thin strip of white core cardstock (from Close To My Heart) through my label maker and sanded them to make each card a name label.
Posts Tagged ‘wonderland’
Through the Looking Glass
Tuesday, February 9th, 2010Alice in Gameland
Tuesday, June 9th, 2009Several years ago before I taught myself how to solder I used to make alot of jewelry with dominos, so I thought I’d try them again. Dominos are fun to work with but it’s important to remember that not all mediums will “stick” to the slick surface of a domino, some people soak them in bleach and/or sand them to give them a “tooth” to help mediums stick better but I guess I’m too lazy for that 🙂 and have never found a need to do it. I try to use permanent inks and markers such as Staz-On ink pads and Sharpie markers. Chalk ink pads work well too but need to be heat set (with a heat gun) to be more permanent. Dominos are inexpensive so it’s nice to play and experiment with them to find out what works well and what doesn’t. I also like to seal mine just to make sure all my hard work will stay for a long time since it’s something that will be used and worn. A clear spray sealant works well or any type of clear dimensional liquid (like Liquid Glass, Dimensional Magic, Crystal Lacquer, etc) works nicely too, they will give a nice shiny look over your artwork. Using permanent mediums also helps when you go to seal your domino because they will not react and possibly bleed when you apply the sealant.
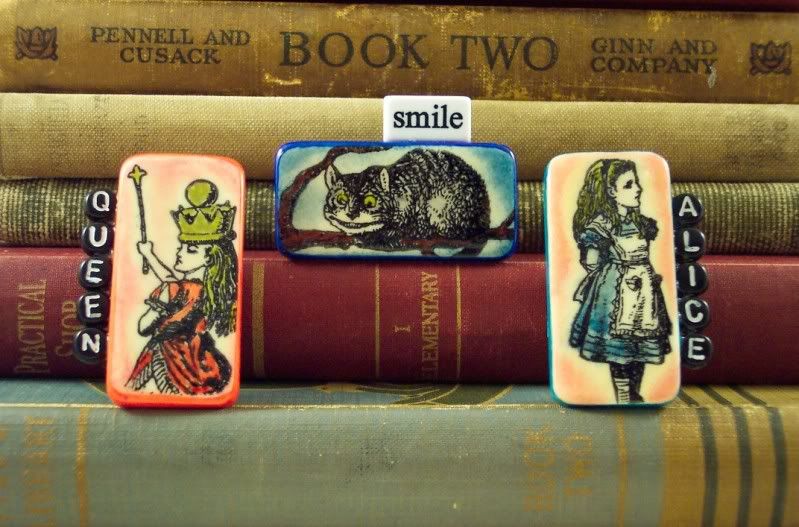
Here are a few pins made with Alice in Wonderland characters, I added alphabet beads along the domino edges and large pin backs on the back of each.
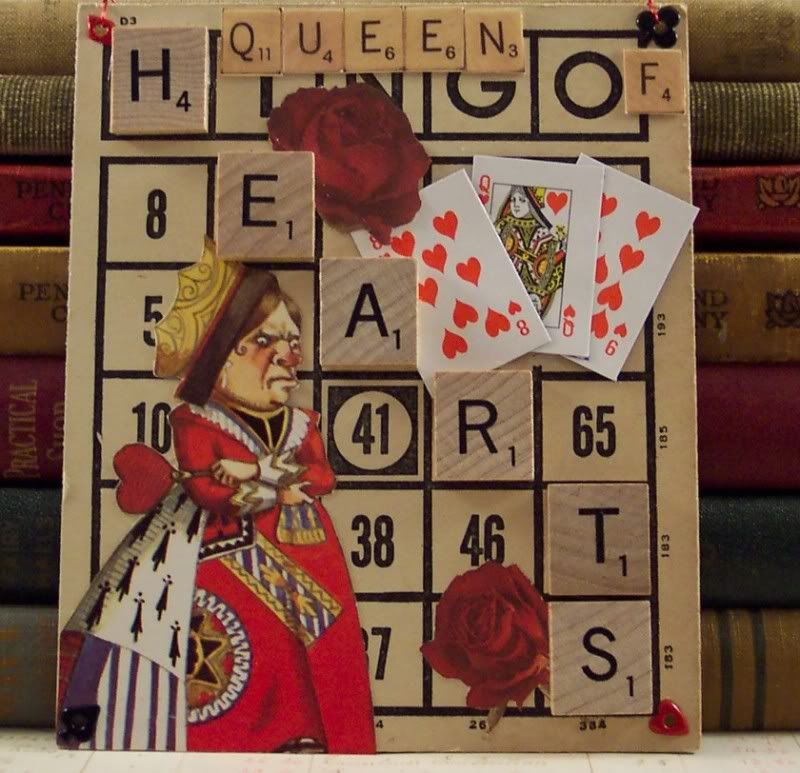
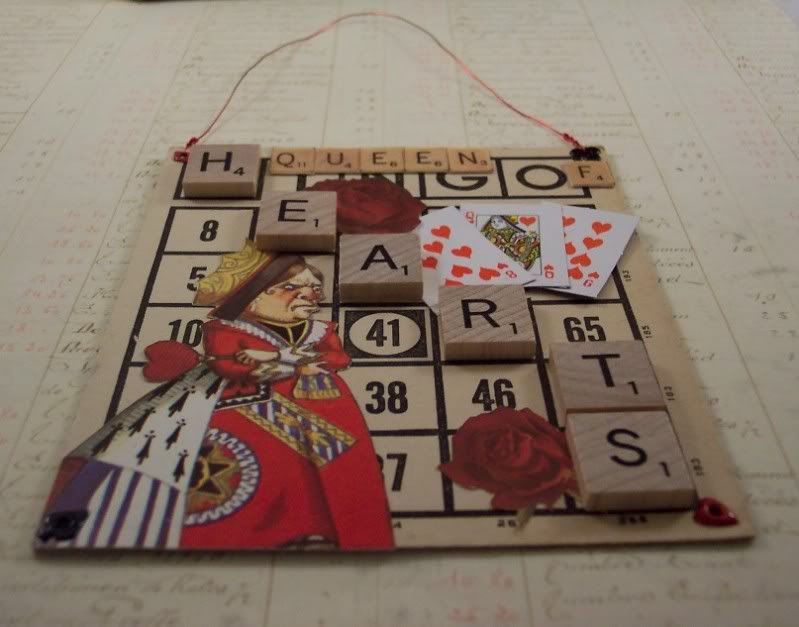
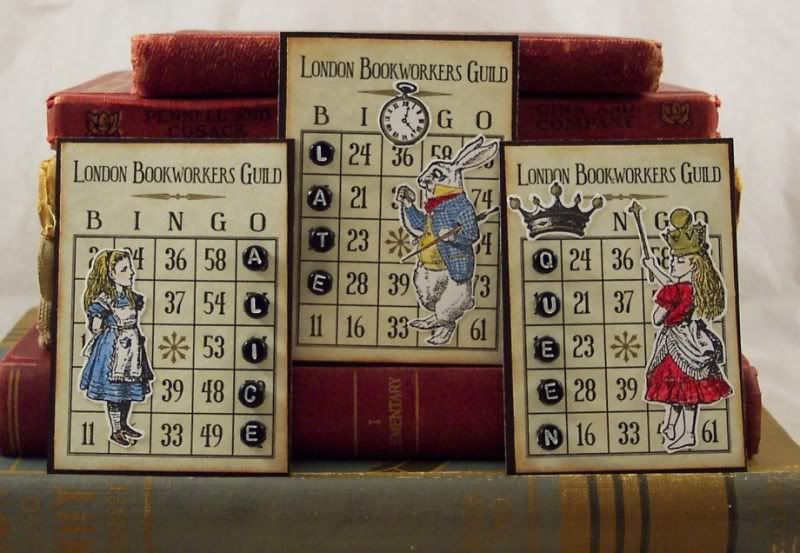
Also here’s a few more art cards using small bingo cards and those same fun black alphabet beads. This time I made them with Alice, the White Rabbit and Alice dressed as the Red Queen.
More Alice Art Cards
Tuesday, April 21st, 2009I’ve made a few more Alice in Wonderland themed Art Cards (cards measuring 3 1/2″ x 2 1/2″).
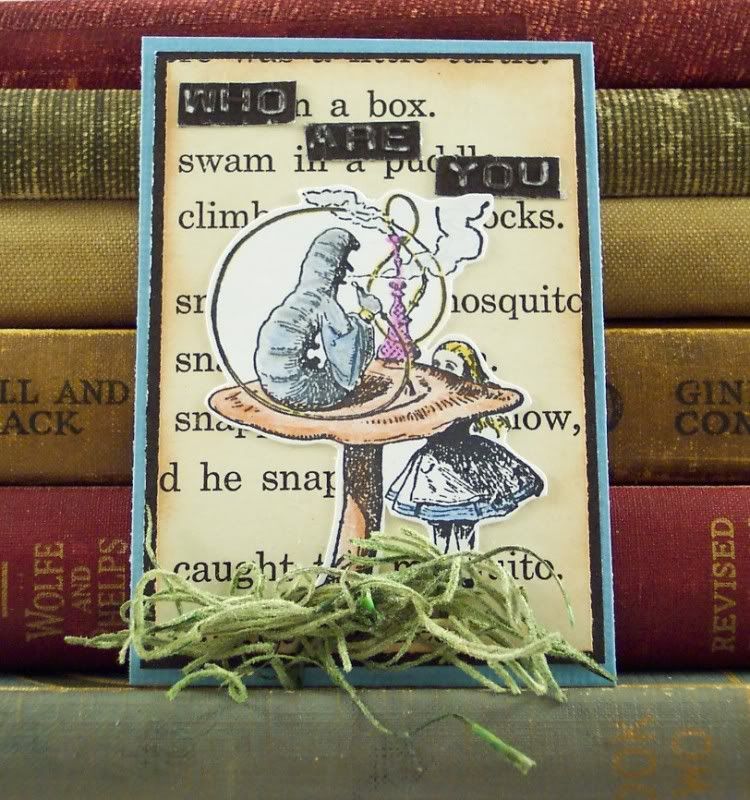
This first one is an image of Alice peering over the edge of the mushroom to talk to the Caterpillar while he smokes his hookah. The image is colored with colored pencils and I added “grass” at the base of the mushroom and ran a thin strip of cardstock through my label maker for the words “Who Are You” floating above them.
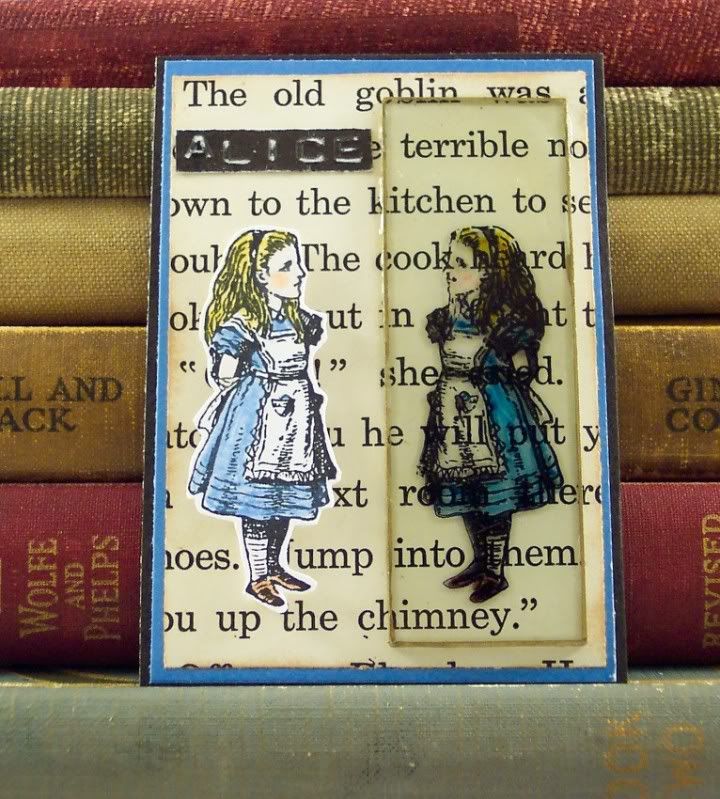
For this next card I put the image of Alice looking at her reflection in the looking glass directly on a piece of glass and colored on the backside with markers. I also rimmed the edge of the glass with a gold pen.
Wonderland
Friday, March 6th, 2009I love Alice in Wonderland, the books, the movie, the artwork, it’s one of my favorite inspirations. Awhile ago I got some stamps of Tenniel’s illustrations from Alice in Wonderland from a company that is sadly no longer in business so I’m glad I got them when I did. Anyway I got them out the other day and made some cool Artist Trading Cards (ATC’s) with them.
All of them are 3 1/2″ x 2 1/2″ on a base of cardstock and vintage children’s book pages. The images were stamped and then colored using Prisma colored pencils and a blending solution called Gamsol (you can get it from Inky Antics: http://www.inkyantics.com/acc1.htm) you use an artists blending stump to blend and soften the color pencils, I love the look and control it gives.
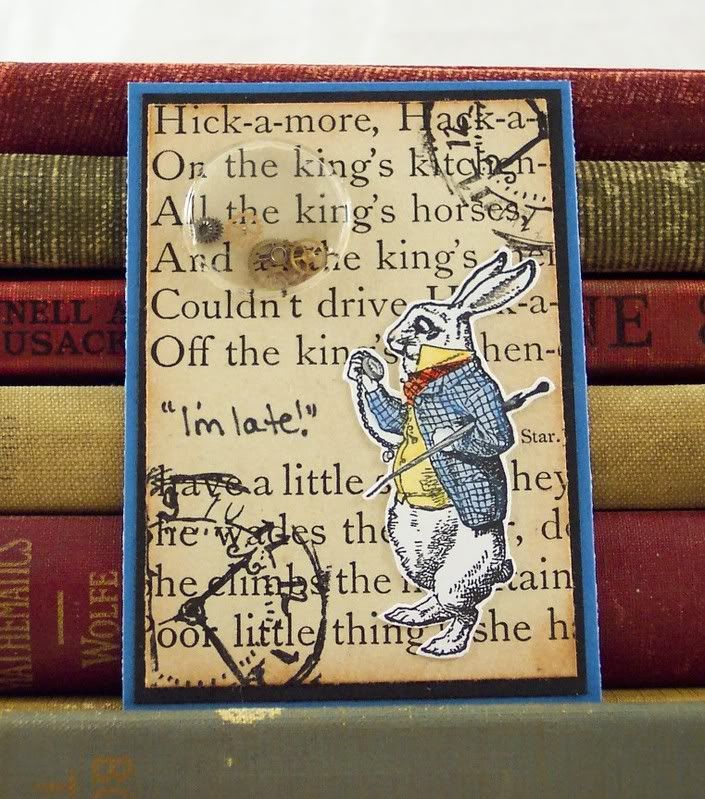
The first one is the White Rabbit, holding his pocket watch. I stamped some clock images on the background page and added a real watch crystal with some real watch parts inside, they move when you shake the card 🙂
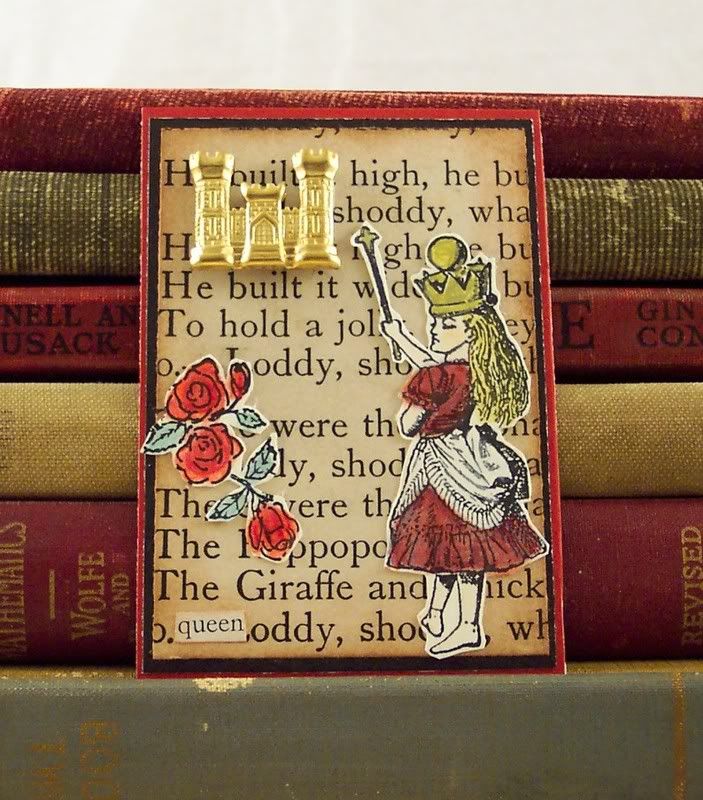
The next is Alice dressed as the Queen, wearing a gold crown and holding a golden scepter, I colored them with a gold gel pen so that they are a shiny gold. I also added some red roses (already painted red by the cards) and also a gold charm of a castle.
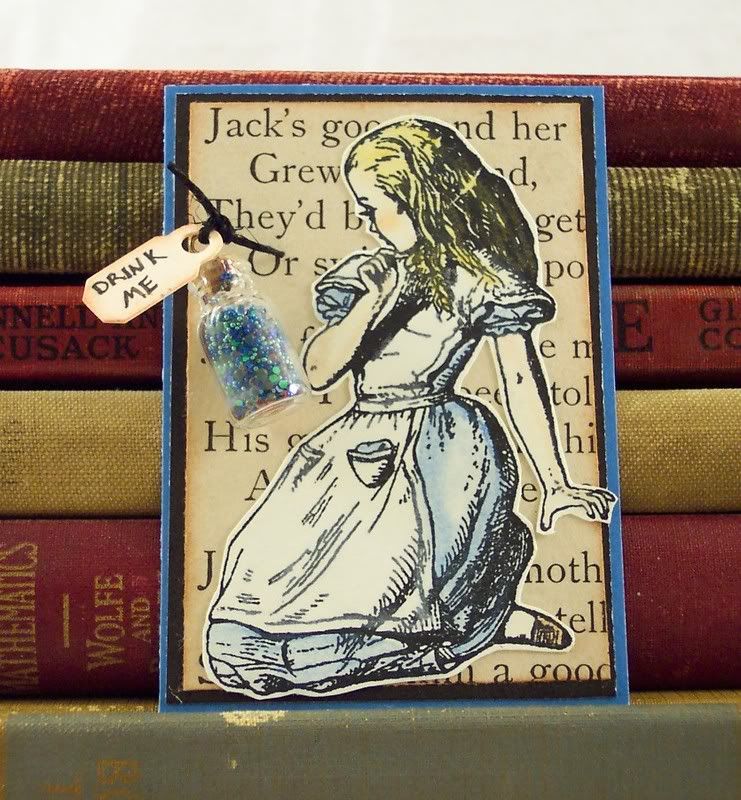
This last one is my favorite, I love the part of the book where Alice drinks from the bottles and grows large and then tiny. Here is Alice after she’s large looking at the bottle, it’s an actual tiny glass bottle with a cork stopper filled with tiny blue beads and glitter and I tied around a tiny tag that says “Drink Me”.

