September 2nd, 2011
The Silhouette blog featured my Robot card on their blog today…..super exciting!!
Posted in Announcements and Acknowledgments, Uncategorized | No Comments »
August 31st, 2011
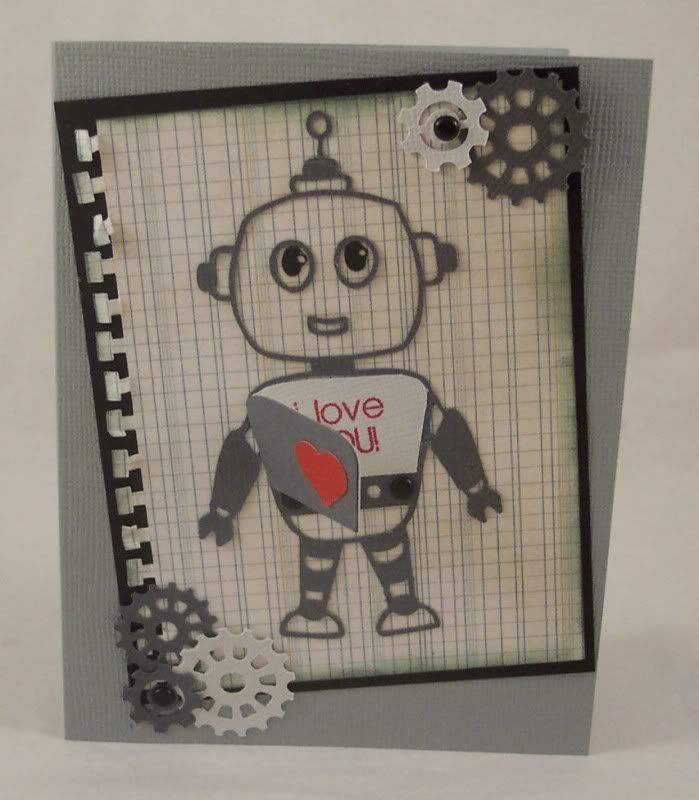
*BEEB BOOP BEEB* Here’s a cute Robot card I made with die cuts from my Silhouette. I made a hinge in his chest so it opens up with a stamped “I love you” inside. I added brads for his “bolts”. I love the notebook edge die, isn’t it cool? All die cuts are from Silhouette, pattern paper from My Minds Eye, the stamp sentiment is from The Stamps of Life.
Tags: card, cards, die cuts, die cutting, dies, i love you, my mind's eye, robot, silhouette, the stamps of life
Posted in Greeting Cards and Tags | No Comments »
August 19th, 2011
This card is for the latest challenge over at Lawnscaping. This time around the challenge is a one layer card, wow, that’s a tough one 🙂 I needed to make a card for my stepdad’s birthday so I thought I make this card for him.
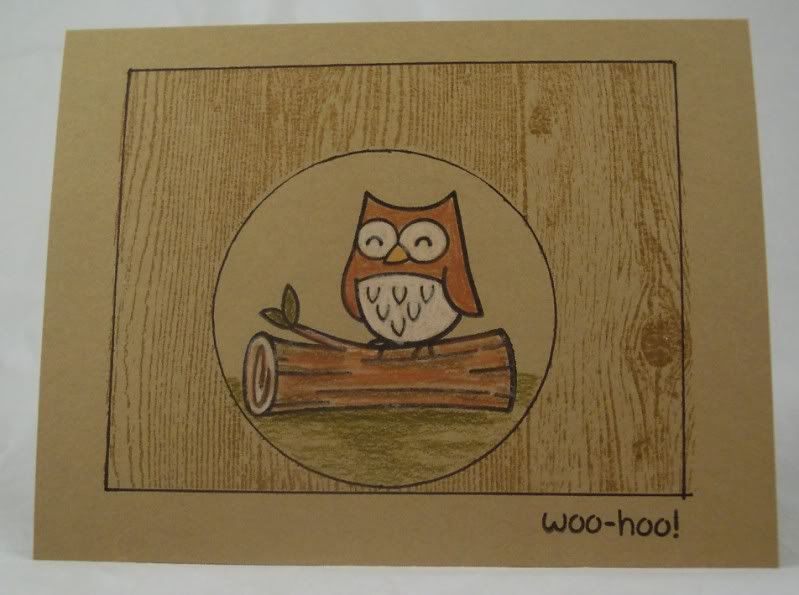
I think masking is a good way to add depth without actually adding layers. For my card I used a craft cardstock base and stamped the owl and tree trunk from the Lawn Fawn Critters of the Forest set and colored them with Prismacolor pencils. I then used a masking material from Stampendous and die cut a circle and placed that over the owl and then stamped the wood stamp from Stampabilities over top. To add more depth and ground it a bit better I used a thin black marker to go around the opening and edges of the wood design. I also added the sentiment from the same set. It’s a little more clean and simple than I normally do but I think it’s fun and masculine too.
Yeah! This card won an Honorable Gnome mention!
Tags: card, challenge, clean and simple, forest, lawn fawn, lawnscaping, masking, owl, stamp, stamped, stamping, stamps, wood
Posted in Greeting Cards and Tags | 3 Comments »
August 9th, 2011
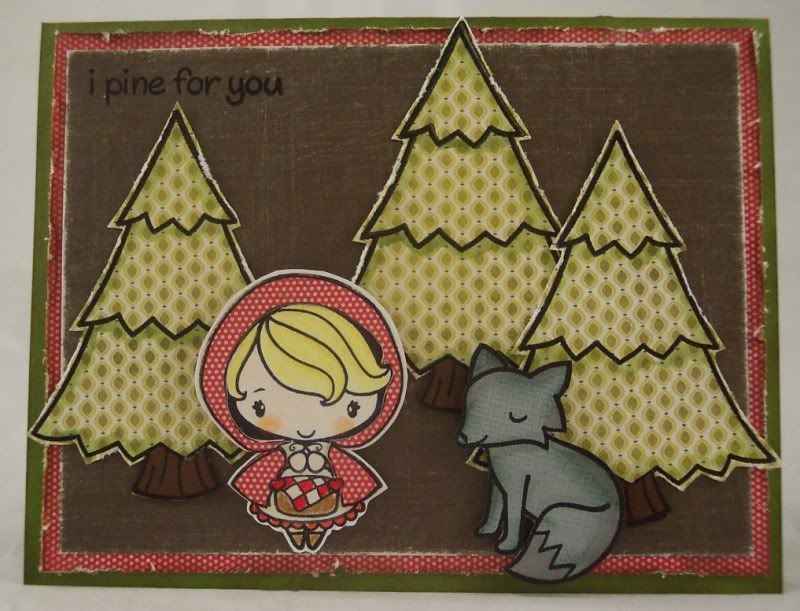
Here’s my latest card for the Lawnscaping challenge. The theme this time around is distressing, right up my alley! I wanted to make a Little Red Ridding Hood card so I used stamps from the Lawn Fawn “Critters in the Forest” set, turning the fox into the wolf and Red is from The Greeting Farm. To get my distressed look I inked up the edges of a lot of the paper and stamped images. I also used a distressing tool to rough up the edges of the trees and red polka dot paper. The brown background is a white core cardstock that I sanded. I like how this card is a little sinister, the wolf is pining for little Miss Hood. 😉
Tags: card, challenge, distress, forest, greeting, lawn fawn, lawnscaping, red ridding hood, stamped, wolf
Posted in Greeting Cards and Tags | 4 Comments »
August 3rd, 2011
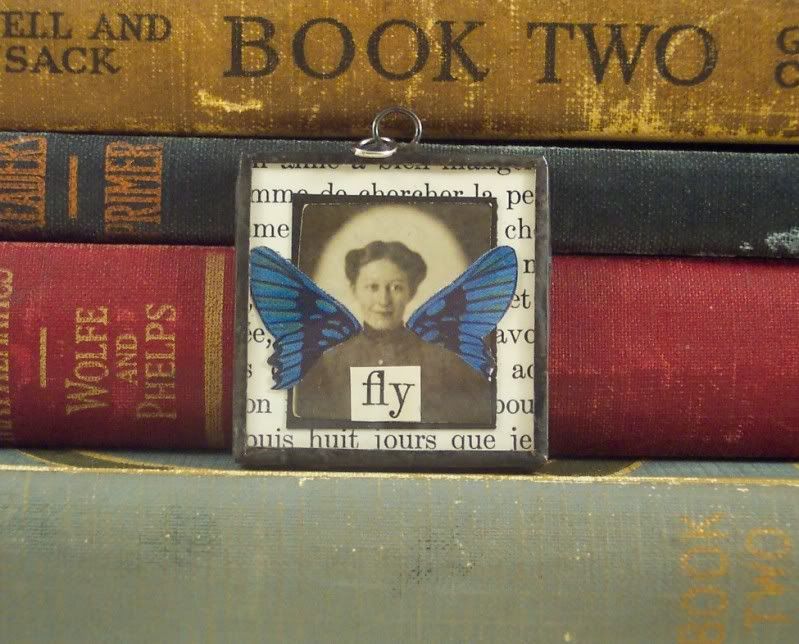
A while ago I had found some lovely small vintage photos at an antique store. I think they must have been a type of model shot, some had the same girls in different outfits. They are the perfect size for jewelry. I turned this pretty girl into a fairy by adding blue wings to her. I didn’t want to cut the actual photo so I cut the edge of the wings to match her shoulders and applied them onto the photo. I also added the word “fly” from a vintage book and mounted her on vintage French book paper. The tiny collage is sandwiched between glass and soldered around the edges. Because the photo is black and white I added black patina to the solder to pull everything together.
Tags: blue, collage, fairy, girl, jewelry, mixed media, pendant, photo, photograph, solder, soldered, vintage, wings, woman
Posted in Collage Jewelry | No Comments »
July 19th, 2011
What’s that? The sounds of a Cricut?? That’s right, I just got a brand new Cricut Expression 2! I got it to review for Craft Gossip, you can read my complete review over there. (We are also giving one away, details in the link).
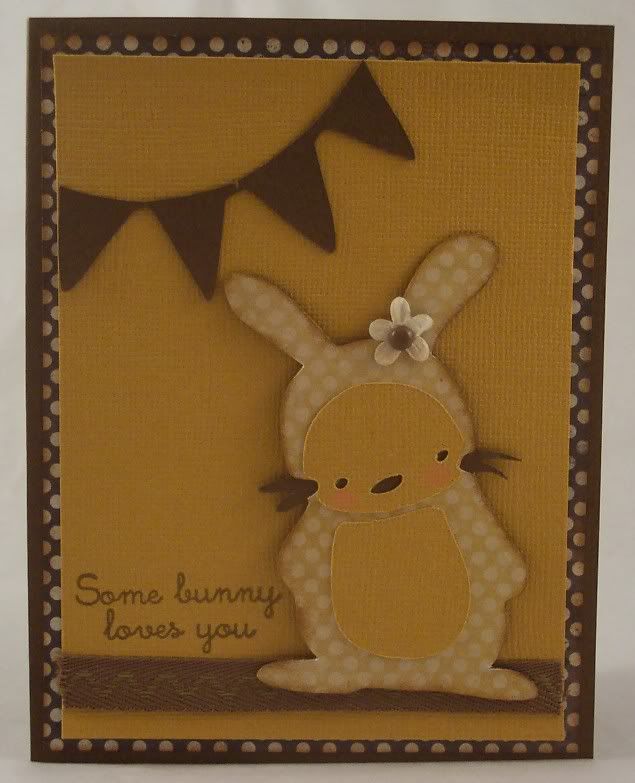
So I wanted to share the projects I made with it. The first is a card made using the bunny and banner from the Just a Note cartridge. The stamp is from CTMH.
This is the first scrapbook page I’ve made in quite some time, but since this machine cuts 12″ x 12″ I just had to make one 🙂 It features pictures of my husband and his mom’s sweet dog Sofie who passed away recently, the whole family misses her a lot, she was a wonderful dog! Isn’t that die cut doggie so cute? It’s from The American Alpha. cartridge, the rest of the large background shapes and tags are from the Essentials cartridge.

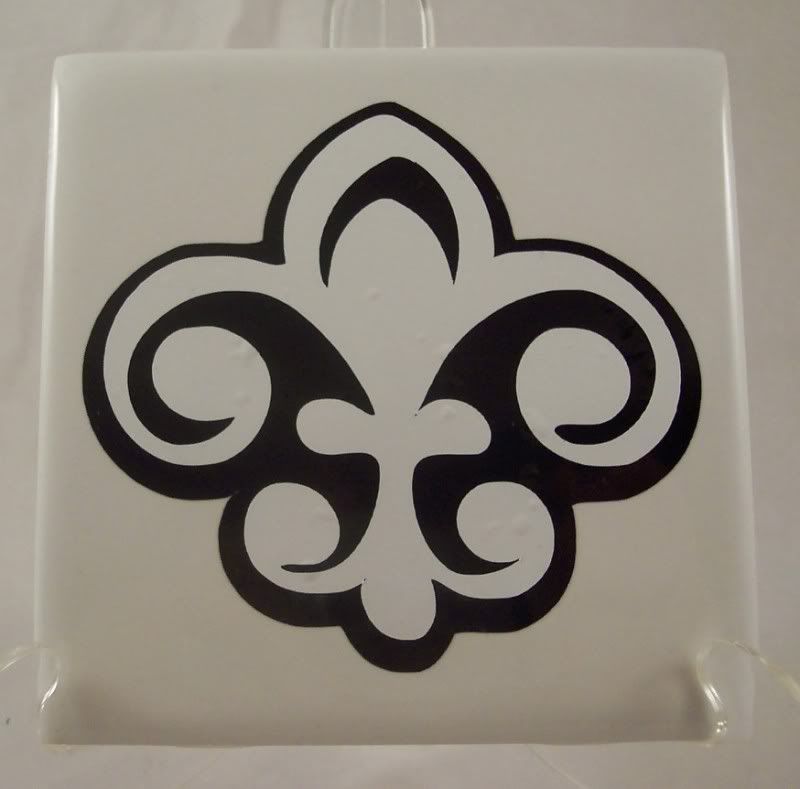
This last one is a coaster, I got an inexpensive tile from the hardware store and cut black and white vinyl in the fleur de lis shapes from the Essentials cartridge. I was really impressed at how well this machine cut thick Bazzil cardstock and vinyl.
Tags: bunny, card, coaster, cricut, die cut, die cutting, dog, doggie, fleur de lis, paper crafts, rabbit, scrapbook page, tile, vinyl
Posted in Greeting Cards and Tags | No Comments »
July 14th, 2011
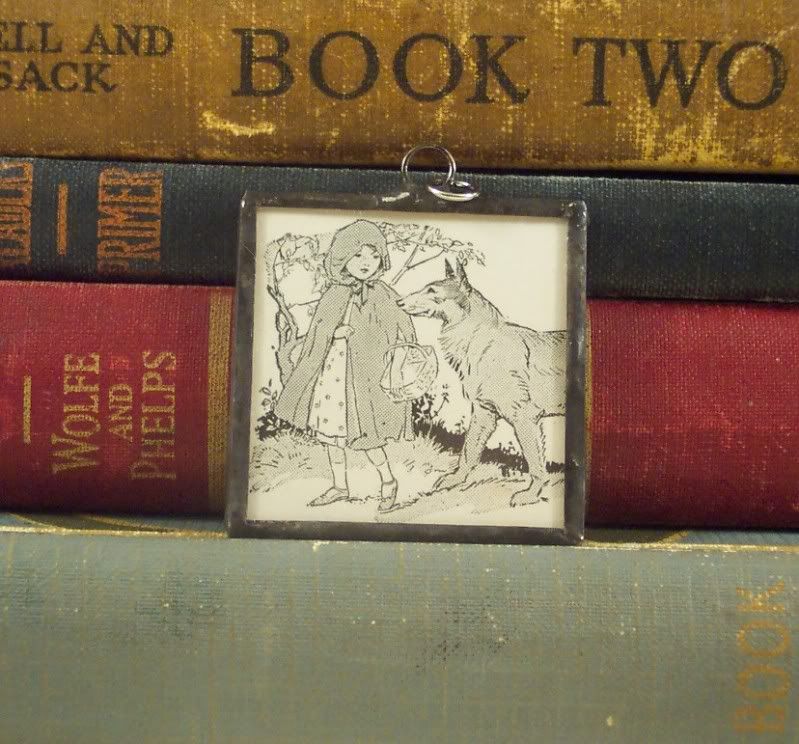
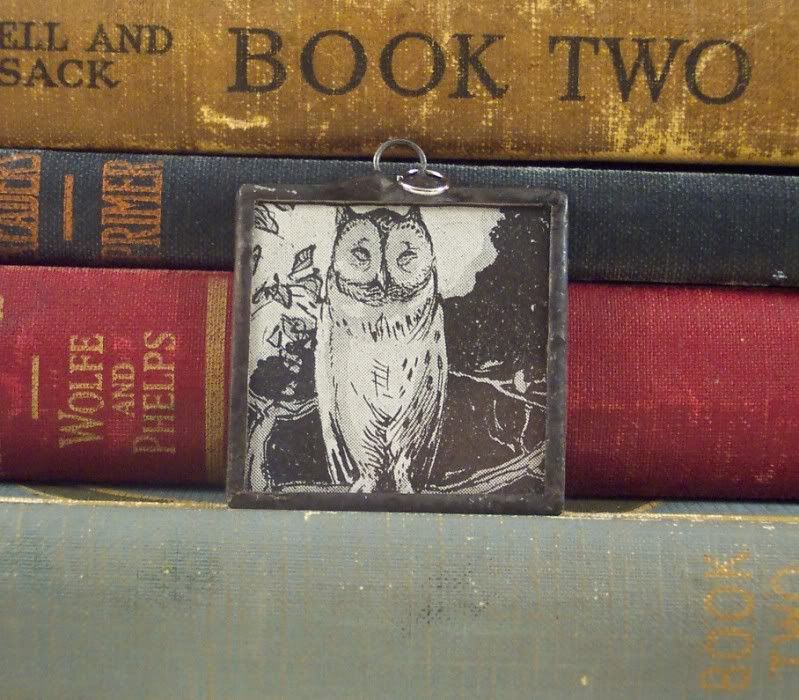
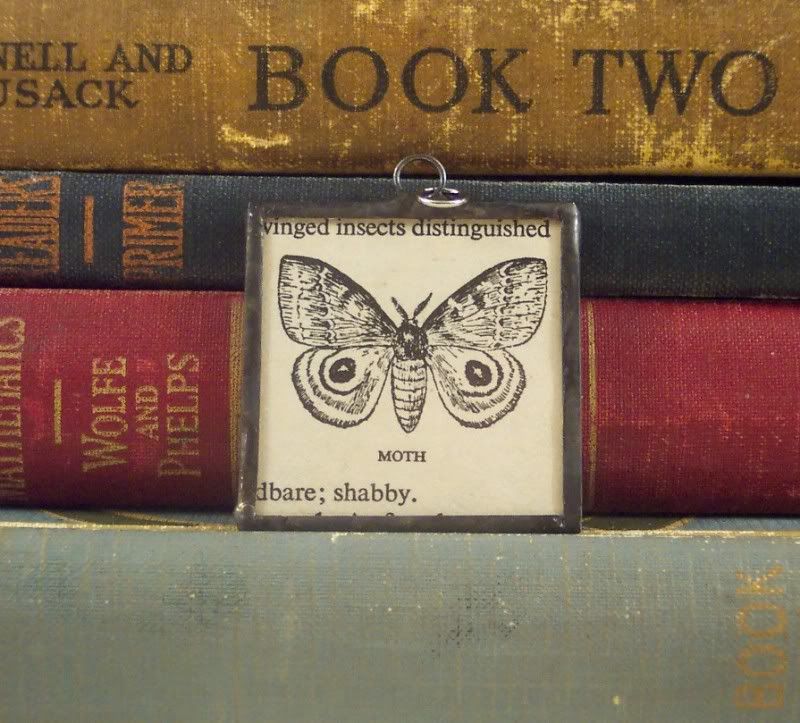
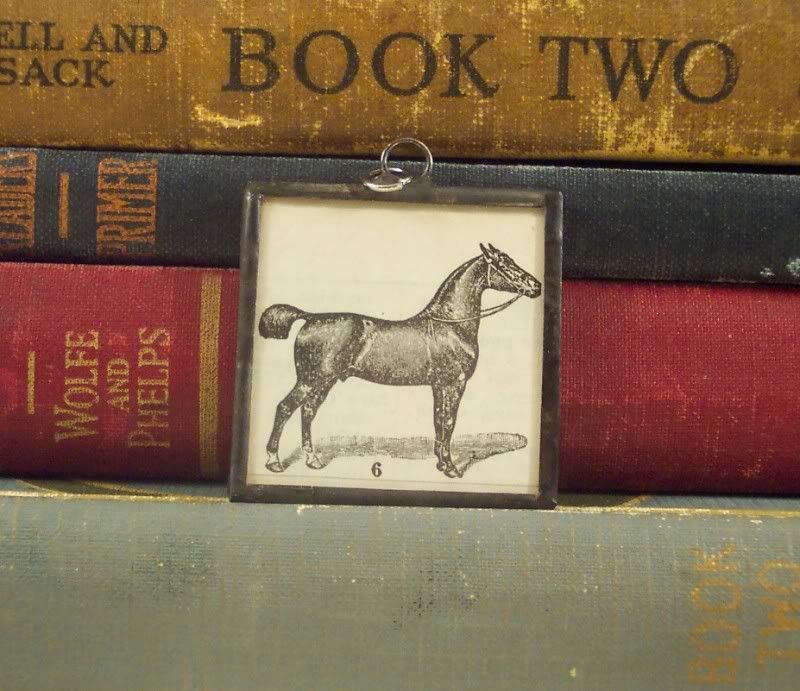
I recently got a wonderful children’s book from 1914, considering it’s nearly 100 years old the pages were still in pretty great shape. It has some wonderful color and black and white illustrations in it. I think adding black patina to the soldering on these pendants just pulls them together nicely and adds to the aged look.
I’m in love with this Red Ridding Hood illustration, I put “what great eyes you have” on the back.
Isn’t this owl really cool? He says “who” on the back.
These next two pendants are from a vintage dictionary. I think this moth is so cool. The horse is part of a series, there was a large page in the dictionary with lots of different horse breeds so I turned each one into a pendant, the name of the breed is on the back. The rest of these pendants can be found in Midway Ky at the Damselfly shop on Main Street, they come on a nice black velvet necklace. The rest of the pendants in this post are now in my Etsy shop.
Posted in Collage Jewelry | No Comments »
July 9th, 2011
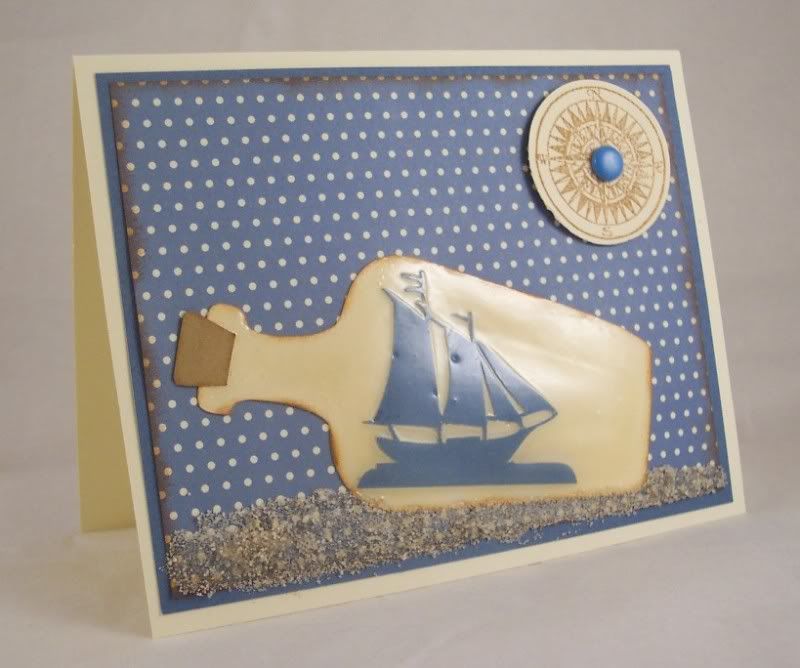
I made this card for my brother in law. He enjoys model building and we got him a fun ship in a bottle kit for his birthday so I thought I’d make a matching card. The ship and bottle shapes are both from Silhouette, the compass stamp is from Judi Kins, pattern paper is My Mind’s Eye. I added real sand to the card and covered the bottle in Glossy Accents to give it a real glass look.
Posted in Greeting Cards and Tags | No Comments »
July 5th, 2011
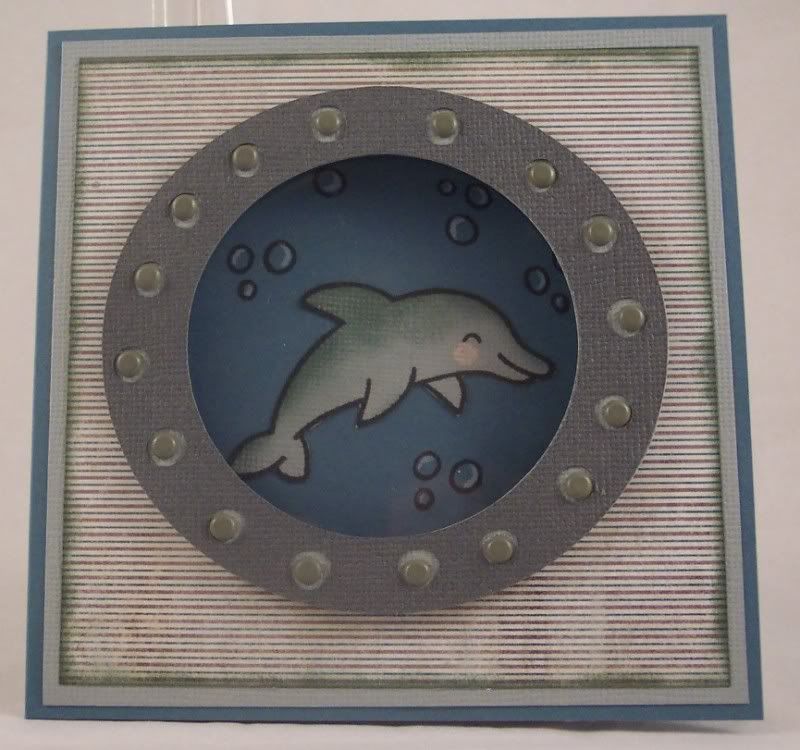
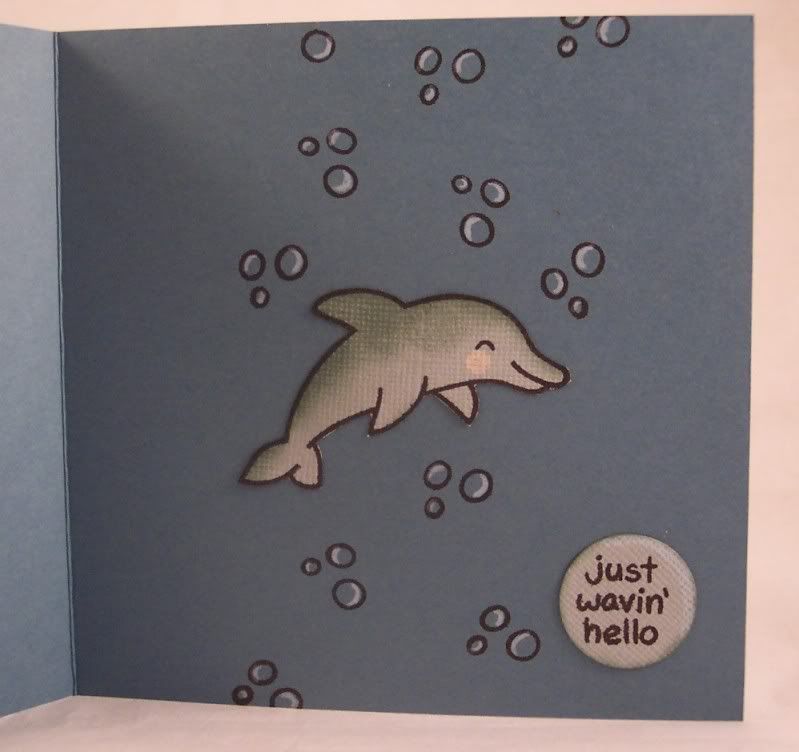
The latest Lawnscaping challenge theme is “Don’t forget the inside”. I usually do and just stamp a sentiment on the inside of my cards 🙂 On the front of the card I used my Silhouette to cut an SVG from Lettering Delights, it’s part of a submarine, I just enlarged the porthole and cut only it out. I added grey brads for the bolts and a clear transparency sheet underneath for the “glass”. On the inside is the dolphin from the Lawn Fawn “Critters of the Sea” set, along with bubbles and the sentiment.
Tags: card, dolphin, greeting, lawn fawn, lawnscaping, ocean, porthole, sea, stamping, stamps, submarine, summer, under water
Posted in Greeting Cards and Tags | 6 Comments »
July 1st, 2011
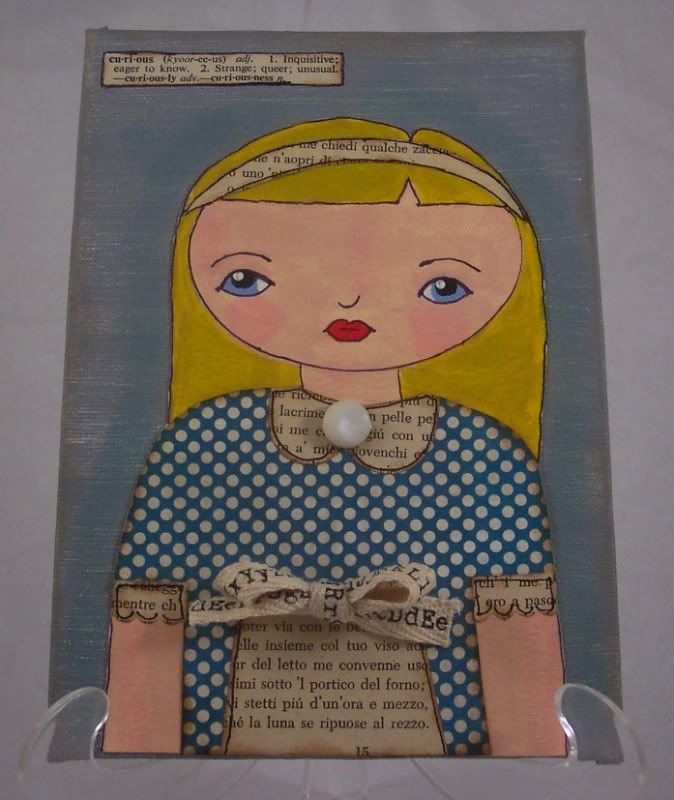
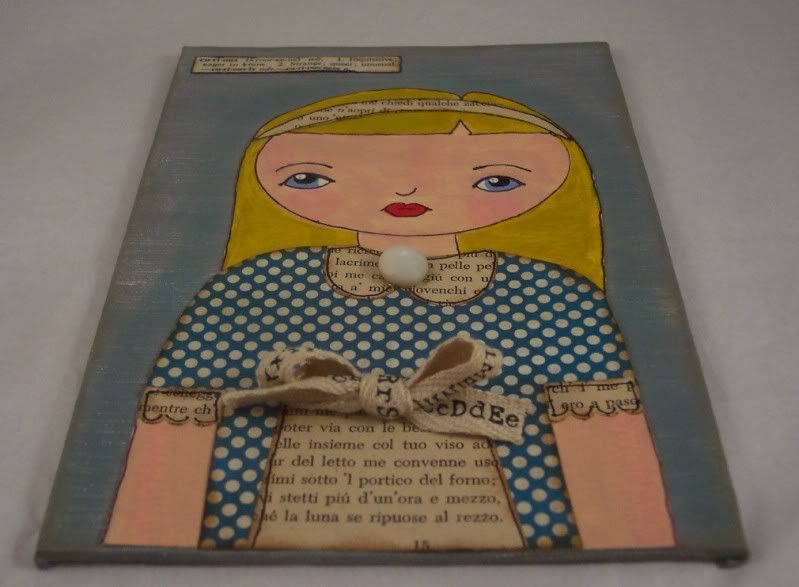
For while I’ve been admiring an art style that I can only describe as “primitive mixed media girls”. It’s a mixture of paint, paper, embellishments, etc. hand draw and cut into the shapes of girls with a very “prim” look. I’ve decided even though I don’t think I’m very proficient at drawing (or even painting) that I’d like to give this style a go. This is my first attempt at it, so please don’t be too harsh 🙂 I’m pretty happy with the results for a first try, I need to work on my painting techniques for sure!
Since I love Alice in Wonderland so much I thought she’d be a good place to start. On watercolor paper I drew the basic shape of the girl with a pencil then painted her in with acrylic paints and highlighted with Gelato sticks. I then cut out her clothes, glued them down and traced over all the edges with a fine tip black micron pen. Then I cut her out adding a bow and vintage button. Next I glued her to a painted canvas, adding the definition for “curious” cut from a vintage dictionary.
Tags: , alice, canvas, collage, curious, cut out, mixed media, paint, paper, prim, primative, wonderland
Posted in 3D and Assemblage, Collages on Canvas, Misc. Collage | No Comments »


