It’s Time for the HO-HO-HOlidays!

December 2nd, 2009

I can’t believe it’s already December!

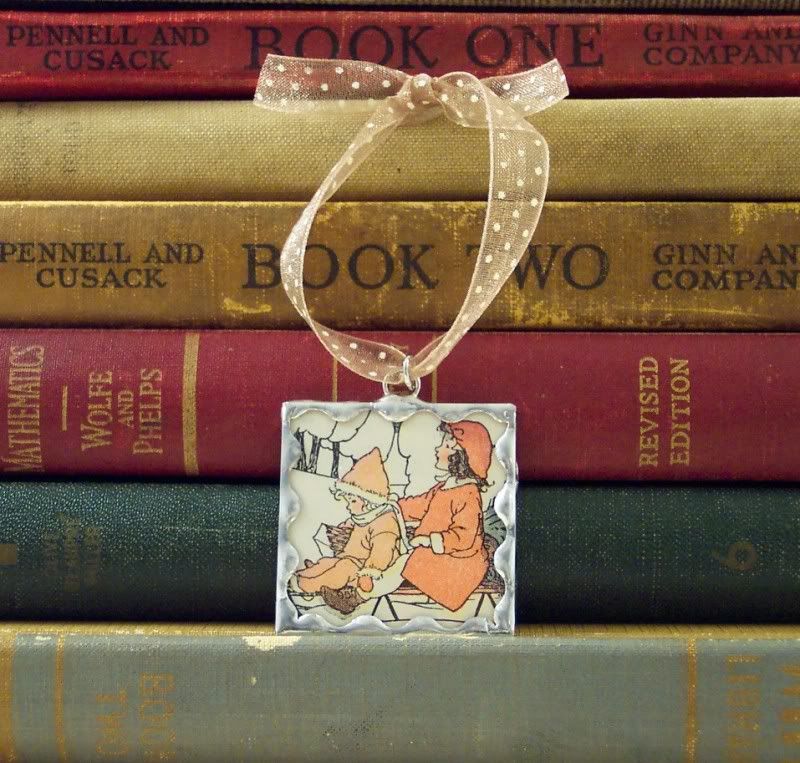
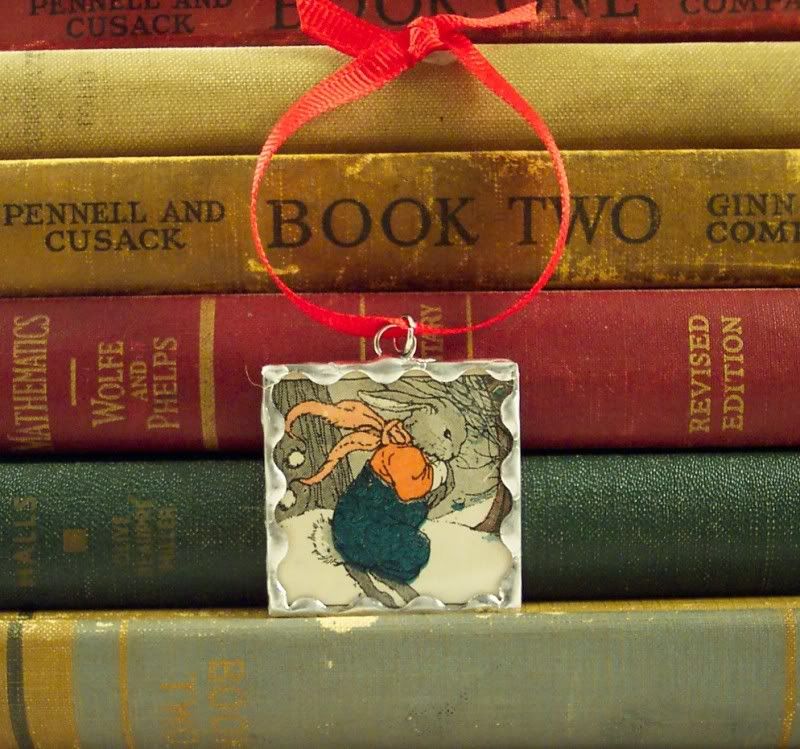
I’ve been working on some soldered holiday ornaments, here’s a few made with vintage children’s illustrations. I particularly love the bunny, the back of it says “snow bunny” šŸ™‚

Photobucket

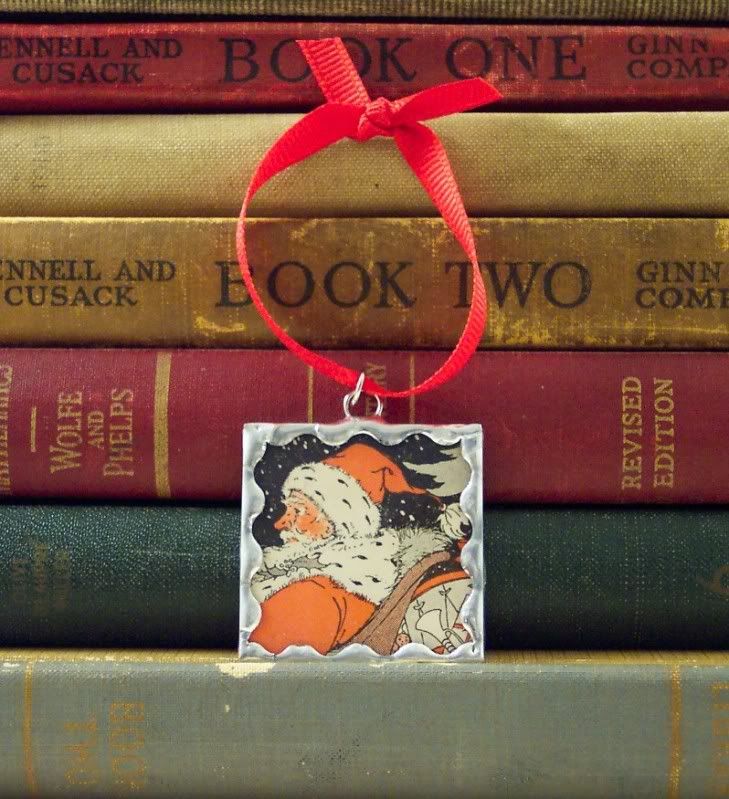
isn’t this Santa illustration great? The back says “I believe in Santa Claus”:
Photobucket

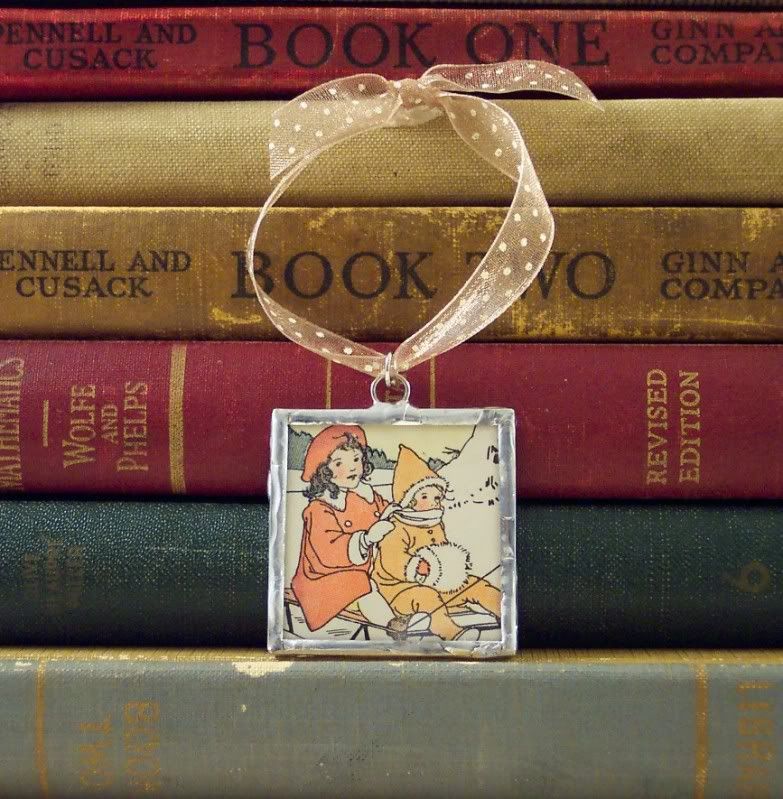
and this one is double sided with two illustrations of little girls on a sled:
Photobucket

Photobucket

these are all currently available in my Etsy shop

Get Felt Up!

November 17th, 2009

Sorry, just couldn’t resist that title šŸ˜‰

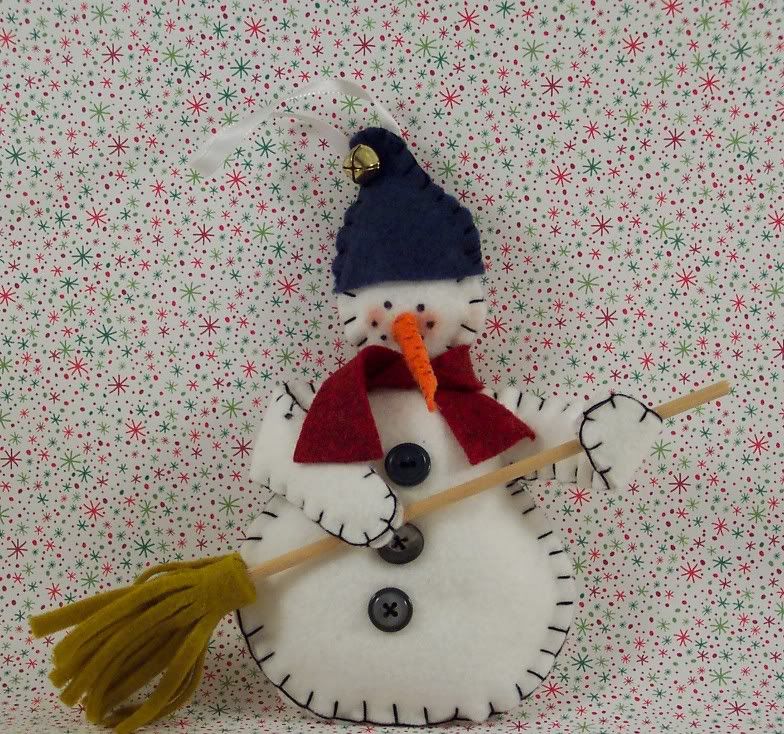
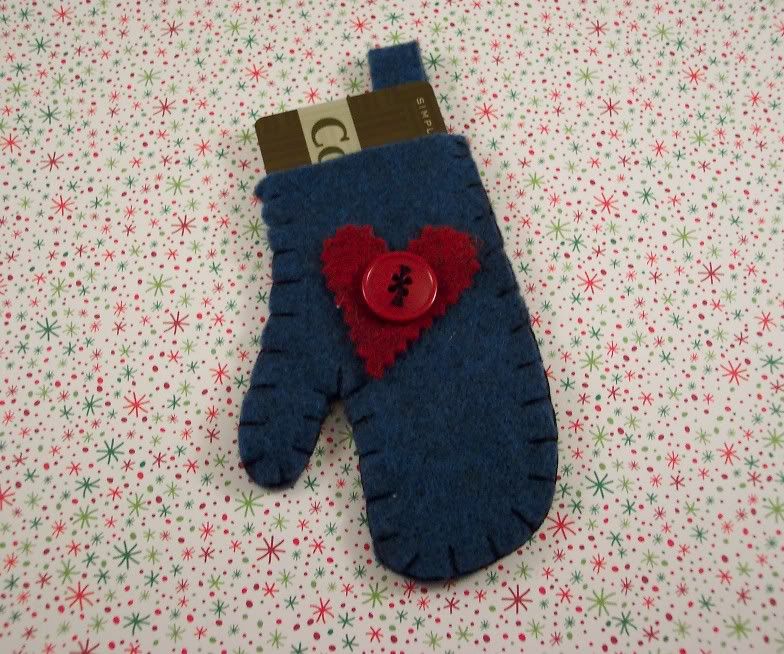
Continuing my work with felt here’s a couple of holiday ornament I’ve made. They are all felt that have been blanket stitched around the edges with embroidery floss.

This first is a Snowman ornament, he’s stuffed with poly fill,Ā I made him a broom using a wooden dowel and felt. I especially love the nose, I rolled orange felt into a cone shape and glued it on.

Photobucket

This next one is a felt mitten, it’s the perfect size to hold a gift card or tinyĀ gift, use as aĀ tag on a present or just hang on the tree.

Photobucket

I’ve made several different colors of mittens and snowmen in different color hats and scarves, they’ll all beĀ available in my Etsy shop.

Stitch Me In

October 30th, 2009

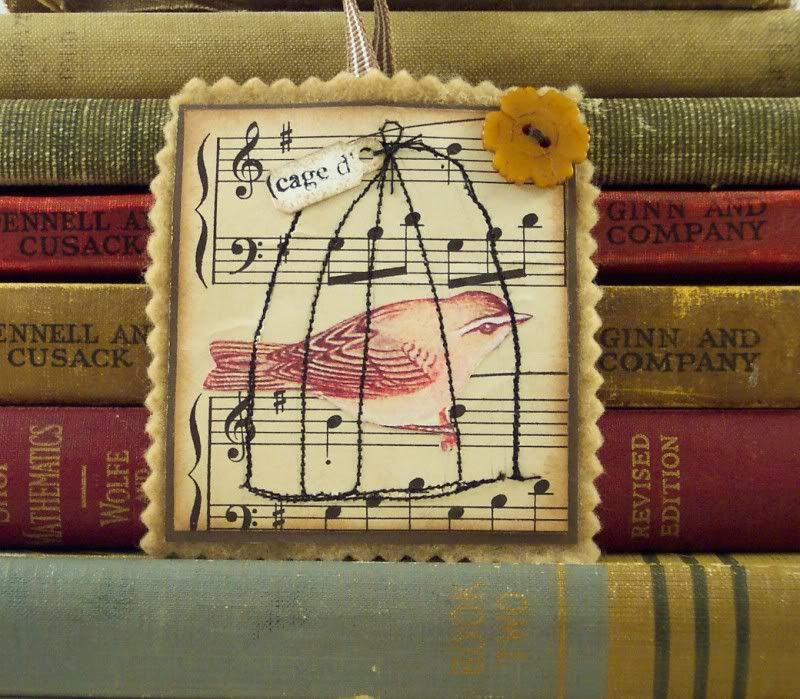
Here’s another paper and felt collage, this time I wanted to try something new with my sewing machine so I adhered a bird onto vintage music paper and then lightly sketched a bird cage on the paper and thenĀ sewed over my pencils lines with my sewing machine, I think it turned out pretty cool and I’ll be trying this technique more often. It was a little nerve wracking knowing if I totally messed up I couldn’t fix it but I think with some more practice I can do lots more “free hand” stitching.

Photobucket

Something a Little Different

October 26th, 2009

I recently got a new book at the library called “Pretty Little Felts”, the author, Julie CollingsĀ had made some amazing things using felt, including some great paper and felt ornaments. I was really inspired by them and decided to put my own twist on them and give some a try myself.

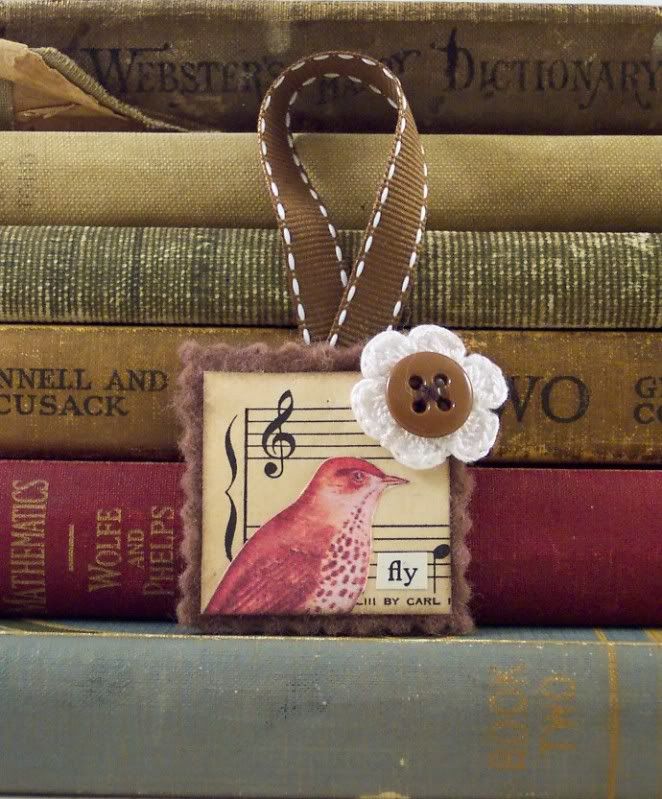
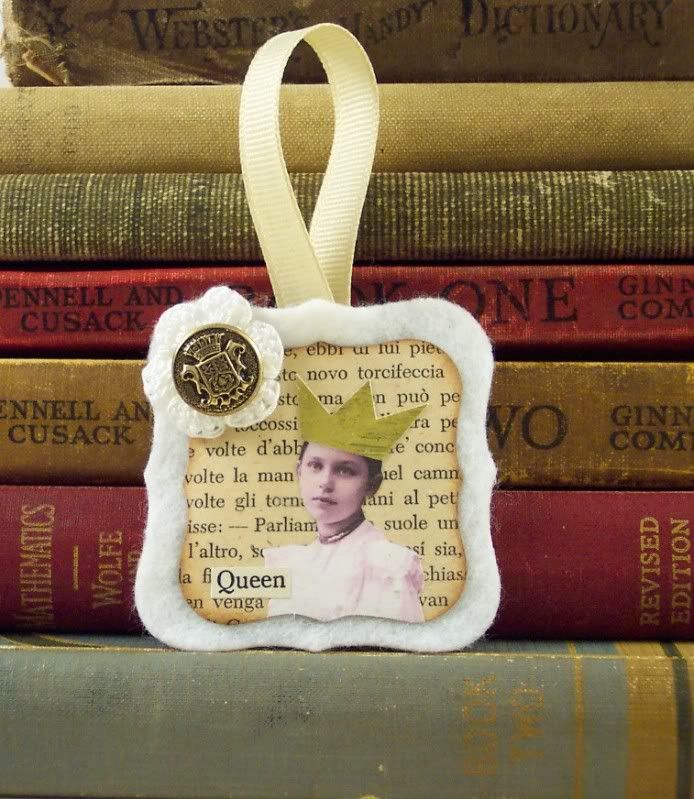
I made some tiny collages, very similar to what I’ve done in the past for other projects using vintage papers as backgrounds and adding other collage images and words on top, I then sealed the paperĀ using gel medium, I stitched a loop of ribbon to my felt shapes and then adhered the paper collages on top. I then added embellishments like crocheted flowers and vintage buttons. I’m really happy with how they turned out šŸ™‚

This one is a favorite theme of mine, a bird:

Photobucket

This one is a pretty little girl I tunred into a Queen, reminds me of the White Queen from Alice in Wonderland:

Photobucket

these are both on saleĀ here in my Etsy shopĀ  right now, look for more of these coming soon:)

Halloween SALE!!

October 23rd, 2009

I’m currently having a sale in my Etsy shop. All remaining Halloween items are 30% off for a limited time!!

Click here to be taken directly to the sale section: http://www.etsy.com/shop.php?user_id=5328910Ā§ion_id=6508764

Thanks and I promise to have new art work posted *very* soon!

Halloween Tussy Mussy Project

October 1st, 2009

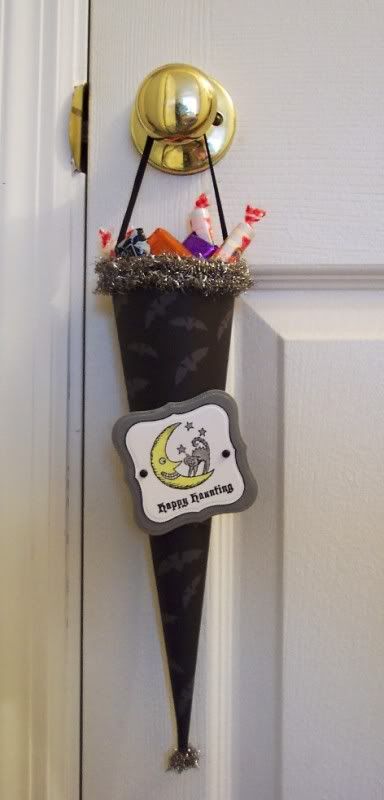
I thought it would be fun to share the instructions for a project I just finished. It’s a paper Tussy Mussy for Halloween. Tussy Mussy’s are a Victorian era hanging cone usually for flowers but this one holds candy.
Photobucket

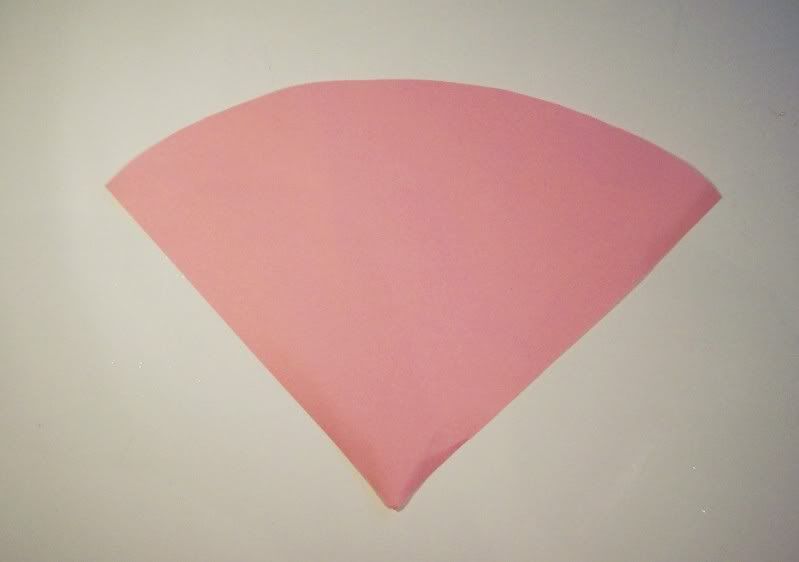
Start with a 12×12 piece of pattern paper or cardstock, mine has bats on it, flip it to the back side and turn it so one corner faces towards you and with a pencil draw a half circle from the left corner to the right corner then cut along your lines. Here’s a picture of what it should look like.
Photobucket

Next apply adhesive down one long side of the back of the cut paper and roll the other side toward the adhesive forming a cone shape.

Next apply adhesive around the top outside opening of the cone and wrap tinsel garland around, I wrapped twice.

Cut a small piece of the tinsel garland and roll it into a ball, adhere it to the bottom of the cone with a strong adhesive.

Next attach a 7″ long piece of ribbon inside the top of the cone, use a strong adhesive or brads to attach it.

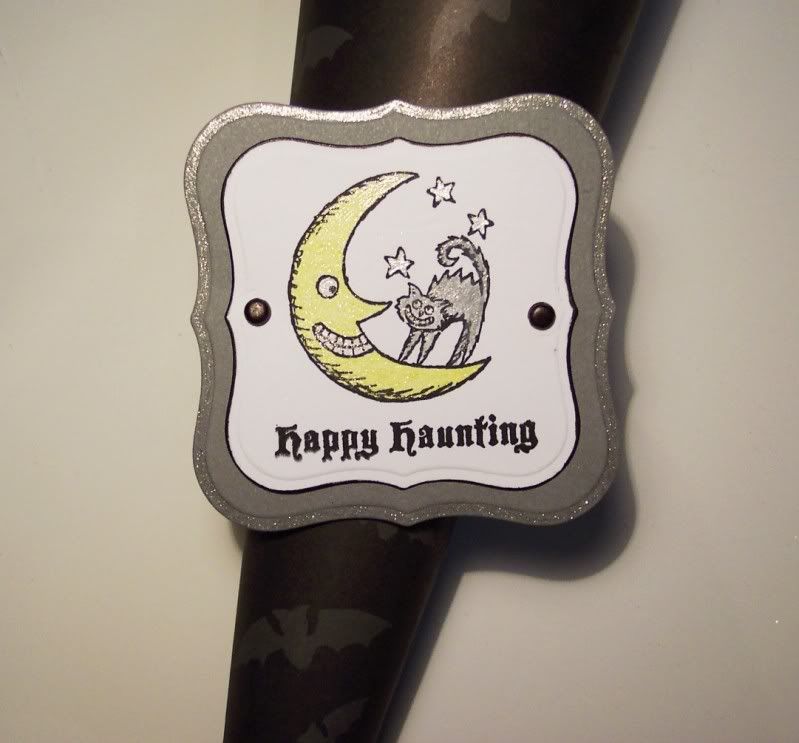
Next add a stamped decoration or tag to the front, I used my Cuttlebug and Spellbinders Tag#1 to die cut and emboss a grey tag and a smaller white tag. I stamped a cute Moon and Kitty stamp on the white tag and colored it with glitter gel pens and edged it with a black marker, then layered it onto the grey tag and colored around the edges of the grey tag with a glitter pen too. I also added brads to the tagĀ forĀ some embellishment and then attached it to the cone with foam dots.
Photobucket

Fill with candy and hang it on someone specials door!

If you make one too please send me a link!
Bird Cage Dress

September 23rd, 2009

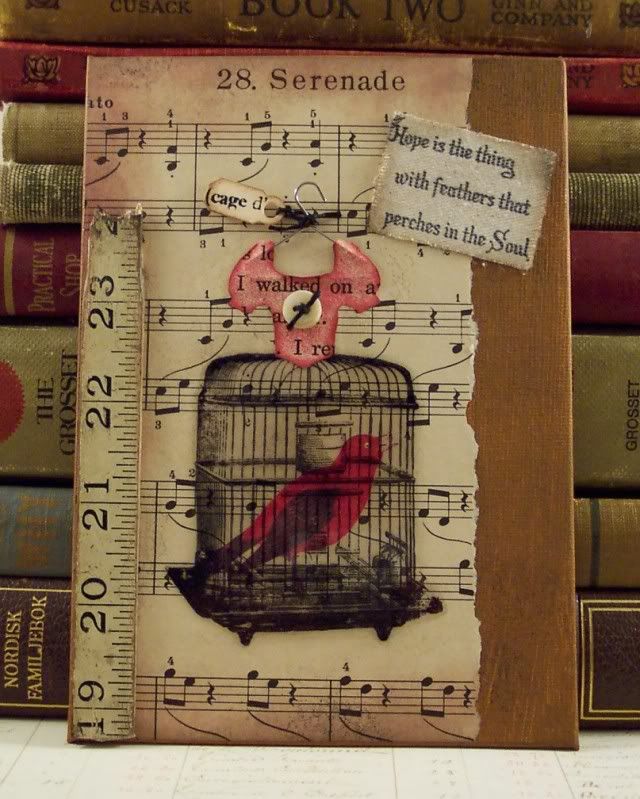
This recent collage of mine was very influenced by mixed media artist Catherine Moore, her mixture of every day items to make clothing and art dolls is very inspiring to me. I also used the Paper Fashions Fantasy book I gave away recently for the top of the dress and one of the hangers that comes with the book, this shows you can use the book in a very artsy way not just for cute fairytale princesses šŸ™‚

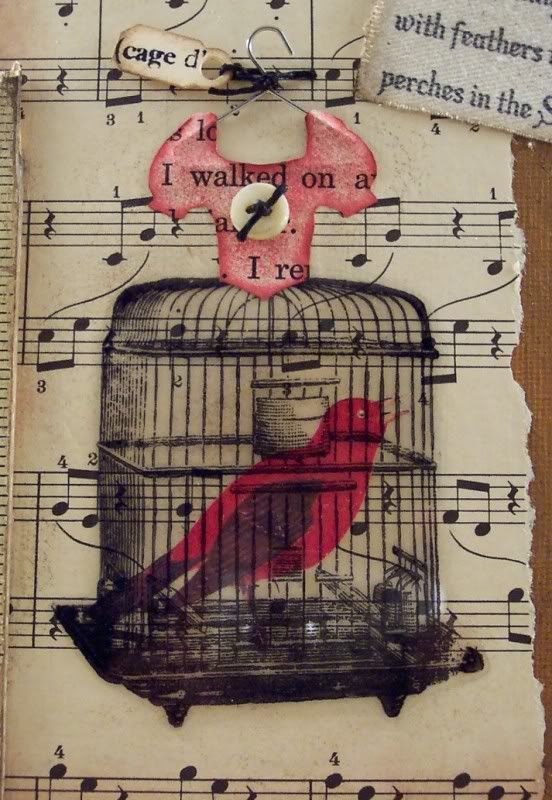
Ā It’s on a 5″ x 7″ canvas boardĀ I painted brown. I made theĀ top of the dress from inked vintage paper with a vintage button tied with hemp string, the skirt of the dress is a bird cage printed on a transparency with a red bird inside. Tied to the hanger with hemp string is a tiny tag that says “(cage ‘d”. The background is vintage music sheet and it’s embellished with a piece of vintage measuring stick and a quote on tattered fabric from Emily Dickinson that says “Hope is the thing with feathers that perches in the Soul”. I’m really happy with the results!

Photobucket

close up of the dress:
Photobucket

Spooky Art Cards

September 21st, 2009

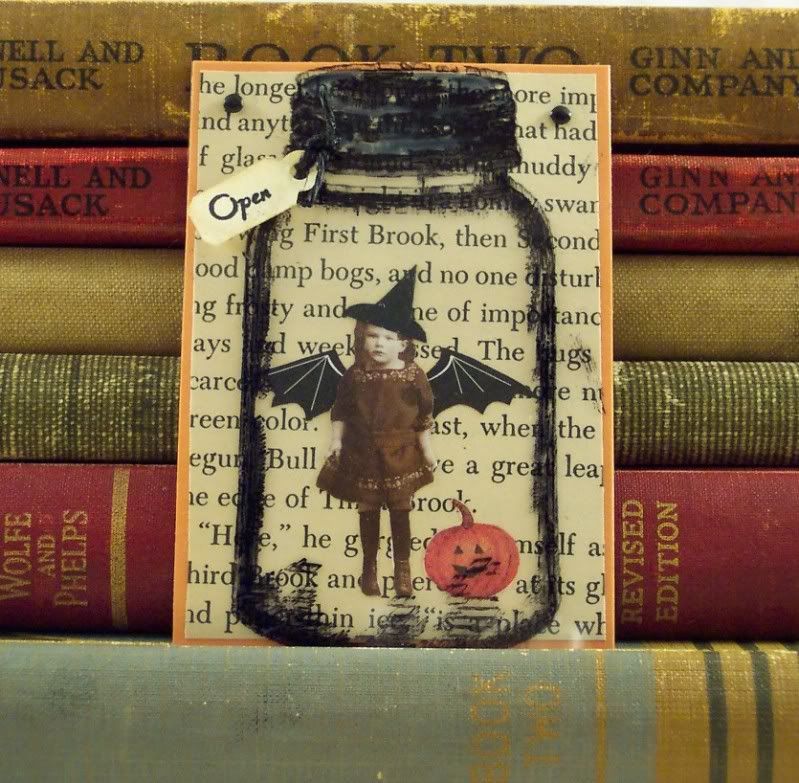
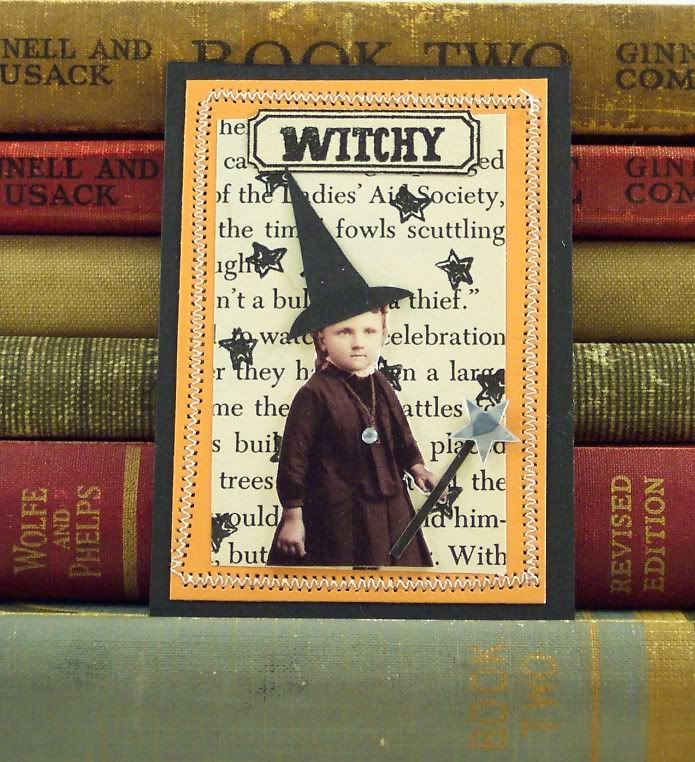
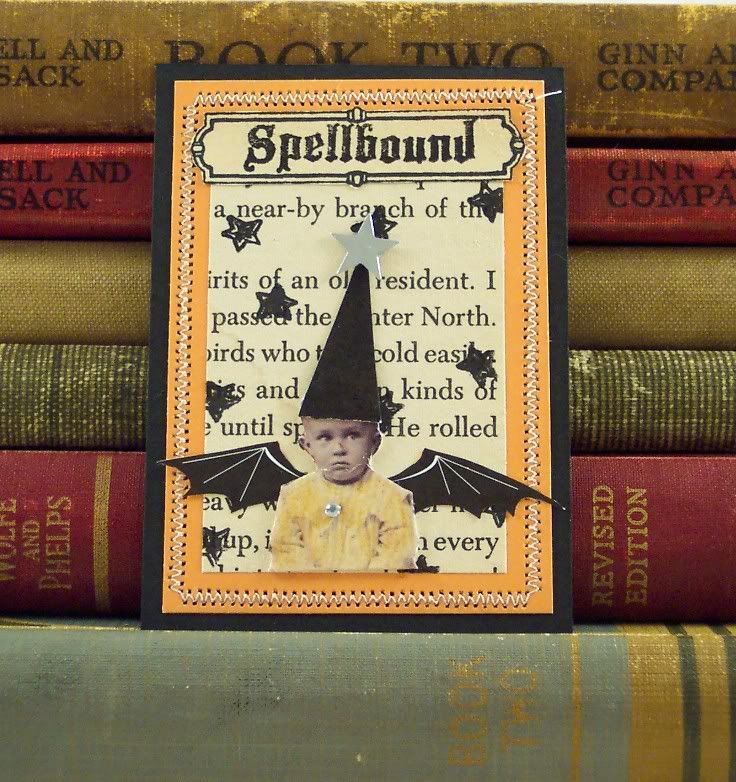
I just finished some fun art cards (atc or aceos measuring 2 1/2 x 3 1/2) for Halloween.

The first is a captured Halloween fairy in a jar, I stamped the jar on transparency and adhered it with tiny brads to vintage book paper and cardstock.

Photobucket

These next two use images from Tim Holtz’ Doo Dad line, I made the little girl a witch and the boy a wizard with bat wings, bothĀ have silver star and rhinestone embellishments and old fashioned stamped labels. They are on backgrounds of vintage book paper with stamped stars and orange and black cardstocks I sewed together on the sewing machine with zig zag stitches.

Photobucket

Photobucket

All of these cards are currently for sale in my Esty shop:Ā  http://www.PisforPaper.etsy.com

And the Winners Are…………….

September 17th, 2009

Congratulations to Jane O’Leary and Barbara Mason, they are the two winners of the Klutz Paper Fashions Fantasy book giveaway!! I’ve sent you both e-mails, please reply with your mailing addresses.

Thanks so much to everyone who entered, it was alot of fun and I hope to do more giveaways in the future!

-Heather

Published Again!

September 16th, 2009

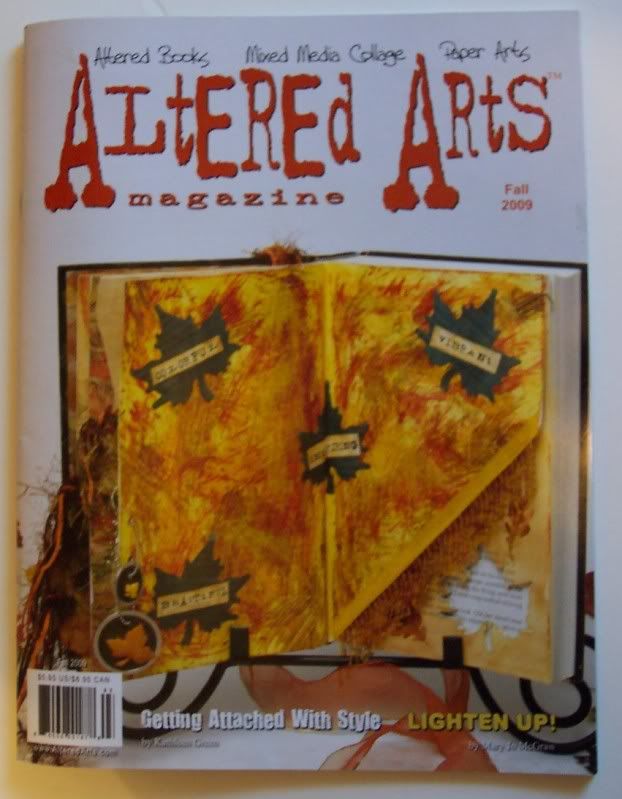
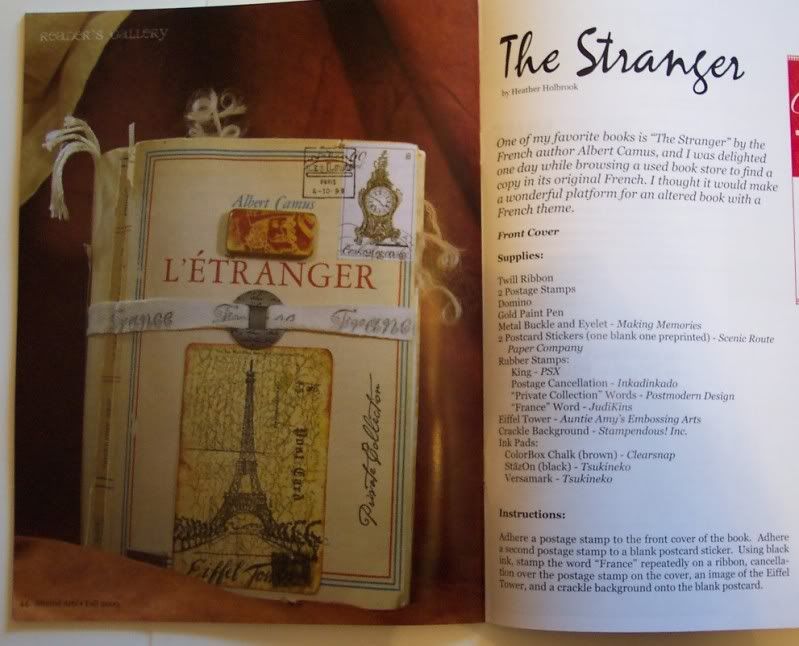
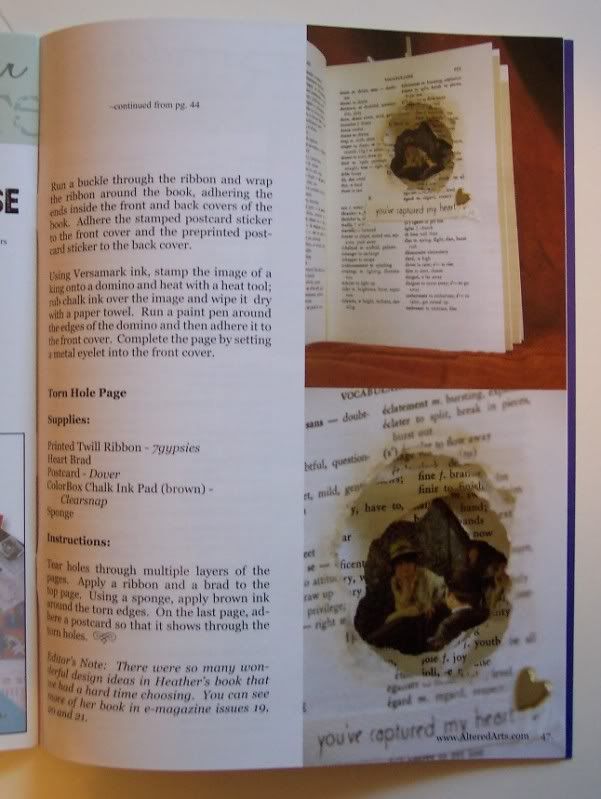
I’m so excited once again to be published in Altered Arts magazine!Ā My French themed altered book isĀ in the Fall 09 issue on pages 44, 45 and 47! There was also a nice editors note saying they had trouble choosing and that more of my book would be published in their e-magazine in issues 19, 20 and 21. I’m really thrilled šŸ™‚

The issue is available now in stores and on-line. For more info on Altered Arts Magazine their website is:Ā  http://www.alteredarts.com/

Photobucket

Photobucket

Photobucket