Knock, Knock… Whooooo’s there?

July 18th, 2008

I’m loving the new trend with Owls! My grandmother, who passed away when I was 13, collected owls and so they always remind me of her:)

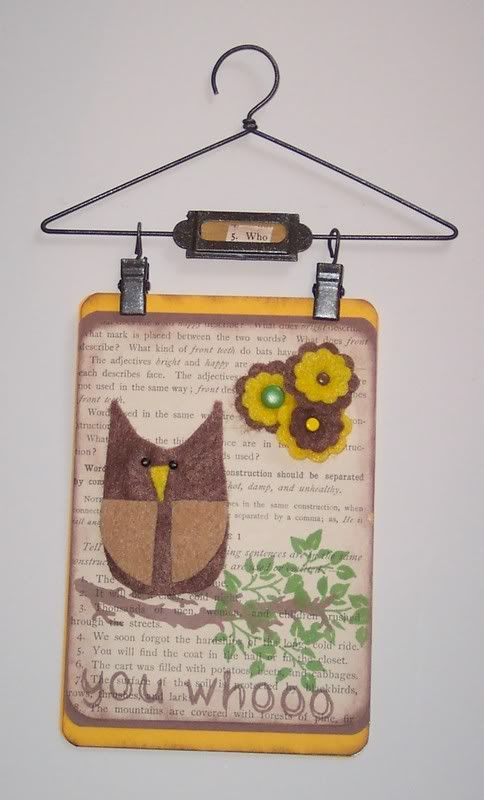
Here’s a postcard collage I did cutting the owl from felt (also a very hot trend right now). The background is cardstock and a page from an old text book, edges inked. The flowers are cut from felt using a Cuttlebug die cutting machine and attached with brads. The branch and leaves are rubber stamps.

Photobucket

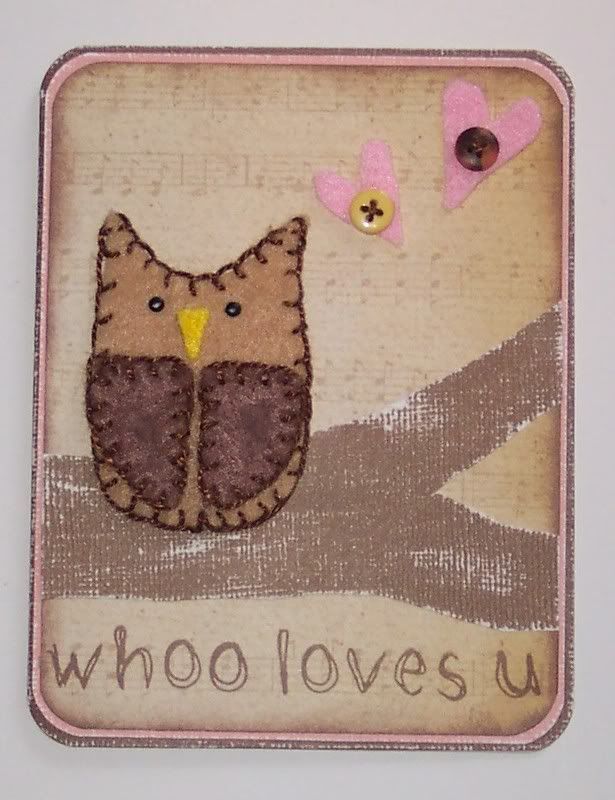
This one is a greeting card. I blanket stitched around the owl this time with pearl cotton, took awhile:) I cut free hand the limb from textured cardstock and sanded it for a more realistic look. The background is cardstock and scrapbook paper that looks like music sheets. The hearts are cut free hand from felt and sewn on through the buttons. The words are done stamps.

Photobucket

Both of these works are now available for sale on my Etsy store!

Christmas In July

July 5th, 2008

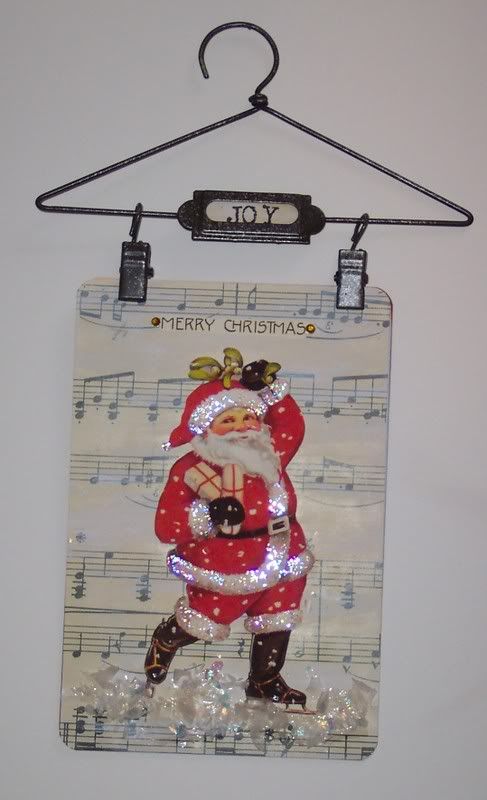
I thought I’d post a couple of holiday postcard collages since Christmas is only about 6 months away now!

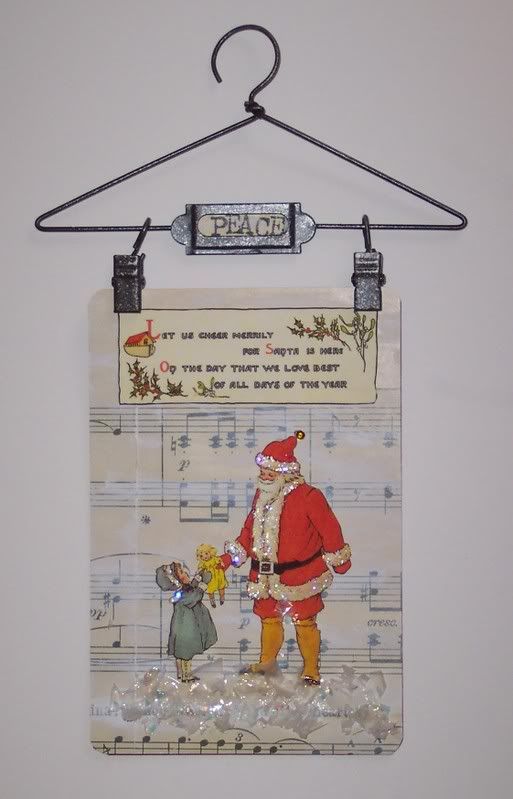
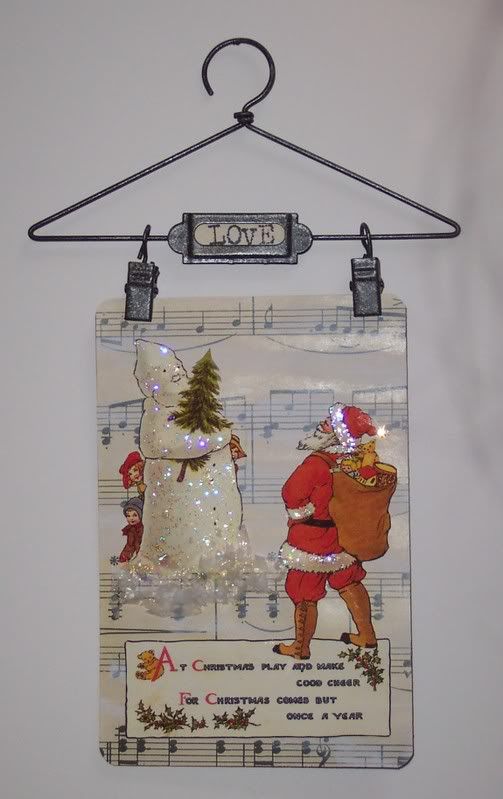
I love the look of these vintage Santa Claus’ that I copied from old postcards. The background is old music sheets with gesso lightly brushed over. The Santa’s coats and hats are trimmed with glitter glue and I took some fake plastic snow (the kind that is glittery and chunky and comes in bags at the craft store) and glued it to the ground for the snow.

Photobucket

Photobucket

Photobucket

More Postcard Art

June 29th, 2008

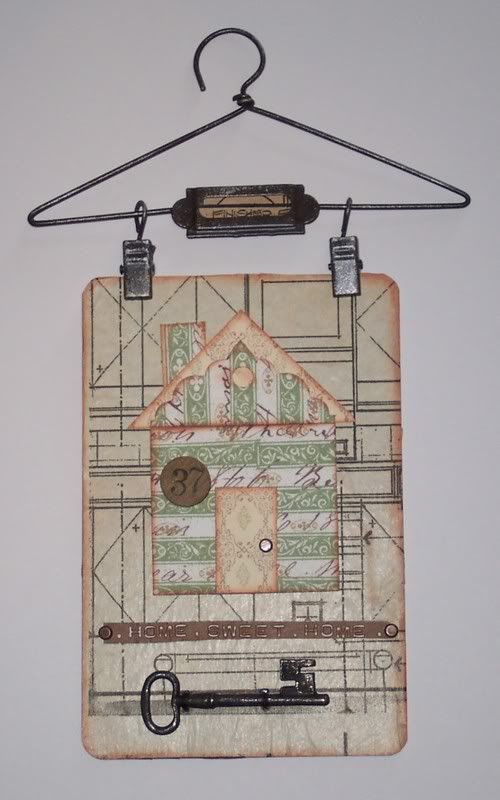
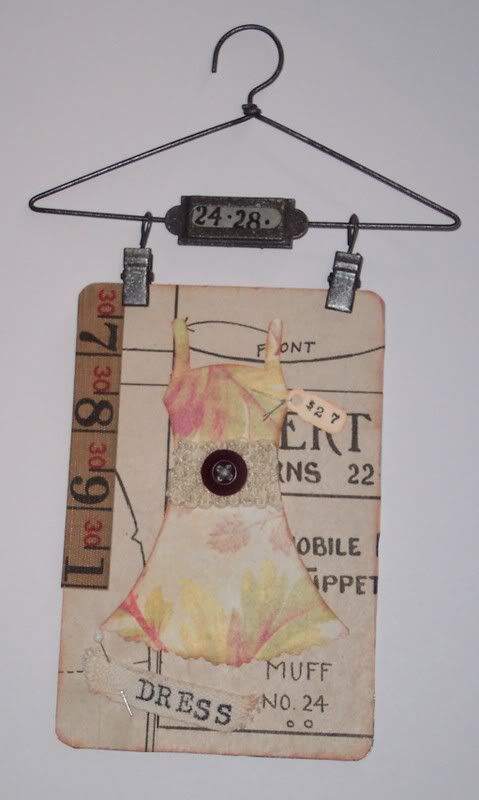
Here’s a couple more collages I’ve done on the fronts of post cards.

This first one is “Home Sweet Home”. I made the house from cutting squares and rectangles from scrapbook papers and tags from Foof-a-la. I love their line, very cool shabby chic stuff! The house number is an old game piece, I sewed on a real key to the bottom. The “Home Sweet Home” words were made on a label maker. I ran a very skinny strip of white core cardstock through the label maker and embossed on the letters than sanded over them to make it stand out more. The background is a tissue paper with house plans printed on it, 7 Gypsies makes these.

Photobucket

This next one is called “My Favorite Dress”. I took a plastic template of a dress and traced it on some paper that was a photocopy of some fabric. I aged it with lots of inks, it was very bright white and red before I started and I wanted it to look older and aged. The lace and button are vintage, as well as the piece from a very old tape measure. The background is another tissue paper from 7 Gypsies with dress making patterns printed on it.

Photobucket

Wear a Square (piece of art)

June 10th, 2008

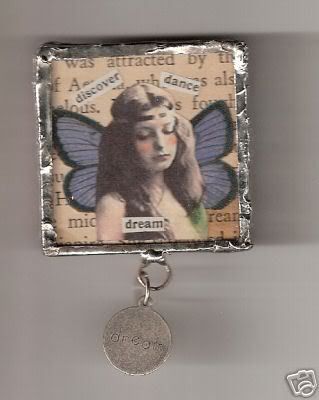
Here’s a few more of my soldered jewelry pieces. These are done on 2×2 squares of cut glass instead of microscope slides. I use the same process of making a small piece of collage art, sandwiching it between the glass and then soldering around the edges. For more info see this earlier post of mine: http://www.pisforpaper.com/?p=16

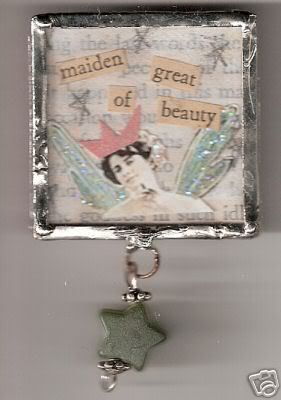
This one is a fairy, I used an image of a girl and mounted wings behind her, it’s on an old book page, text is from an old book as well. I added a silver charm to dangle from the bottom on a jump ring.

Photobucket

Here’s a fairy Queen in her crown, I like the star charm at the botton, it’s made of stone:

Photobucket

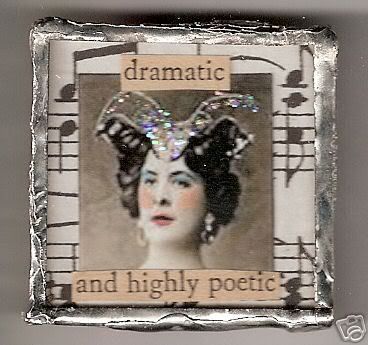
I wanted to do a piece that had some humor to it, I think of her as an older lady on the stage trying to recapture her youth.

Photobucket

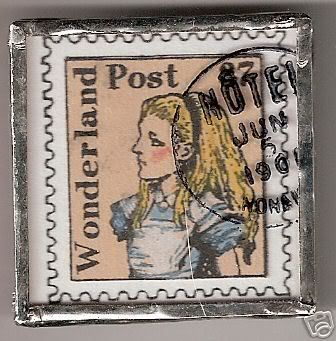
I LOVE Alice in Wonderland, it influences alot of my work, if even in just small subtle ways. This piece is actually stamped, the image of Alice is a rubber stamp I colored with pencils, the postage mark is stamped directly on the glass with Staz-On ink.

Photobucket

All of these pieces are currently for sale, $12 each. E-Mail me at: heavens_40517@yahoo.com if you’re interested in purchasing one.

Beeswax Collages

May 29th, 2008

A while ago I took some wonderful classes with collage artist Mary Jo McGraw. I’ve not taken many classes, I’m pretty much self taught but I learned alot from her and had a great time “playing” with other artists. Take a class sometime, even if you’ve been doing your art for a long time, you can always learn something new and get inspired by other people and their work, you’ll be glad you did.

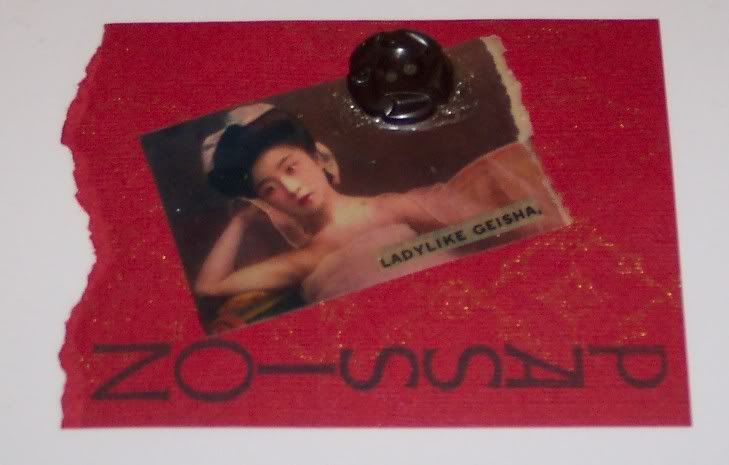
One of the class I took with her was working with beeswax, we took copies of photos, pages from old magazine, etc and dipped them in beeswax. And adhered them to cardstock and added stamping and other embellishments like mica and buttons.

Here are some of the pieces that I made:

Geisha:
Photobucket

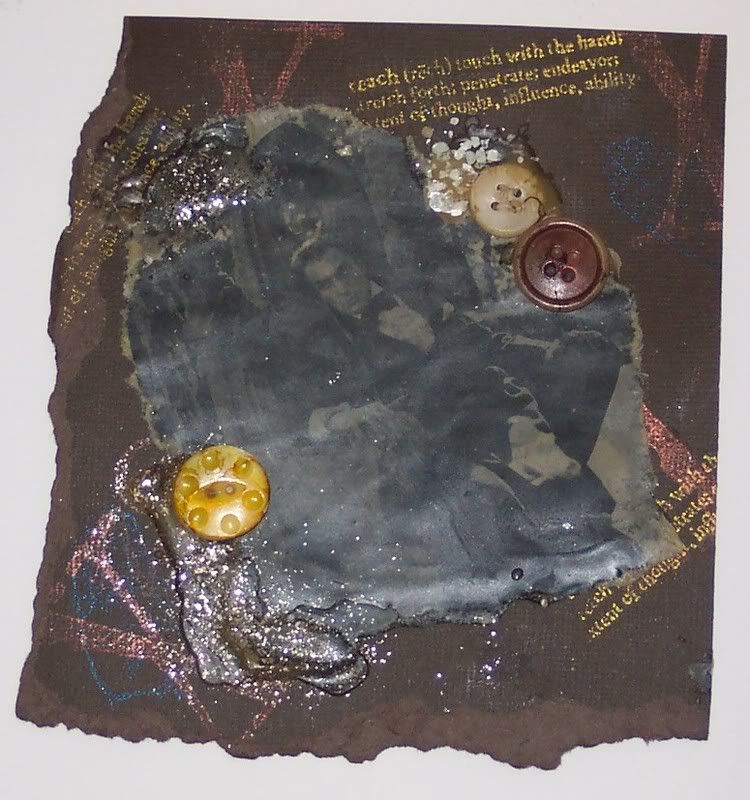
Vincent Price (I love him:)) I re-melted the wax with a heat gun and pushed buttons and mica flakes into the hot wax to adhere them:
Photobucket

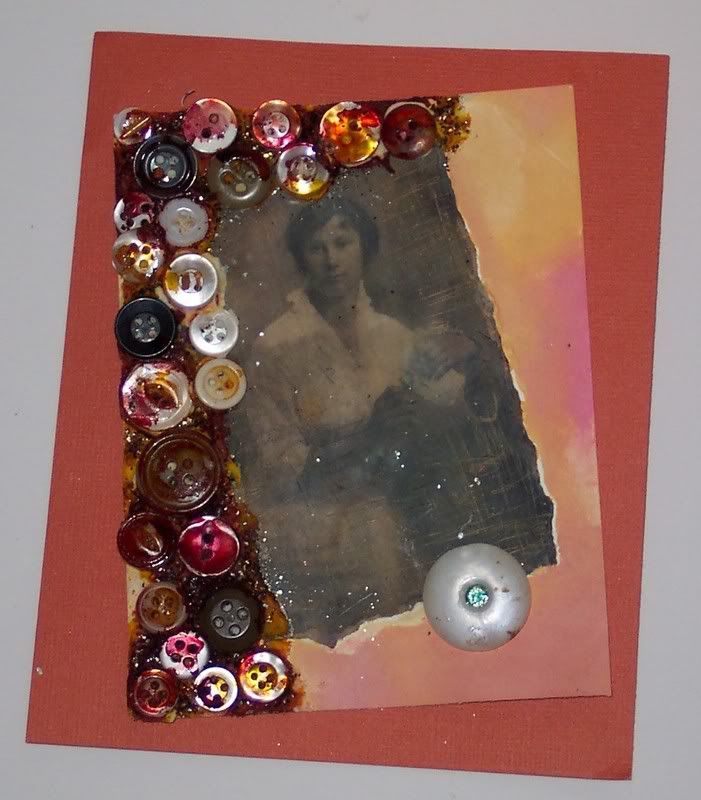
Victorian Woman, the buttons were dipped into alcohol inks before being added to hot wax:
Photobucket

Victorian Girl:
Photobucket

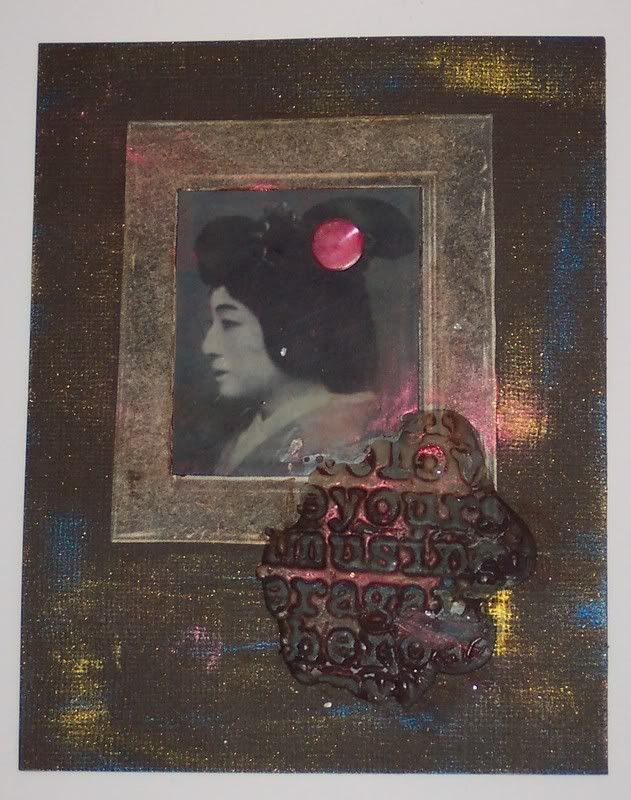
And another Geisha, I poured wax onto the piece and then stamped into it with a rubber stamp , after it cooled I rubbed pearl ex onto the wax:
Photobucket

So, you may be asking how is the heck do you do this?:) This is the easiest way I’ve found to use beeswax. I bought a small inexpensive mini crockpot just for my beeswax (once you use it for wax you can NOT cook food in it, so keep this in mind). I bought the small beeswax pellets at Michael’s craft store, they are in the candle making section. You can use the large chunks of wax too put the pellets melt faster and are easier to work with. So just turn on the crock pot, pour in some pellets, filing it up about half way and let them melt, this can take quite a long time, be patient:) When everything is melted you can then dip your items into the wax, be sure to use tweezers or small tongs as the wax is VERY hot. Be sure to dip quickly and pull your item out fast, if it sits in the wax too long it will not be very clear and you might not be able to see your image underneath. The wax dries very quickly so you can lay your piece down almost immediately after dipping. When you are done turn off the pot and let the wax cool inside and harden, when you are ready to use it again just turn on the pot and let the wax remelt.

Kimono Tag Book

May 22nd, 2008

This book was inspired by one I saw on the old Rubberbabybuggybumper site.

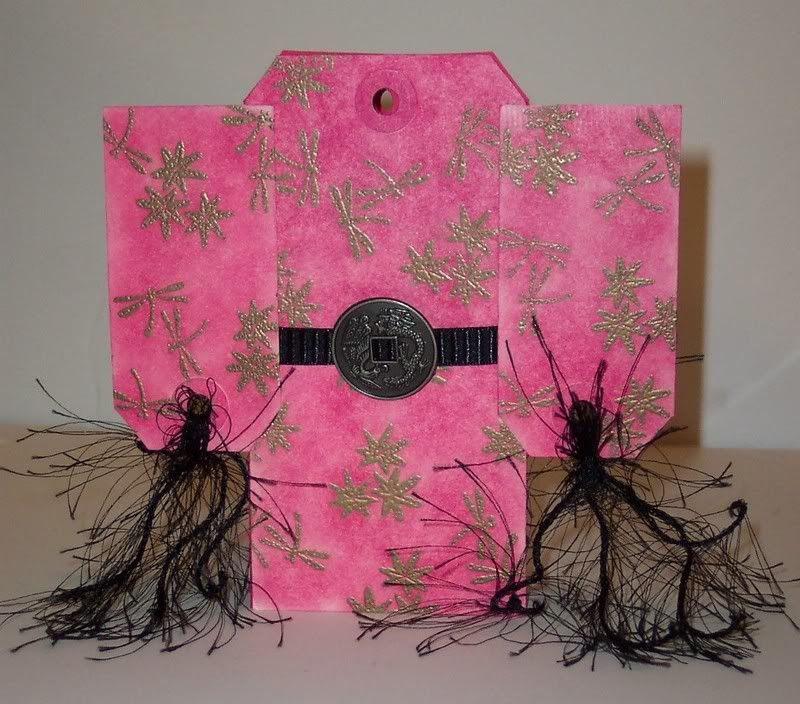
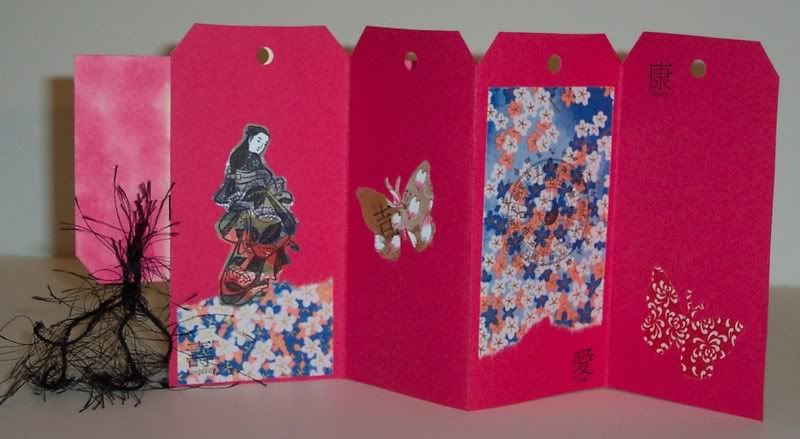
I took a large shipping tag and two smaller tags and covered them in a reddish/pink ink using a sponge and then embossed some Asian stamp images (from Hero Arts) in gold all over the tags. Then I taped the two smaller tags to either side of the larger tag to make the shape of a Kimono (very clever, huh?:) I also wraped some ribbon and added a coin to the front and tied some fibers to the tag holes. Then using another large tag as a template I folded a 12×12 piece of cardstock in an accordion fold and traced and cut out the tag shape to make the “pages” of the book. I added some more stamped images and some torn washi and origami papers to the pages to finish them off.

Front of the book:
Photobucket

Inside pages:
Photobucket

Images

May 5th, 2008

I’ve gotten questions about where I find my images. I do use some images from “collage sheets”, there are  lots of wonderful places on line to buy sheets of old photos, etc. one of my favorites is Art Chix Studio: http://artchixstudio.com/   

I also have a small collection of photographs of woman from the Victorian era that I purchased from a man in Britain on E-Bay. They were pricey to ship but well worth it to have some beautiful and unique images that no one else has.

I also LOVE old books and use alot of images and text from those as well. Art books, dictionaries, text books, foreign language and children’s books are my favorite ones to buy. When buying old books don’t pay too much, I usually won’t pay more than a few dollars for a book. Don’t worry about intact spines, you’ll probably be tearing out pages anyway. And be leery of buying from garage sales, rumage sales or any places books might have been stored for a long time, the reason is bugs. Silver fish love old books and you can bring them home in old books (I’ve had it happen!) and they will spread to other books, etc (yuck!) so try to buy from book shops where the books have been kept in an environment free from creepy crawlers:)

Eclipse of My Heart

May 5th, 2008

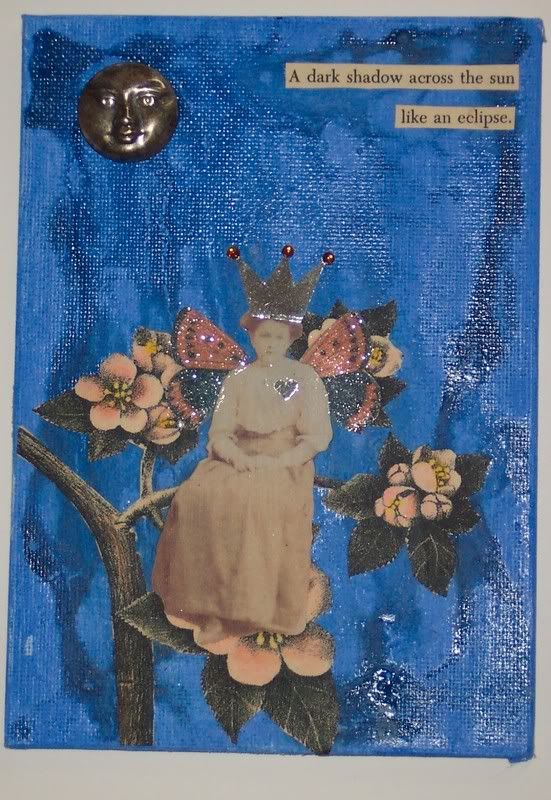
Here’s another collage of a fairy. I painted the canvas board with a pretty blue acrylic paint and then made a very watery wash with a darker metallic blue paint which I poured over the painted canvas, I tipped it back and forth to make the wash run and puddle up and then let it dry (which took awhile:)) I photocopied a tree branch from an old childrens book and colored it with Prisma colored pencils, cut it out and glued it to the canvas with gel medium. I also photocopied a lady who was sitting, cut her out and attached her and some butterfly wings ( a sticker) to have her sitting on the branch. I cut out a crown and punched a heart from silver metallic paper and added those and some tiny crystals for her crown and some glitter to her wings. The moon is a silver charm that I aged with some black Staz-On ink. Lastly I added a quote from an old book.

Photobucket

Miss Hickory, Poet and School Marm

April 10th, 2008

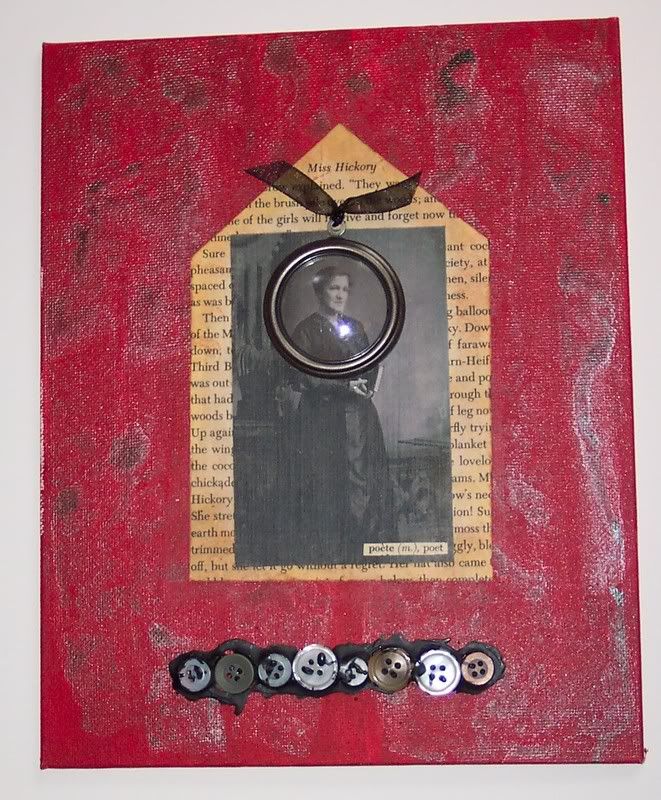
This was a really quick and simple collage I made on a 5″x7″ canvas board. I started out painting the board with a nice vibrant red paint acrylic and then diluted a metallic black paint with water and did a color wash over the red, I like the way that turned out. I then took a page from an old children’s book and cut out a house shape and sponged on some ink to give it an even more aged look. I then layered a copy of an old photo over top and used a liquid dimensional adhesive to attach a metal and glass embellishment over top, with a ribbon tied through the loop. These embellishment were made for scrapbooks so you could put inclusions inside, like tiny seashell, flowers, beads, etc but I wanted to leave it empty and use it as a focal point for the piece. Lastly I used my Clover mini iron (made for quilters) to melt some black crayon across the bottom and embedded buttons in while it was wet.

Photobucket

Trapped in Glass

March 30th, 2008

A couple of years ago I really wanted to learn to solder my own jewelry pieces. I’d been seeing some beautiful pieces, mostly made with microscope slides, in books and magazines and wanted to make some myself. I hunted around and found the supplies at the hardware store and just started playing with them and taught myself how to solder. I’ve since upgraded to a nicer “gun”, better solder and supplies. I’m still not really good at it, it really takes alot of practice but it’s alot of fun and I love being able to wear my art!

I first make a collage that is 1″x3″, usually using an old book page for a base. I try to keep everything thin and the layers flat so it will sandwich nicely between the two glass pieces. I then clean the microscope slides and lay the collage in between and wrap copper tape around, being sure to make nice “hospital corners” on each corner. I then burnish the tape with a bone folder. One thing I’ve learned is that the better your tape looks the better the soldering will look in the end! I then flux and solder around all sides and edges, using lead free solder. Then I clean the piece and attach some type of jewelry finding. I love these little “pin bales” from Junkits, it makes it so you can wear it as a pin or a necklace but I’m having trouble finding them anymore and I’m worried they stopped making them.

Here’s one of my very first pieces using pages from an old Asian book, an image of a Geisha, with some wings added, a quote and a rubber stamp chop.

My Love Has Wing:

Photobucket

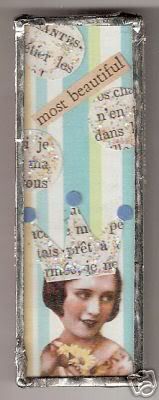
Here’s another using some scrapbook papers and old book pages. I cut a crown out for my Beauty Queen and added some glitter glue to have some sparkle.

Beauty Queen:

Photobucket

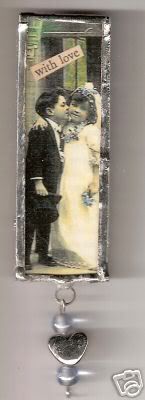
Here’s one where I added some beads and a charm on the end. I think this would be a sweet gift for a new bride.

The Wedding:

Photobucket

The last two pieces, The Beauty Queen and The Wedding are for sale, $12 each, contact me if you’re interested.