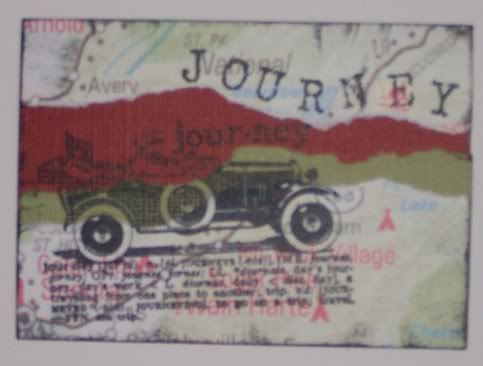
Here’s another ATC using scrapbook paper that looks like a map and some textured cardstock. I tore and layered them and then stamped the car stamp and words from Catlife Press over top.
Another Quick ATC
March 30th, 2008Tiny Works of Art
March 20th, 2008Artist Trading Cards or ATC are small cards that are 2 1/2″x 3 1/2″ that were originally traded among collage artists to share ideas. But nowadays everyone has jumped on the ATC band wagon and you’ll find lots of “real” artists, rubber stampers and scrapbookers trading ATC’s as well. There are lots of places, especially on-line, where you can participate in ATC swaps and get some really wonderful little jems back.
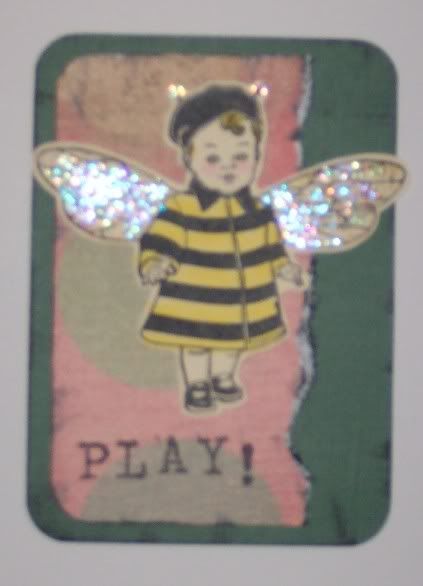
Here are a couple of ATC that I’ve made. They both combine some collage ideas and rubber stamping. The first is made with an adorable “Bee Girl” stamp from Catslife Press. I stamped her on cardstock, colored her, cut her out, mounted her on some scrapbook paper from Basic Grey, stamped some letters and added some Sparkles Glitter Glue to her wings and antennae, very simple but very cute!
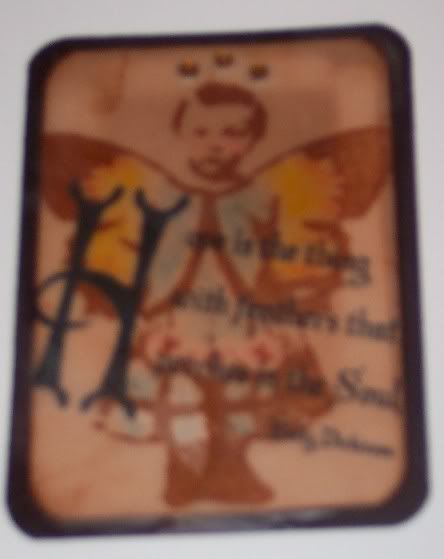
This next one was more complicated. I stamped the image of the girl with wings, from Peddlers Pack, and over stamped a wonderful quote from Emily Dickinson. I colored the image with pencils, added a few rhinestones and then dipped the entire ATC in beeswax. Which is why it was a little hard to photograph:) I used a small crock pot to melt my beeswax in and used a small pair of tweezers to quickly dip the piece in and out then let it dry. I love using beeswax in my collages and this is a really fun and different way to use it. I like buying the beeswax pellets from the craft store they melt quickly and when you are done you can let it cool inside the crock pot and then just turn it on when you are ready to use it again. Just don’t ever plan on cooking food it in though!! 🙂
Now, where to keep them? I like to store my ATC’s in a 3 ring notebook with plastic baseball card sleeves inside, you can find these at comic book, baseball card shops or on-line.
If you’d like some more ATC ideas there is a fantastic book called “Artist Trading Cards: An Anthology of ATC’s” published by Somerset Studio/Stampington & Co, I highly recommend it!
Love Nest
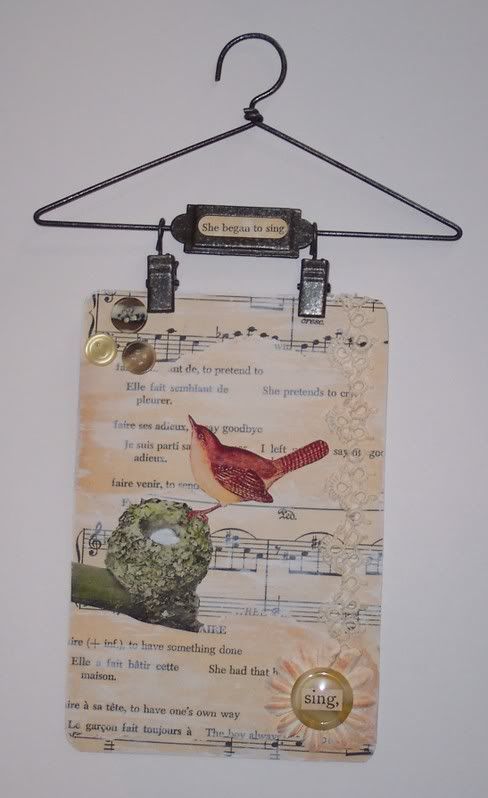
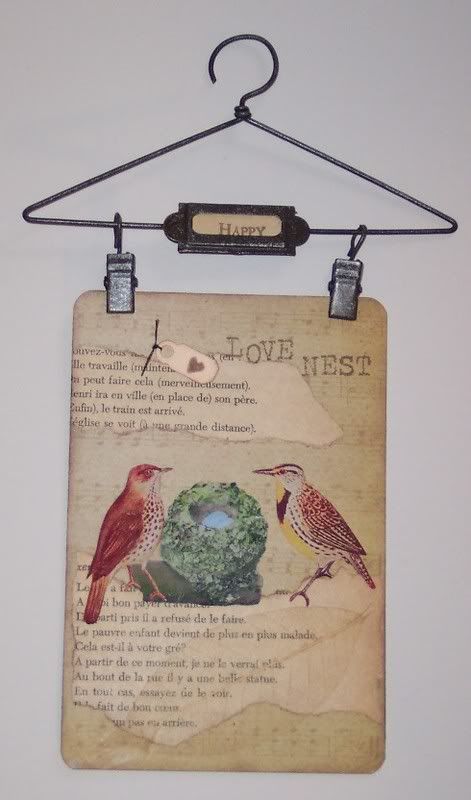
March 9th, 2008Keeping with the theme of nature as inspiration here’s another collage using birds and a nest. I copied these images from an old biology book for children.
A tip about copying: For my collage images that I photocopy I like to use “Epson Photoquality Ink Jet Paper”, it’s the same thickness as regular printer paper but you get a very nice photo realistic look with it. That way you get a nice printed image without the bulk of most photo papers or cardstock. It’s a little expensive but well worth it!
I can’t get enough of these little hangers, they are a perfect way to display small pieces of art work. I believe Somerset Studio still has them for sale on their website.
http://www.stampington.com/html/the_shoppe.html
Easter Collage
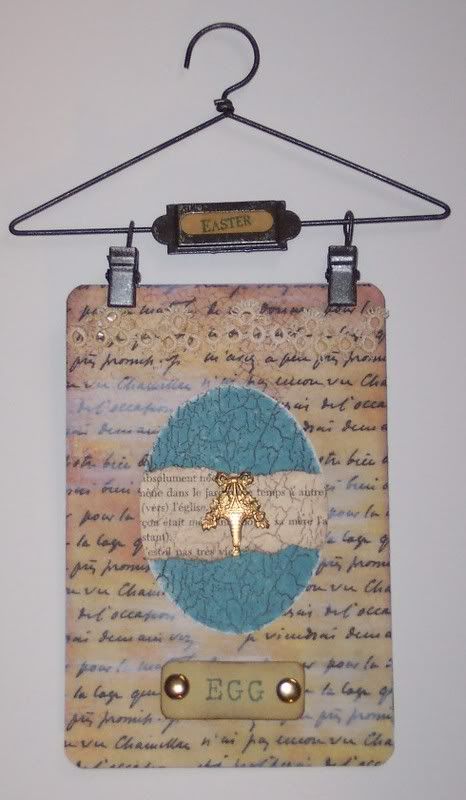
March 9th, 2008I can’t believe Easter is so early this year! Here’s another one of my postcard collages, this time with an Easter Egg theme. I used a template to cut the egg shape and used a rubber stamp from Stampendous to make it look crackled. The basket charm finished it off nicely I think.
I really love the popularity of eggs and bird images that has popped up lately, they really appeal to me for some reason. I recently painted my kitchen a robins egg blue and it’s beautiful. Nature is such a great source for inspiration:)
Shrine Boxes
February 29th, 2008I found these really cool boxes at Michael’s, they are wooden with a wire mesh opening on the top and they close with a metal latch and hinges. I thought I could turn them on their sides and make some cool “shrines” with them.
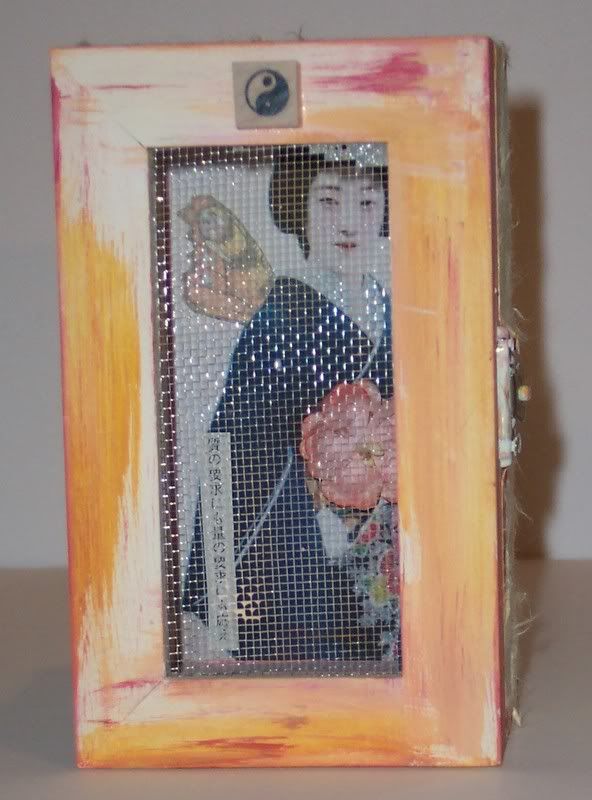
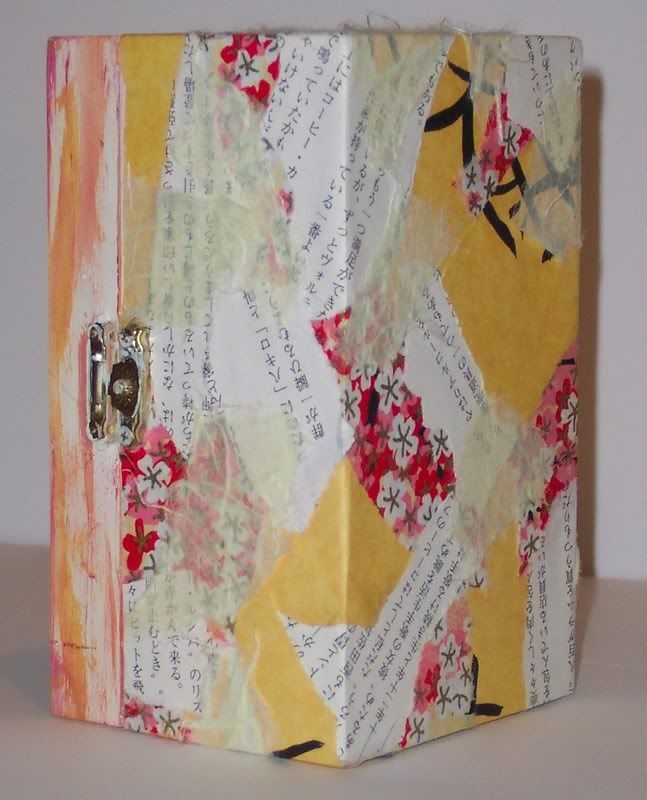
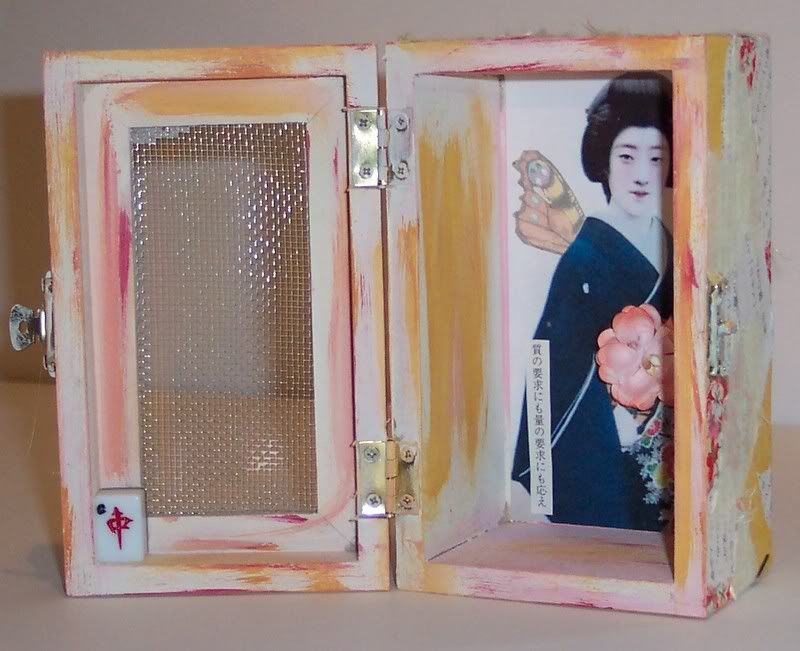
This first one is an Asian design, which is where the shrine inspiration comes from. I painted the front “door” and insides with different colors of acrylic paint. Then tore pages out of an old Chinese poetry book and also tore washi and origami papers and layered them all over the sides and back of the box adhering them with matte Modge Podge (you could also use Gel Medium). I then collage the image of a Geisha, added wings, a flower and text to her and adhered it to the inside back of the box. I also added some Asian game pieces.
Here’s the shrine open from the front:

And a couple of shots of the sides and back:
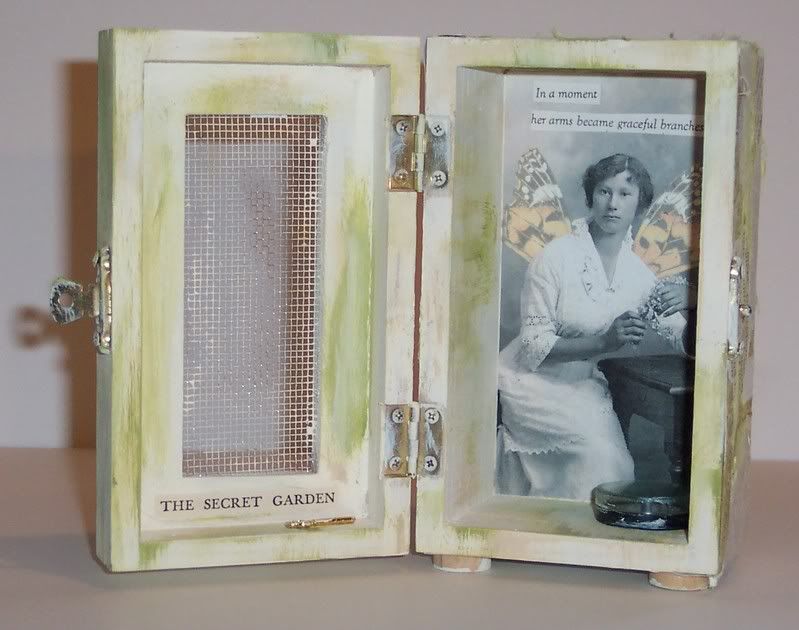
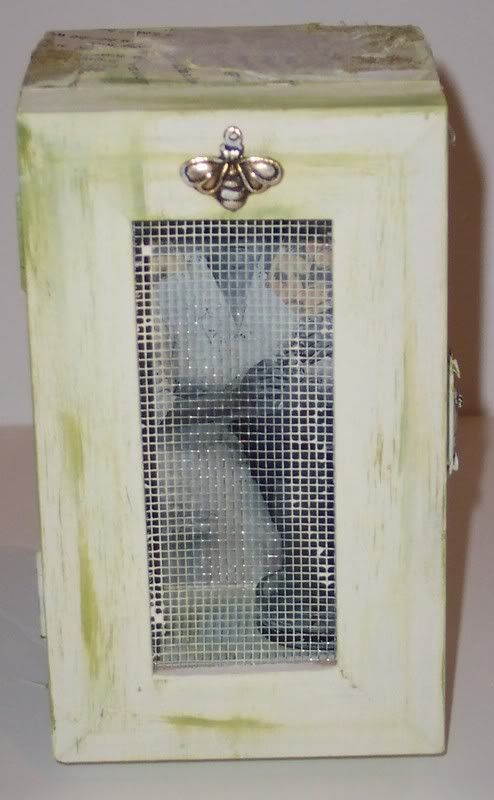
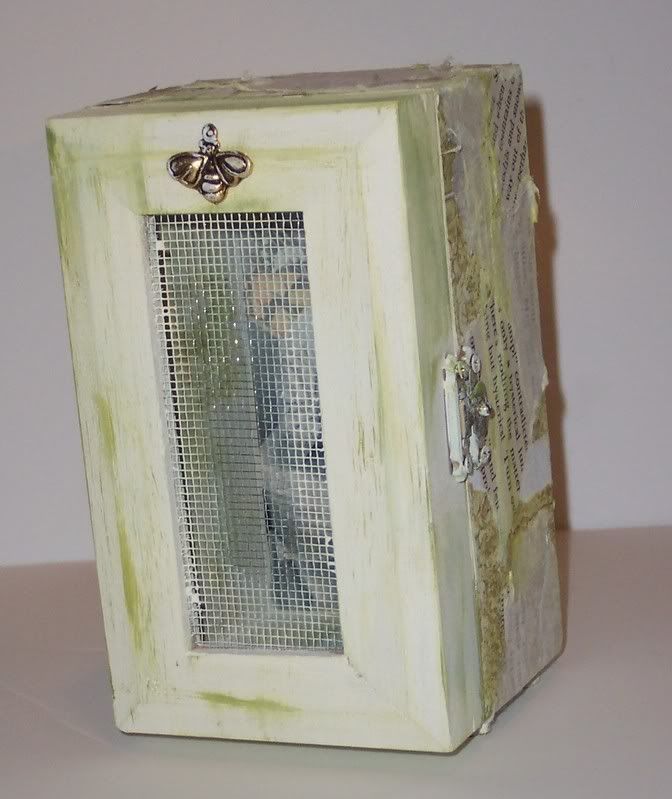
Here’s another shrine I did with the theme “Secret Garden”, inspired of course by the book. This box was also painted and covered in torn pieces of mulberry paper and pages from an old book. I collaged the image of a woman and added wings to her (yeah, I do that alot:)) and some text and also added a small compass inside the box. The door of the box has a neat bumble bee charm on the outside of it. On the bottom of this shrine I wanted some “feet” for it to stand on so I attached some old round wooden game pieces to the bottom of each corner of the box.
Here’s the front open:
Here’s a view of the front closed:
And one so you can see the side:
Captured Fairies!
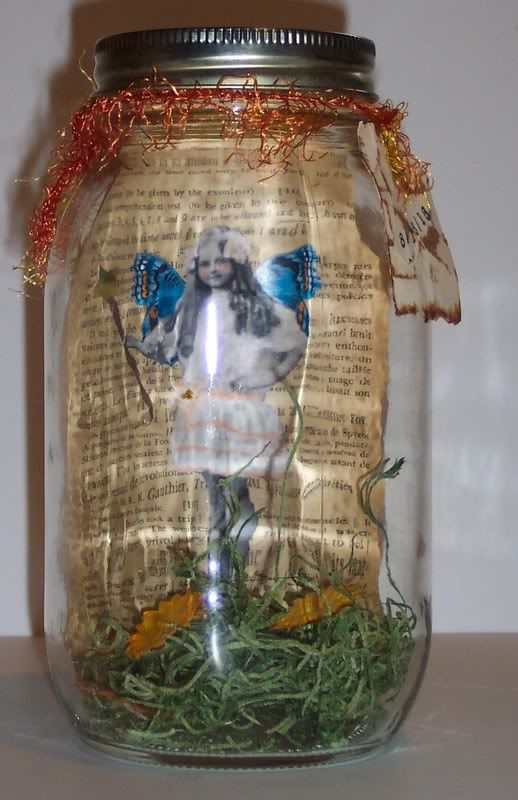
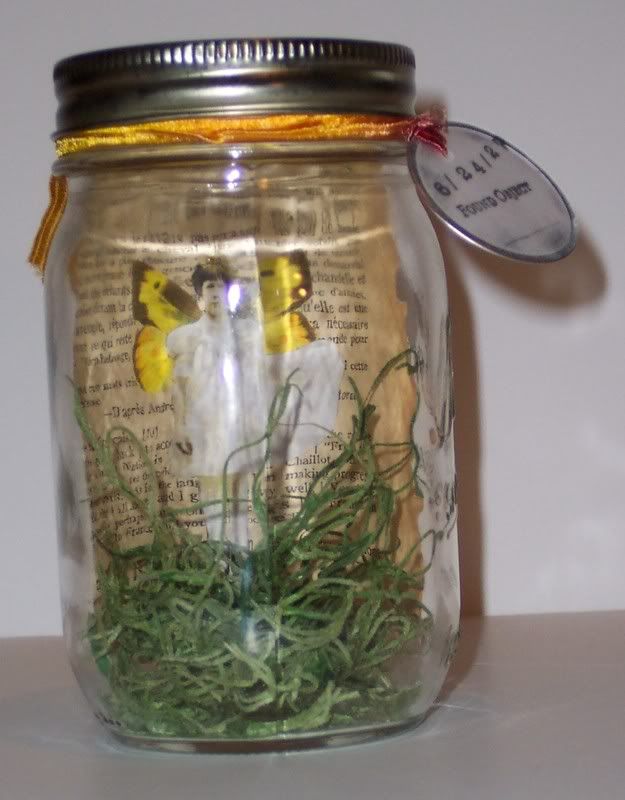
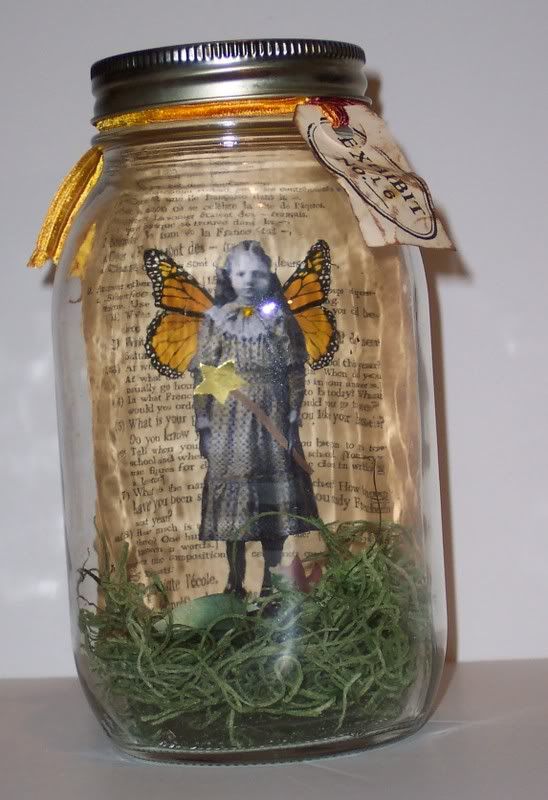
February 15th, 2008Here’s another fun thing I like to do with my fairy collages and that’s “capture” them in jars. The collages were done on old sheets from a French text book using images of children with butterfly wings added. I also like to add things like crowns and wands to them. The grass in the bottom of the jars is dyed Spanish moss I got from the craft store, I’ll sometimes add little flowers or leaves in the grass too. The lids of the jars are aged with inks and I also age shipping tags and stamp cute things like “Found Object” or “Specimen #___”. I like using large canning jars that do not have a pattern or writing on the glass. These can be found at most craft stores or you can use real old jar and just turn the writing to the back.
These jars are really difficult to photograph (I’m definitely *not* a photographer:)) because of the glare and distortion of the glass jars but here are a few pictures to give you an idea of what they look like.
These three jars are currently for sale, $10 each plus shipping. Contact me if you’re interested in purchasing one. I can take M.O., paypal or credit cards.
Fairy Collages
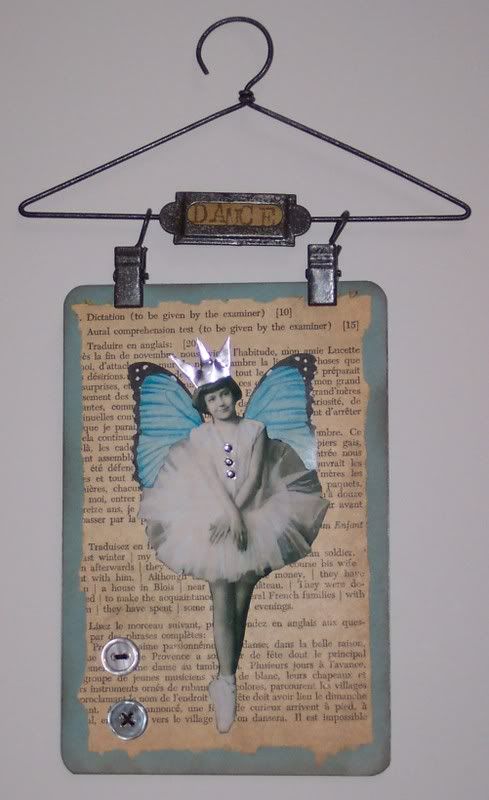
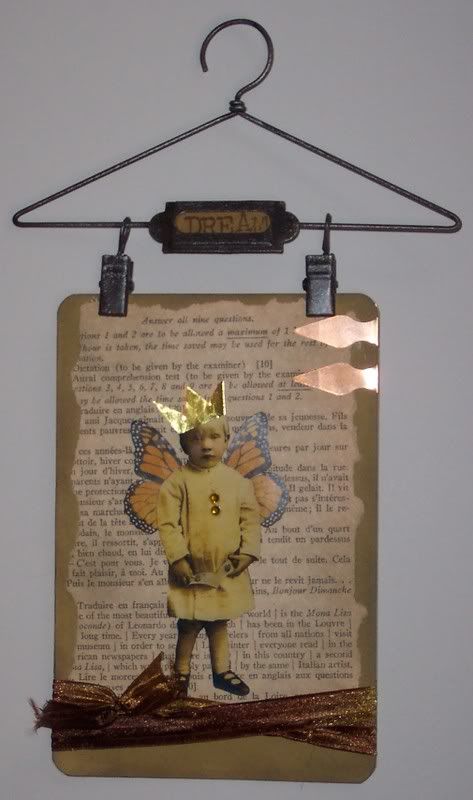
February 9th, 2008One of my favorite images to use in collage are fairies, I’m not sure why but I’m really drawn to them. I loved fairies and gnomes when I was little so I guess that’s always stuck with me. I usually use copies of old photographs for my fairies (I really love old photos of children for these) and add wings, usually butterfly wings and I like to make crowns for them too using metal paper or metal foil sheets. Here’s 2 I did recently, the backgrounds are pages from an old French text book mounted on cardstock, and I inked the edges and I just added a few embellishments to finish them off.
Ballerina Fairy:
King of the Faries:
Be My Valentine
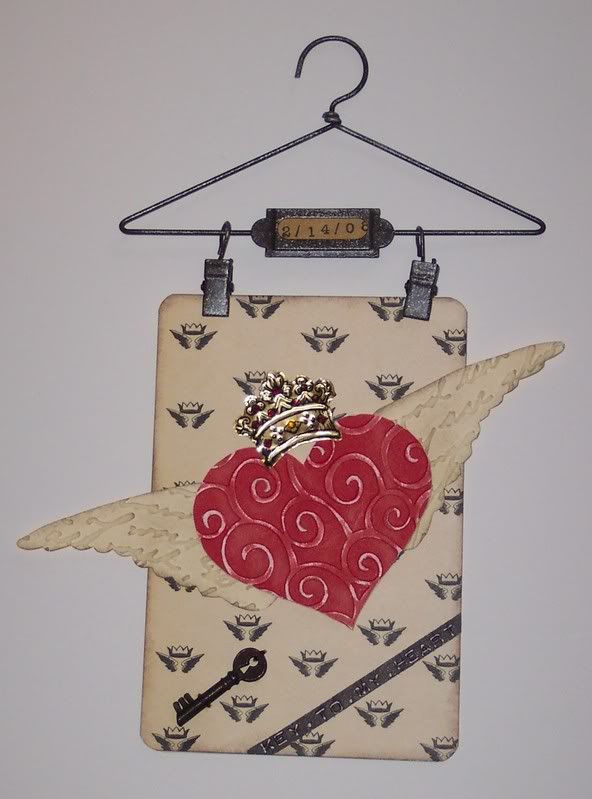
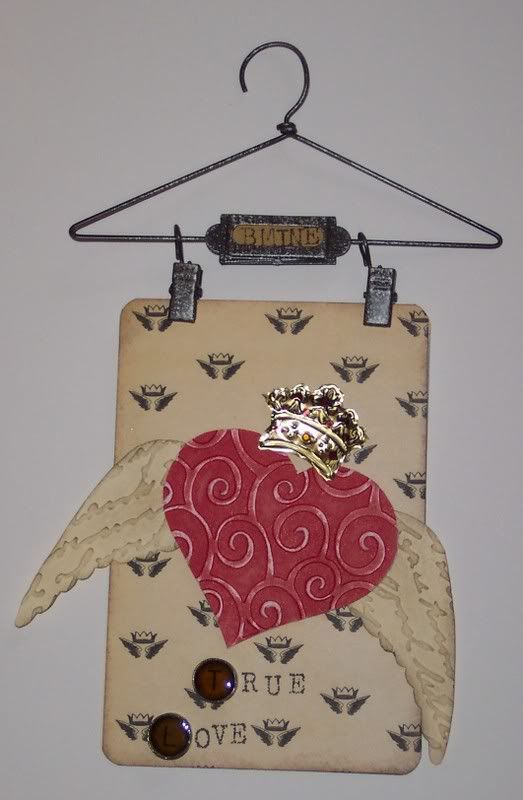
February 3rd, 2008I just finished some more post card collages, this time I wanted to make something for Valentine’s Day.
I used templates to trace and cut out my hearts and wings out of cardstock and then ran them through my Cuttlebug machine to emboss them. (If you don’t know what a Cuttlebug is it’s a little personal die cutting and embossing machine, I LOVE mine. It’s made by Provocraft and is available at most major craft stores and lots of places on line.) I then inked the embossing and the edges and attached the wings and heart to my background paper. To make the crowns I stamped the image using a permanent ink onto gold metal foil sheets and embossed with a stylus tool and cut them out and added a jewel for a little bling:) Then finished off with a few extra embellishments like a key and some old typewriter keys.
Vaseline (yes, that’s right:)) Background
February 3rd, 2008One of my favorite collage artists is Claudine Hellmouth, she has two wonderful books out called Collage Discovery Workshop Vol.I and Vol.II. I’ve gotten lots of ideas and inspiration from her and her books. Here’s a link to her website: http://www.collageartist.com/
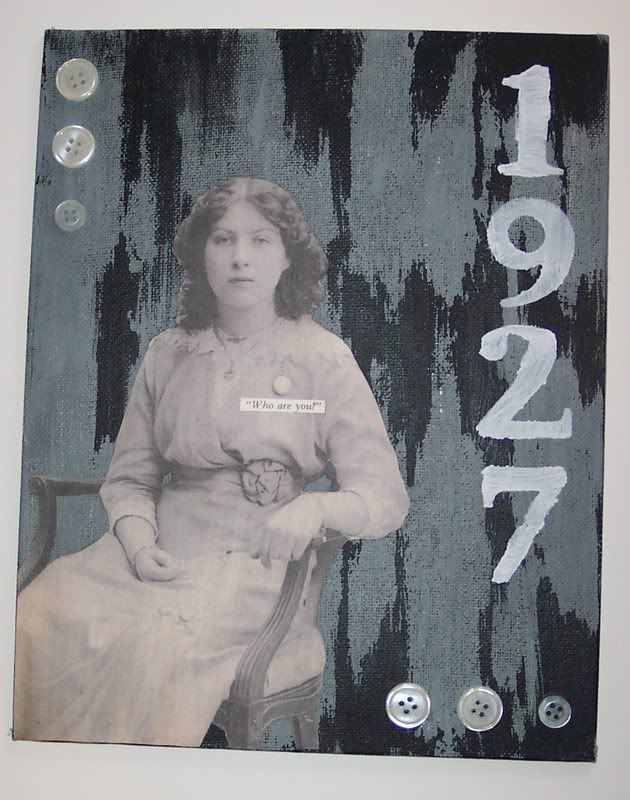
In the first book she teaches a background technique using paint and Vaseline, it sounded crazy to me, so of course I had to give it a try. Here are my results:
It’s actually an easy (if not messy) technique. Using a foam bush I painted my canvas board completely with black acrylic paint, then let it dry. Honestly I got impatient and used my heat gun to speed up the drying time:) Then I used my fingers (this is the messy part) and smeared Vaseline in certain sections and then painted over the entire board again with grey acrylic paint and let dry again. Then I used paper towels and water to wash off the canvas board. The Vaseline acts as a resist so you get a cool looking background that looks like very old weathered paint!
I finished this piece by collaging on a photo of a woman I had photocopied and blown up using my home scanner/printer. I used gel medium to attach it, also adding some text from an old book. Then painted on numbers using a plastic stencil and white acrylic paint and finally finished it off with some old buttons.
A word about canvas board, I prefer using canvas art boards instead of regular art canvas that are stretched over a wooden frame. I find them alot easier to collage on, they seem sturdier and stand up to more abuse and since they don’t “bow” in the middle I can put alot of pressure on them with worrying if they will tear. Plus they are less expensive and easier to frame.
Working w/ Gesso
January 14th, 2008I’ve recently been selling some postcard sized hanging collage pieces at a wonderful shop in Mt. Sterling KY called Finders Keepers Market.
For these I’ve used a postcard as a base and covered front and back with papers and then collage over top using different mediums.
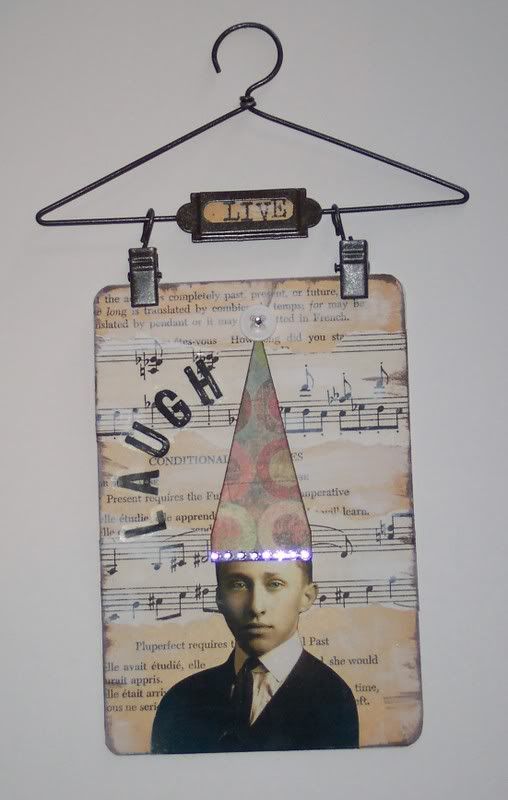
Here’s an example of a couple of pieces I did using white gesso. Gesso is usually used as a base coat, if you need to completely paint over something that might show through your layers of paint then a coat of gesso first works as a good base coat so you don’t need quite so many coats of paint later. But it also works as a great background technique. Here I used it over old music sheets and old book pages, I tore the papers and adhered them, then took a very small amount of gesso on a foam brush and rubbed over certain areas, it’s almost a dry brush technique. It’s really easy and makes a wonderful background!
