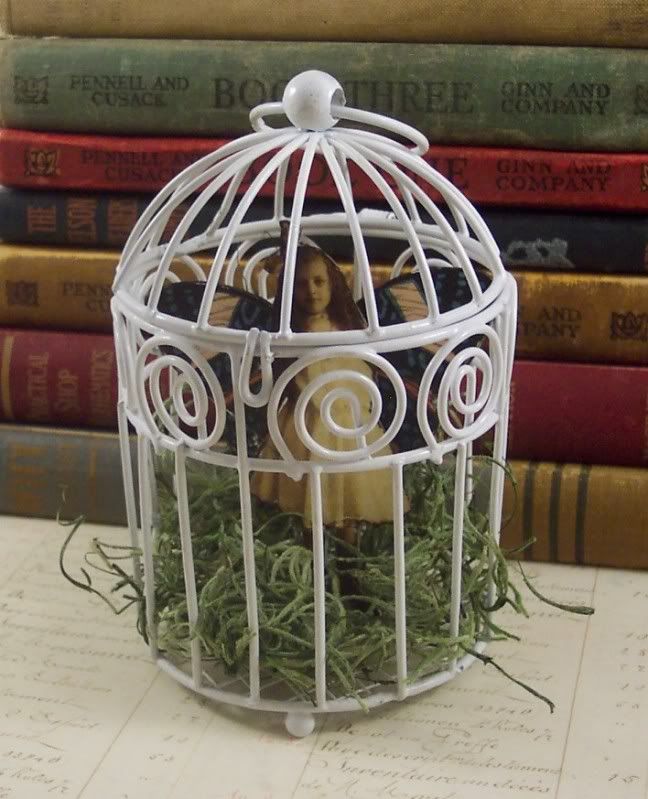
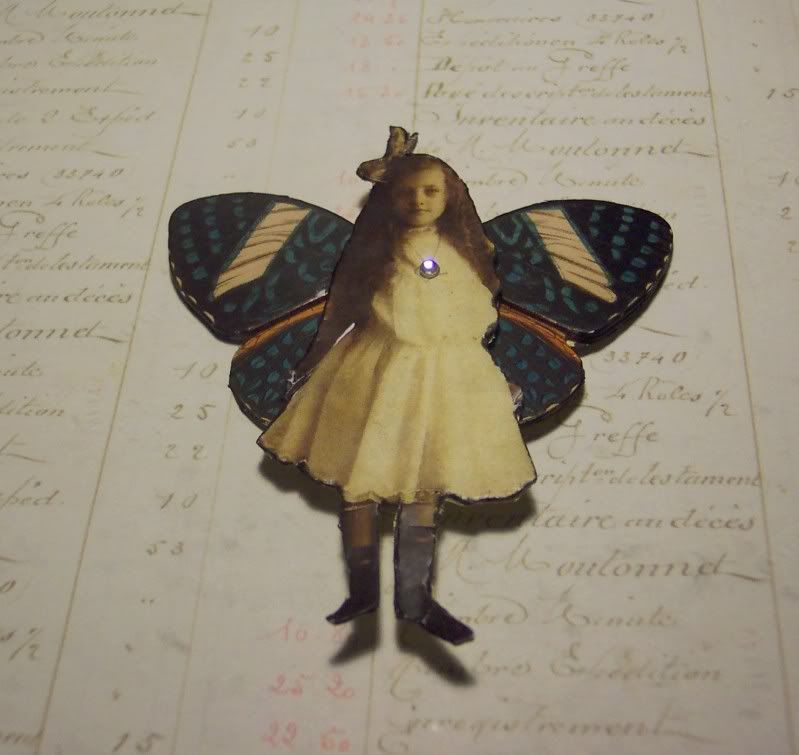
I found these cool little metal bird cages at the craft store and thought they were fun. I turned this one into a captured fairy cage. I used a photocopy of a cute vintage girl and adhered her to chipboard and cut her out, then added some chipboard wings behind her and a rhinestone. I put faux grass in the bottom of the cage and set her inside. Pretty simple but pretty cute too 🙂
Posts Tagged ‘butterfly’
Captured in 3D!
Wednesday, February 9th, 2011More Silhouette Projects
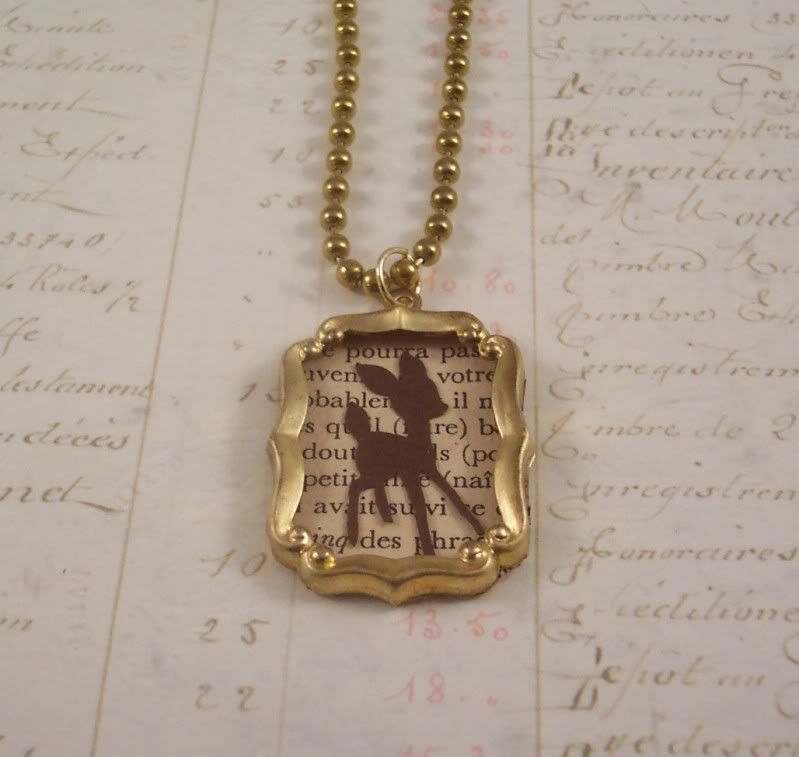
Wednesday, August 4th, 2010Here’s a couple more projects I made with my new Silhouette die cutting machine. I wanted to see just how small I could get the machine to cut so I chose a simple image, the deer silhouette, and was able to cut it 1″ x 1/2″ ! I adhered it to vintage French book paper and put it inside a pre made frame. Isn’t it cute?? I want to try some more like this but soldered them.
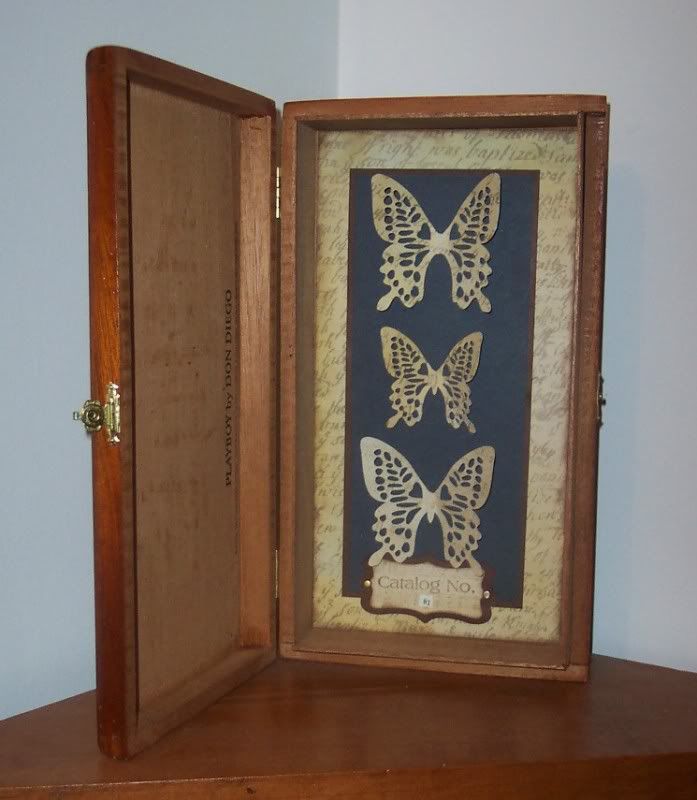
Next I had a wonderful wooden cigar box I wanted to make into a specimen box so I layered some patterned paper and card stock inside the box and cut out a few butterflies and a label from the same papers using the Silhouette and mounted everything inside. I love how “old world” it turned out.
Lots More New Pendants
Tuesday, July 21st, 2009Here’s some more of my new collaged and soldered pendants.
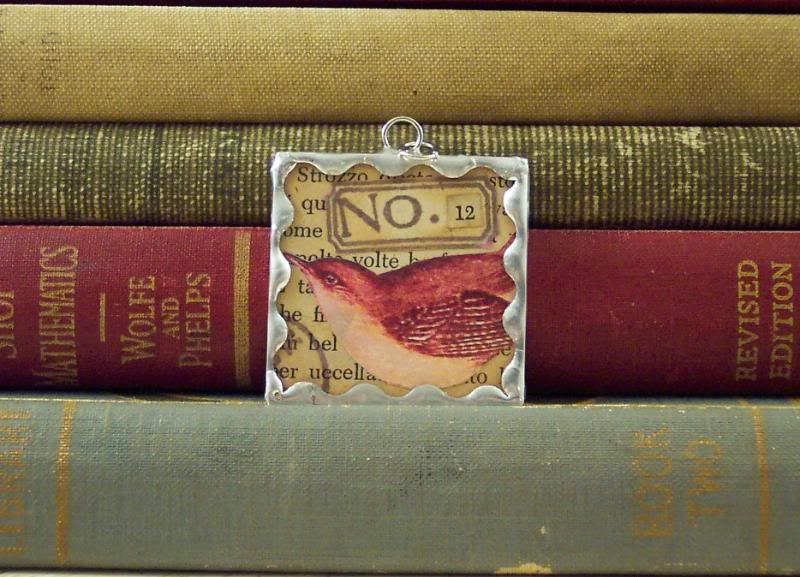
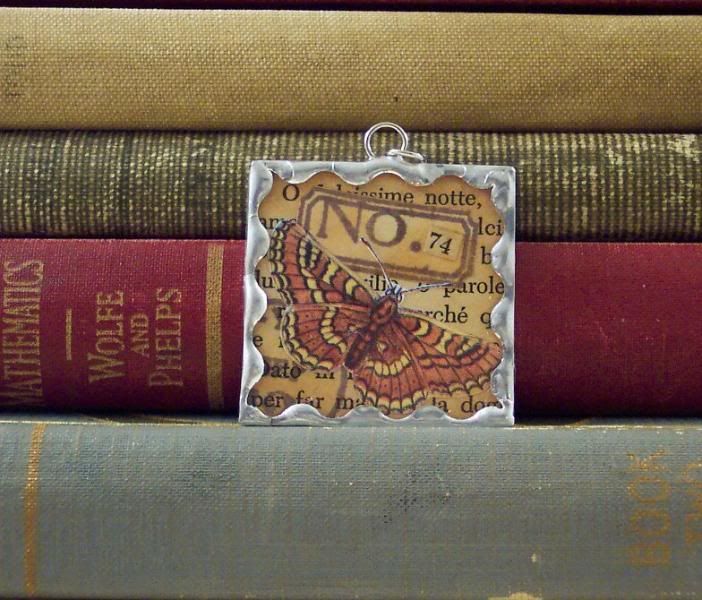
I really love these first two, they are tiny collages done on vintage French book paper, I added lots of brown ink to age them even more, stamped postage cancellation marks and a tiny stamped vintage looking label and added numbers to them so they looked like old specimen labels. One features a bird, the other a butterfly:
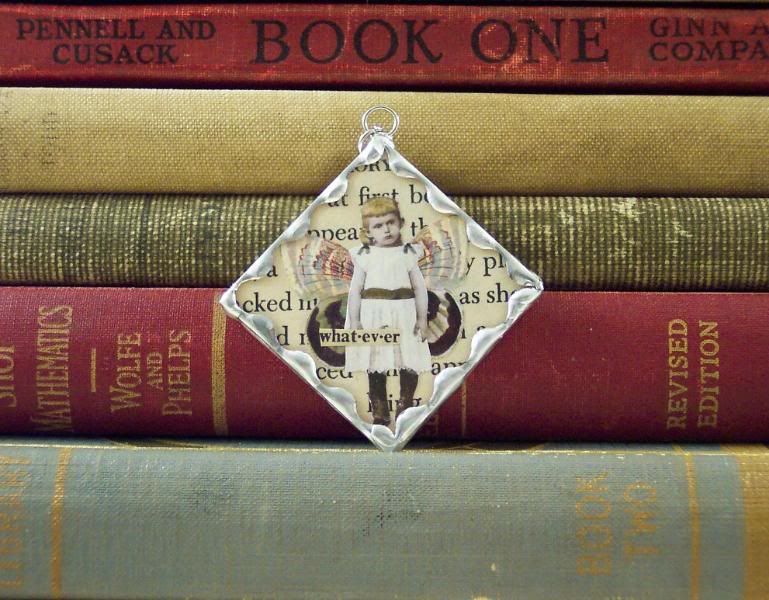
here’s another fairy with an attitude, she’s got a bored look on her face and I added the word “whatever”, cut from a vintage dictionary:
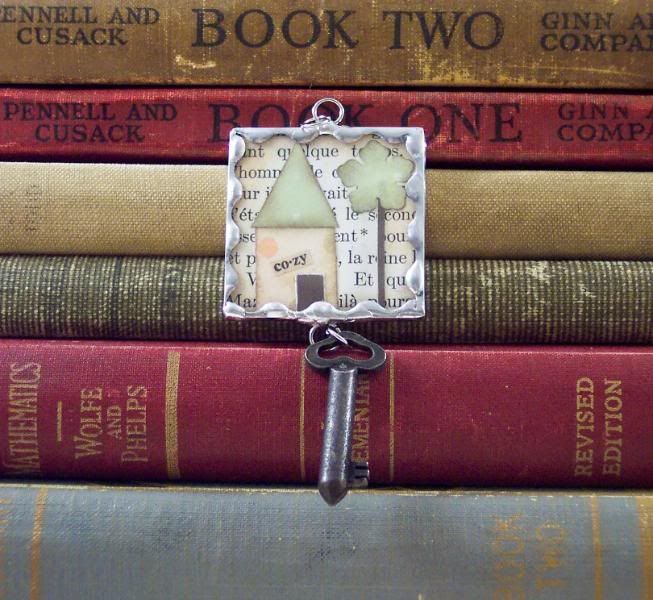
and lastly something a little different for me, a tiny paper piecing of a house and a tree, I cut and punched them out of cardstock and patterned papers, the background is vintage French book paper. I also added a small metal key to the bottom:
Challenge Combo
Friday, April 24th, 2009I’ve been trying to participate lately in more “challenges”, it’s where a website or group picks a theme, idea or product and everyone makes something based around it and then shares their art. It’s so much fun to see all the different ideas others come up with all based around the same theme.
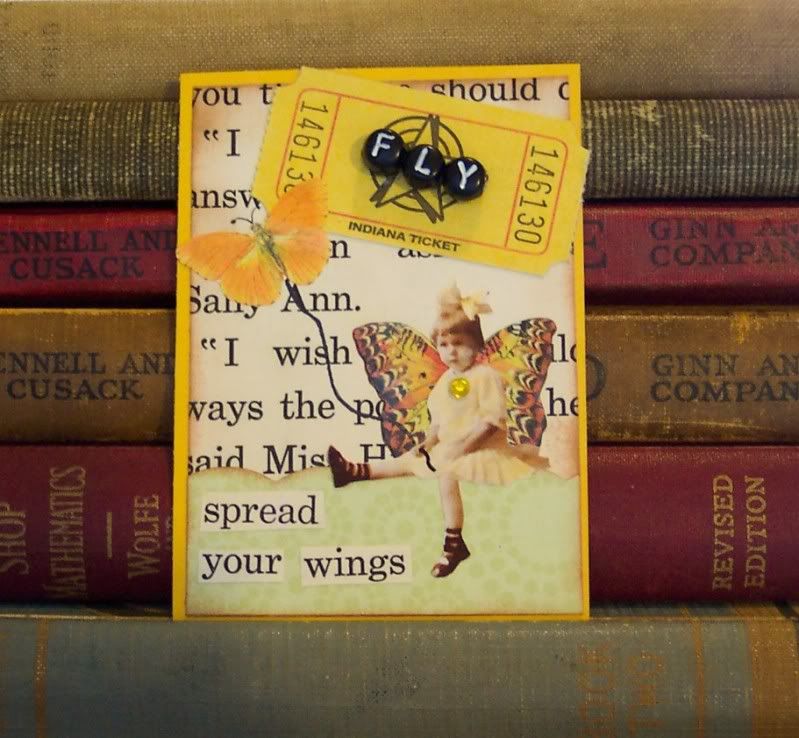
My “Artchix” yahoo group has a current challenge called “Go Fly a Kite” and my Melange team from Etsy has a challenge called “Ticket” and an idea came to me to combine the two and so I made this ATC called “Flight Ticket”.
Please visit the Melange team website and click on the “Mix it up with Melange” post comments section to find links to other participants art work: http://melangeonetsy.blogspot.com/ each Wednesday a new challenge will be posted.
You might also want to consider joining the Artchix yahoo group: http://groups.yahoo.com/group/artchixstudio/
For a Good Cause
Tuesday, February 24th, 2009On Etsy there is a shop (open until the end of March) where all the proceeds go to The Red Cross to help people affected by the recent fires in Australia. There are loads of wonderful items donated from some terrific and generous artists for sale, you should really go buy something:) http://www.etsy.com/shop.php?user_id=6902734
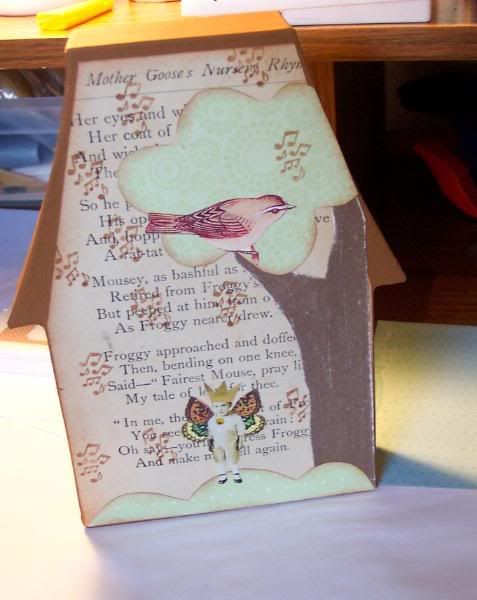
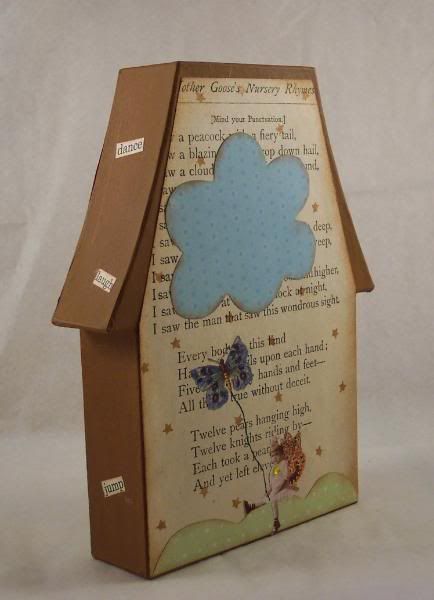
I belong to a team on Etsy called “Metsy”, it’s a group for mixed media artist and some of us have done paper mache houses to donate to the shop. Mine is listed here:
http://www.etsy.com/view_listing.php?listing_id=21463566
be sure to also check out the other beautiful houses by my fellow team mates. A huge thanks to Stacey ( http://artsnark.blogspot.com/) for donating the blank houses!!
I took some pictures while I made mine and wanted to share my process.
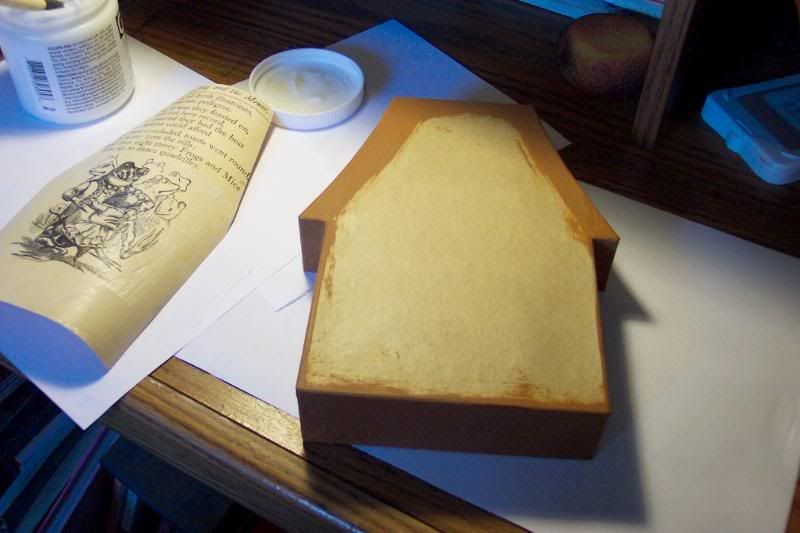
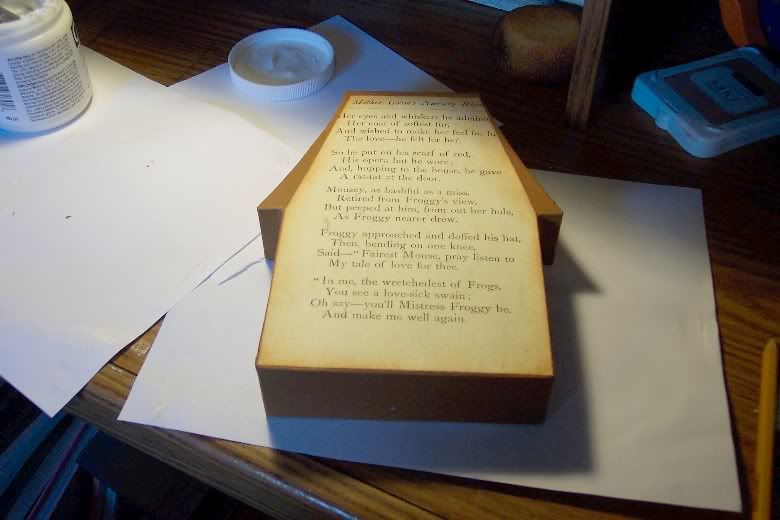
I first painted the edges of the house with acrylic paint and cut out pages from a vintage children’s book and applied them to the house with gel medium:
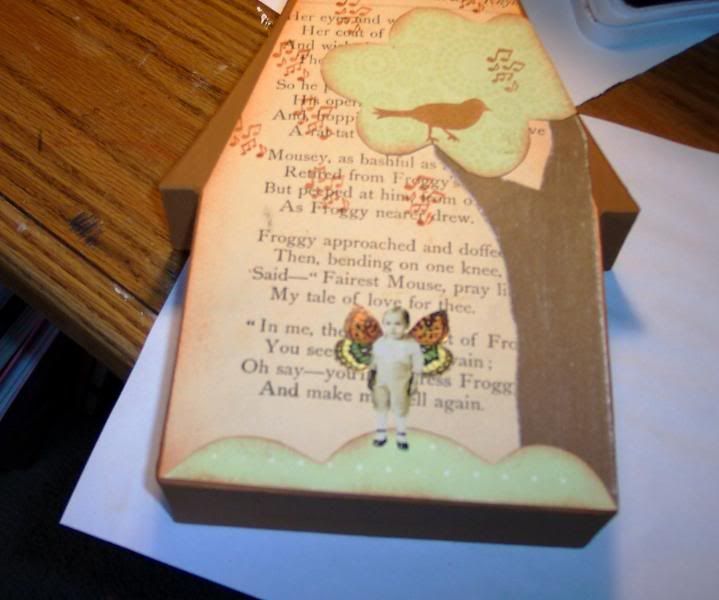
Then I took pattern paper and cut out some scallop shapes for hills, a tree and a cloud and inked the edges with a sponge:
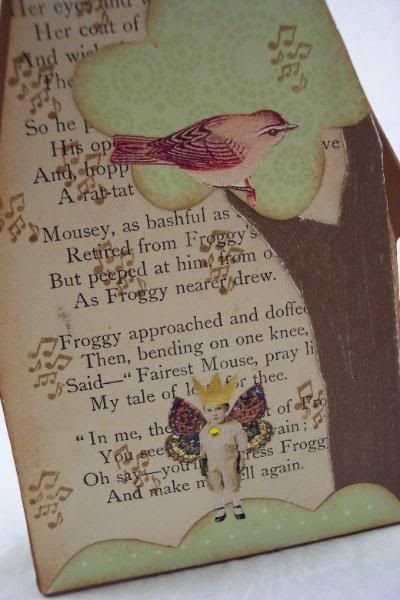
I then cut out a tree trunk from white core card stock and sanded it. I cut out an image of a little boy and some wings and a gold crown and glued the hill, tree trunk, tree top and fairy to the house. I also stamped a bird in the tree and music notes.
But….. I didn’t like the stamped bird and covered it with a vintage image of a bird from an old field guide:
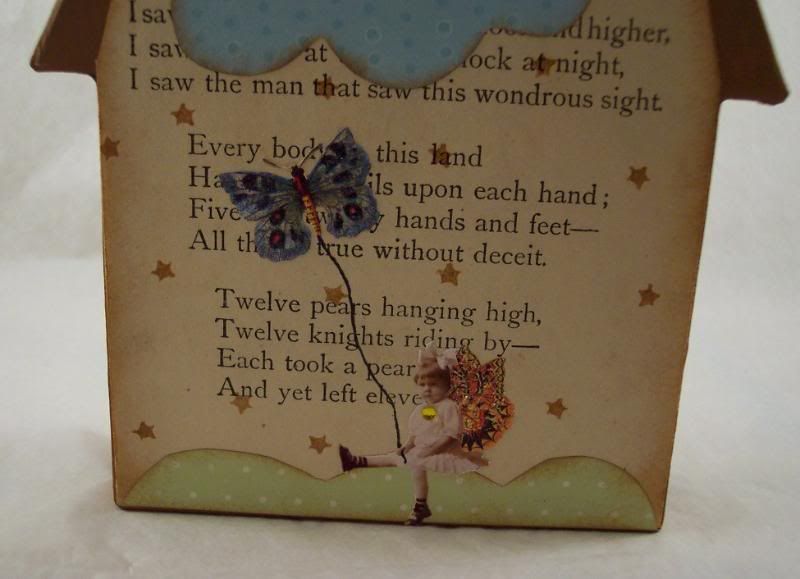
The other side was a similar process of adding a hill, cloud, fairy flying a butterfly, stamped stars, etc. I also added rhinestones to the fairys clothes and Tim Holtz Distress glitter glue to all the wings. The sides of the house seemed too plain so I cut out and inked fun words like play, wish, laugh, fairy, etc and added them to the top and sides of the house:
I really love the finished house (and I hope it sells to help out with the relief effort:))
close ups:
On the Wing
Monday, February 23rd, 2009I think it’s pretty obvious I love things with wings, birds, bees, insects, fairies, etc. I’m not sure why but there’s just something about wings to me. Here’s three totally different pieces of soldered jewelry I’ve done recently but they all have wings in them:)
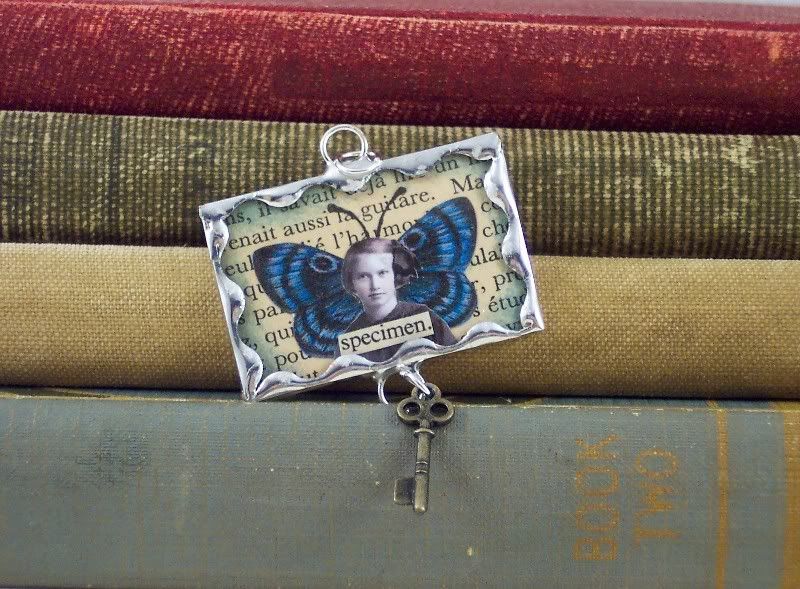
This first one is a fairy. On a piece of vintage French book paper I took an image of a sweet girl and added big wings to her and the word “specimen.” cut from a vintage dictionary then I hand drew her some antenna and soldered around with scalloped tape, I added a key charm to the bottom.
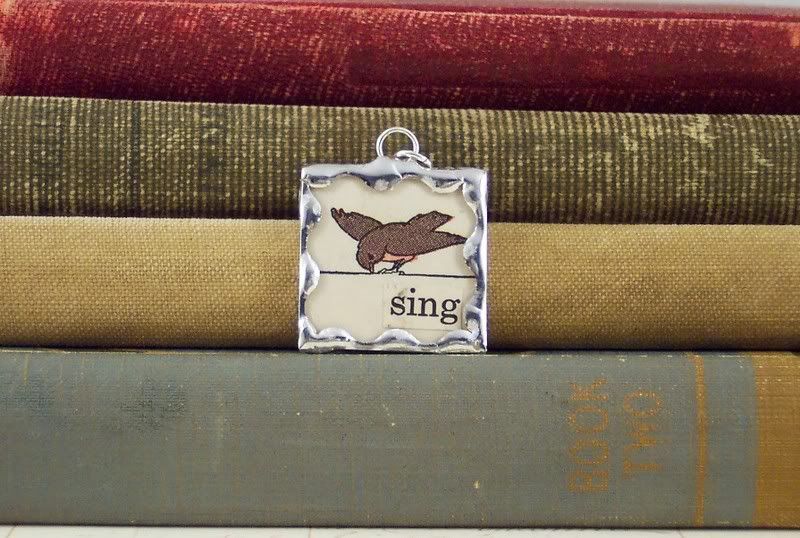
This next one is a tiny bird on a wire cut from a children’s book from 1929, a page number was at the bottom so I covered it with the word “sing” and soldered around with scalloped tape.
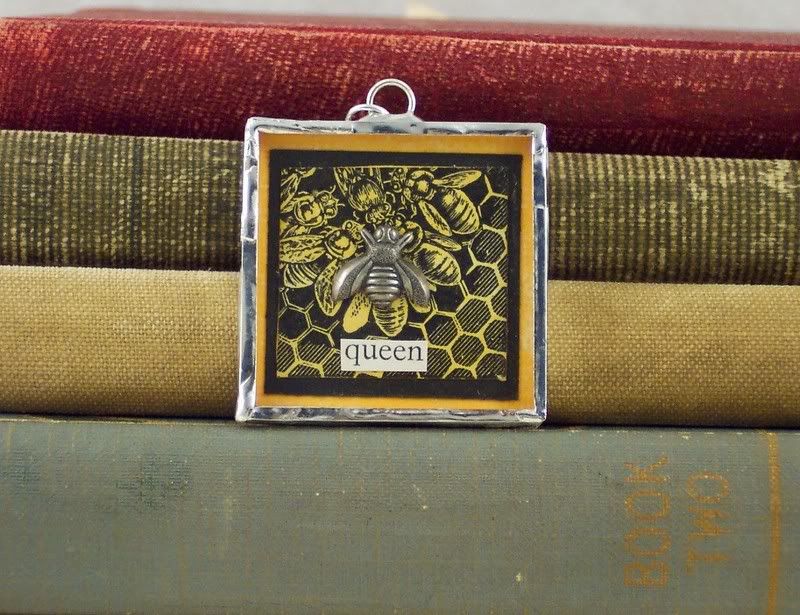
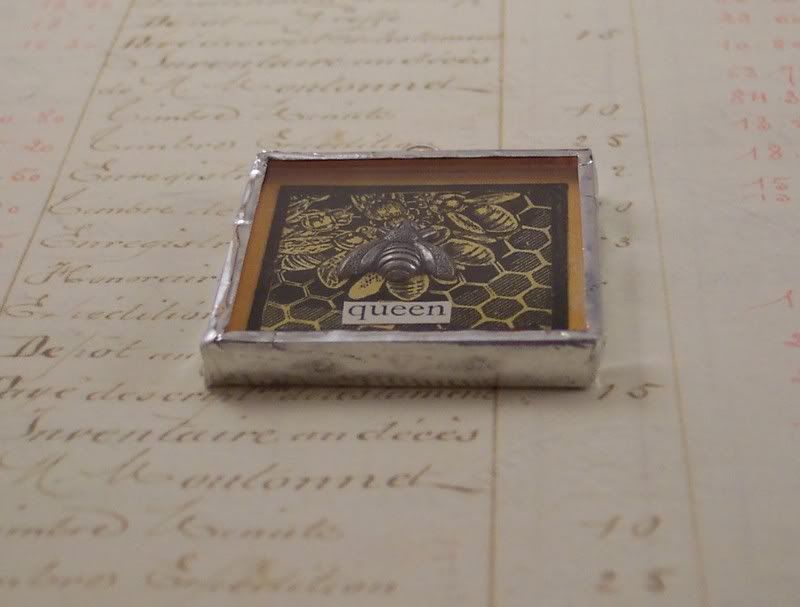
This last one is another shadow box pendant. I used an image of bees and honeycomb from an old field guide and added a pewter bee charm over top and the word “queen” and layered it on yellow and black cardstock. I love the dimension on this one!

