Posts Tagged ‘captured’
Wednesday, August 1st, 2012
Continuing with an ocean theme, I made this mermaid collage. I’ve done lots of collage art with fairies inside jars and I thought why not a mermaid? So I turned the jar on it’s side and put actual sand in the bottom. I also added a background of vintage inspired map paper, a label, some actual small sea shells and a real working compass. Then I wrapped the entire canvas in some netting. I love how it turned out. I need to think of more things to capture in jars 🙂
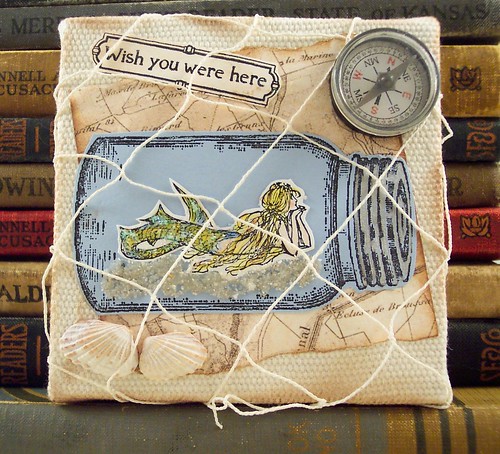
This collage is currently available in my Etsy shop.
-Heather
Tags:, 3D, altered, art, assemblage, beach, canvas, captured, caught, collage, compass, fantasy, jar, map, mermaid, mixed media, ocean, paper, sand, sea, sea shells, trapped
Posted in 3D and Assemblage, Collages on Canvas | No Comments »
Friday, February 3rd, 2012
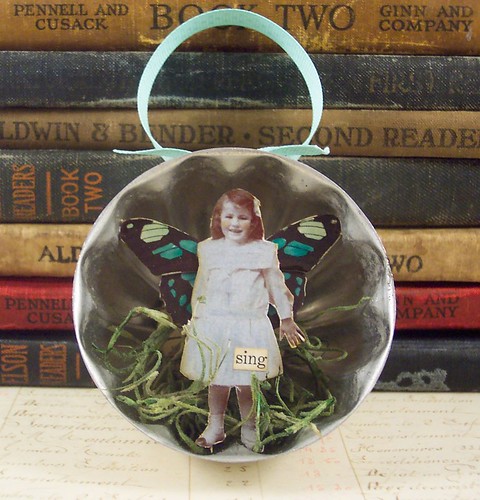
Awhile ago at an antique shop I picked up a stack of vintage Jello mould tins and have been staring at them trying to figure out what to make. Here’s my first idea, I turned them on their sides and put captured fairies in them with a ribbon loop at the top to hang them from. I added some vintage paper at the back and some faux grass at their feet. I think they turned out pretty sweet.

Tags:3D, altered, art, assemblage, blue, captured, caught, collage, fairies, fairy, jello, mixed media, mould, ornament, tin, trapped, vintage, yellow
Posted in 3D and Assemblage, Hanging Collage | No Comments »
Sunday, March 6th, 2011
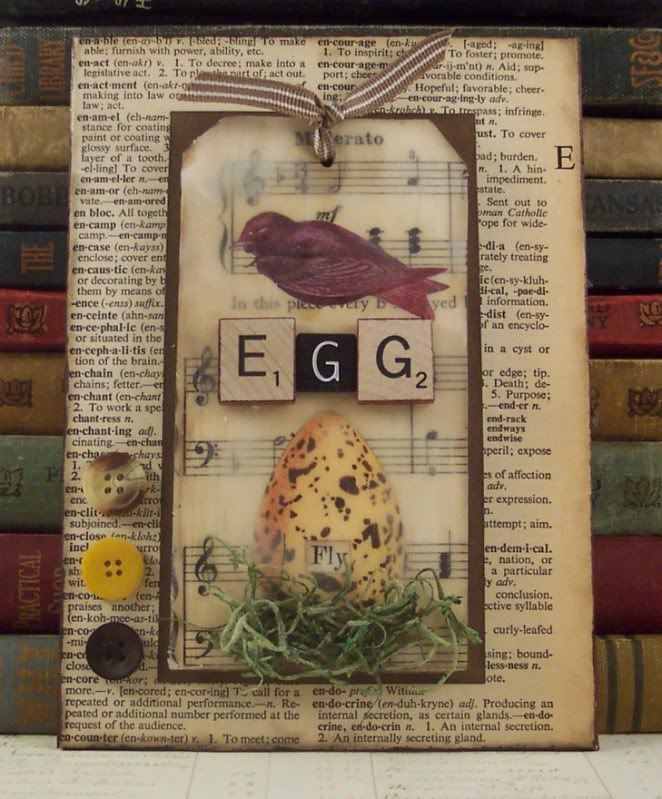
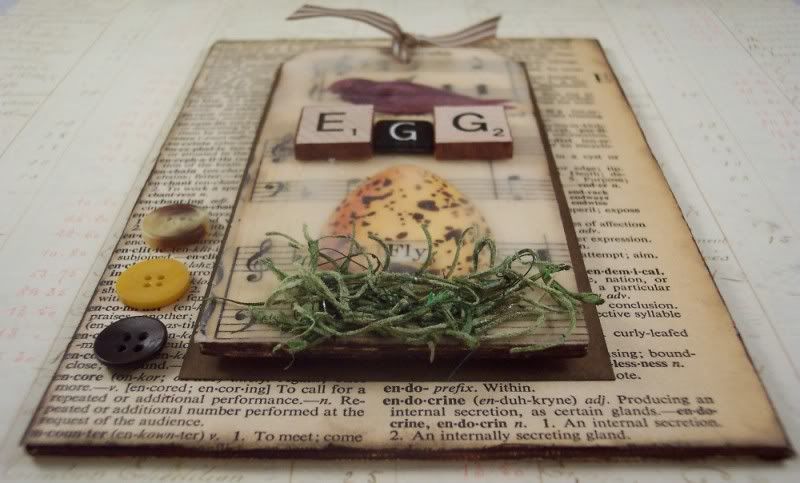
Melting wax that is. I decided I hadn’t played with bees wax for awhile so I got my little crock pot out and played around with it the other day. I made some more captured fairy in a jar art cards, like I did in the past, dipping the collaged jars into the bees wax, they always turn out cute. I also did a bird collage I’m really happy with. I started with a wooden tag and collaged vintage music sheet and images of a bird and egg and the word “fly” cut from a vintage book. Then I took a brush and covered the tag with the melted wax. One of the cool things about wax is it can be remelted. So in a couple spots were it was too thick and cloudy I used my heat tool and melted it a bit to thin it out. You can also use a mini iron to melt the wax as well. I then added some game pieces that spell “egg” and faux grass for a nest. I covered a 5 x 7 canvas board in vintage dictionary paper, mounted the tag in the middle on cardstock and then added a few vintage buttons.
Here’s a couple of my fairy art cards:
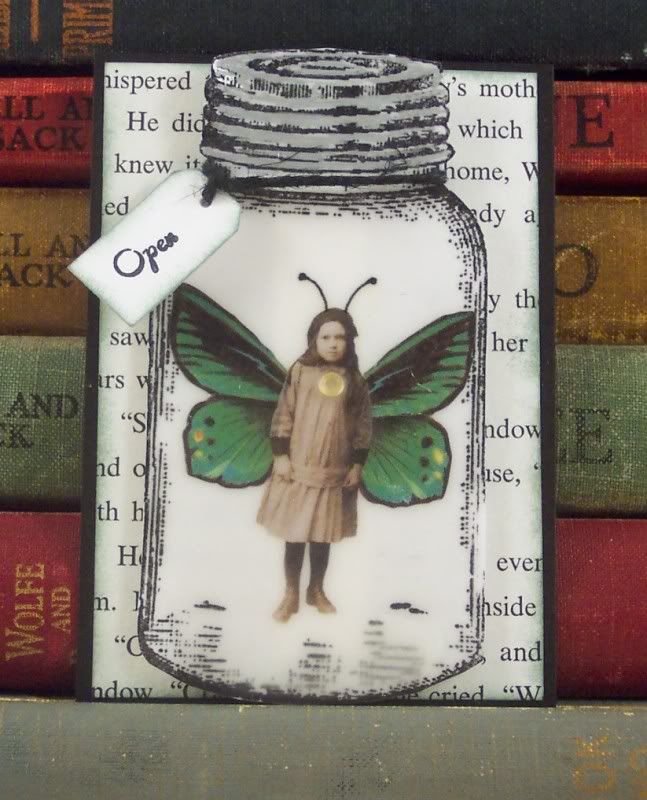
doesn’t he look shocked to be captured?:
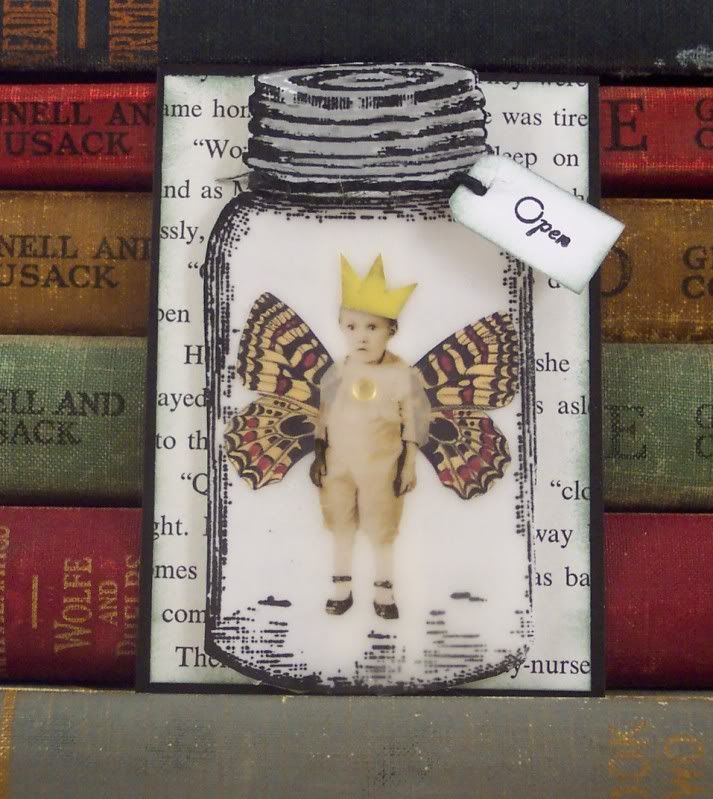
and this is my bird and egg collage:
Tags:ACEO, art, art card, ATC, bees wax, beeswax, bird, buttons, canvas, captured, collage, egg, encaustic, fairy, fly, jar, mixed media, paper, tag, vintage, wood, wooden
Posted in 3D and Assemblage, ATC, Collages on Canvas | No Comments »
Monday, September 21st, 2009
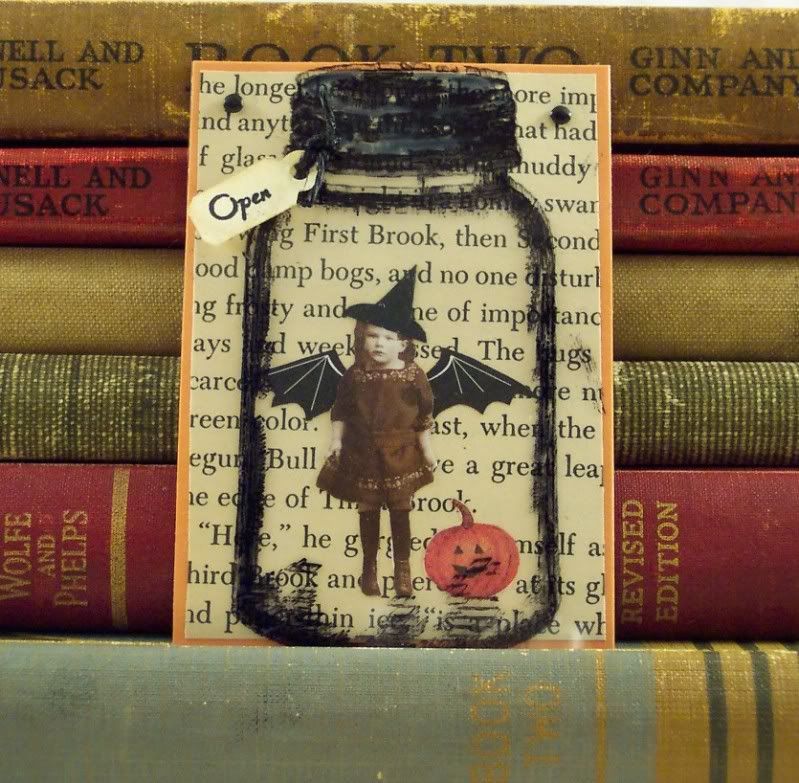
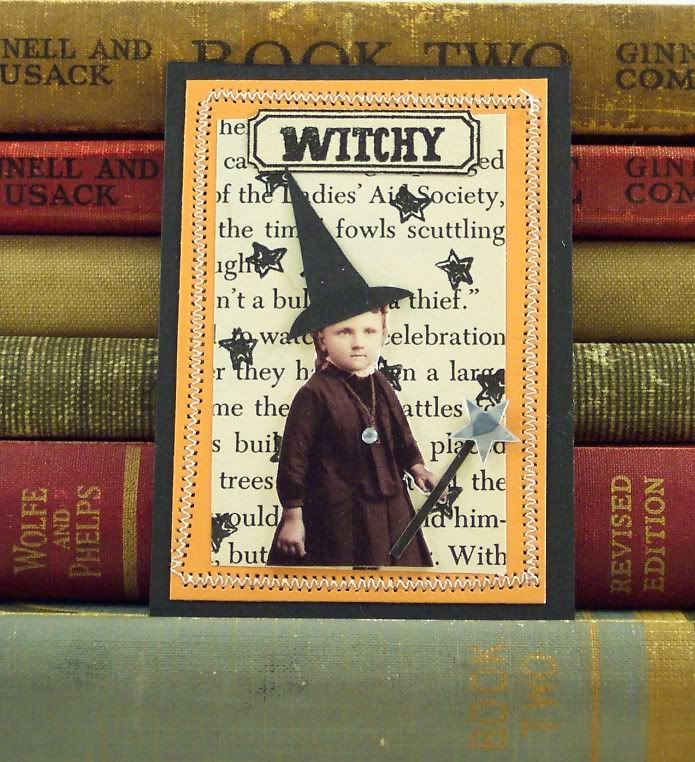
I just finished some fun art cards (atc or aceos measuring 2 1/2 x 3 1/2) for Halloween.
The first is a captured Halloween fairy in a jar, I stamped the jar on transparency and adhered it with tiny brads to vintage book paper and cardstock.
These next two use images from Tim Holtz’ Doo Dad line, I made the little girl a witch and the boy a wizard with bat wings, both have silver star and rhinestone embellishments and old fashioned stamped labels. They are on backgrounds of vintage book paper with stamped stars and orange and black cardstocks I sewed together on the sewing machine with zig zag stitches.
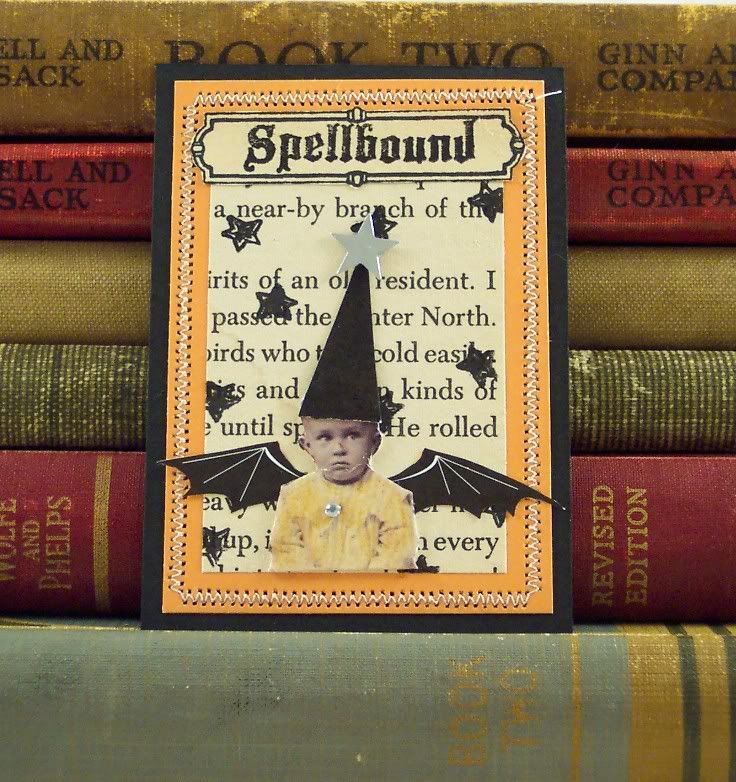
All of these cards are currently for sale in my Esty shop: http://www.PisforPaper.etsy.com
Tags:ACEO, art cards, ATC, black, captured, card, fairy, halloween, jar, orange, witch, wizard
Posted in ATC | 5 Comments »
Monday, June 15th, 2009
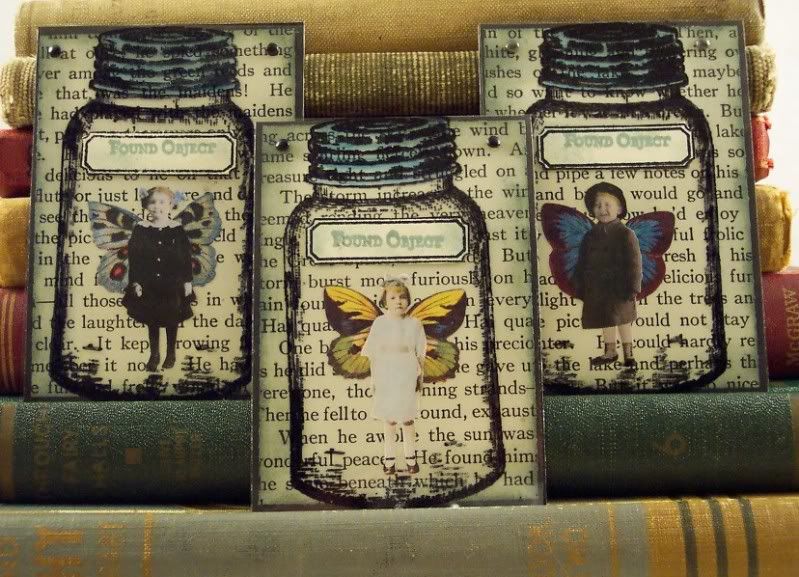
Here’s a group of Art Cards I did last week. I used my canning jar stamp and stamped it on transparency sheets and put a captured fairy underneath on the base of vintage book paper and cardstock, attaching the transparency with tiny brads. I also added an old fashioned label to the jars and stamped “found object” on the label. Simple but cute I think:)
Tags:ACEO, art card, ATC, captured, caught, fairies, fairy, jar, transparency
Posted in ATC | 4 Comments »
Thursday, May 14th, 2009
Sorry it’s been so long since my last post, my husband was on vacation so I decided to take a little break from creating and recharge a bit:)
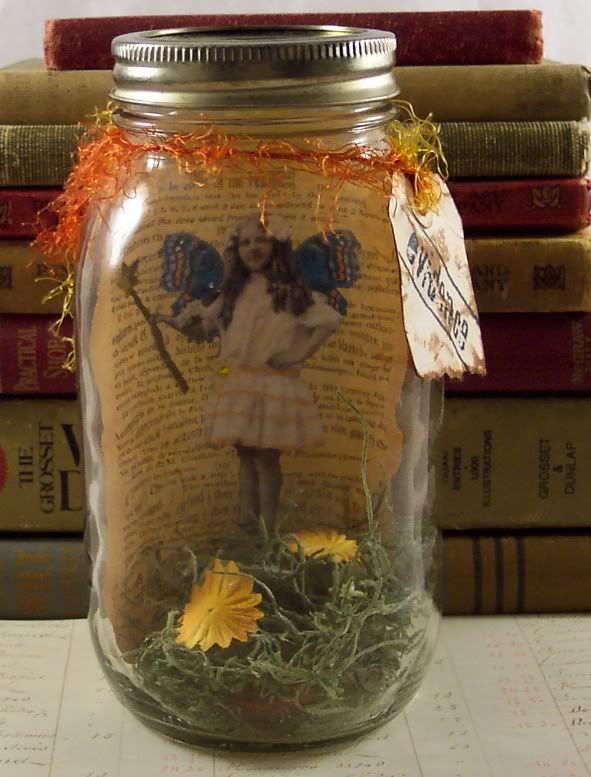
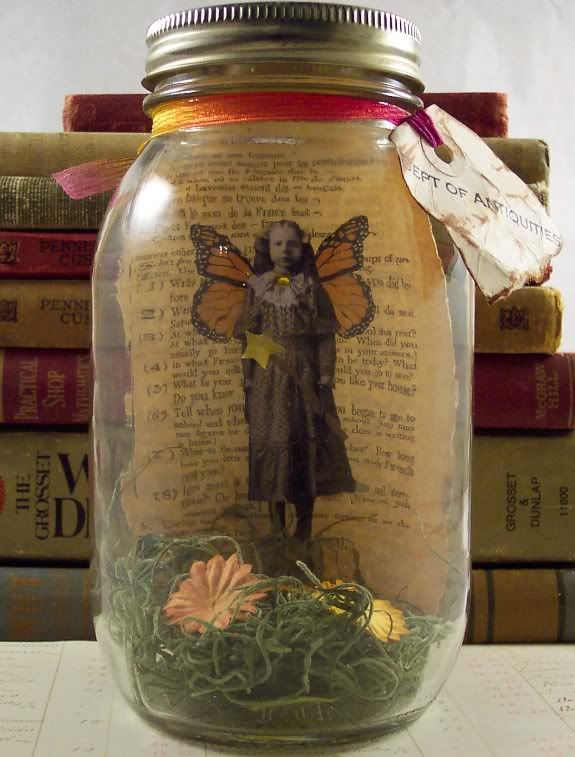
Here’s a couple of fun altered collages pieces of fairies caught inside glass jars. I made the collage of the a fairy on a vintage book page and inserted it into a canning jar (the kind with no writing imprinted on them) and tucked some fake grass and paper flowers inside the bottom of the jar. I then aged a tag and stamped some neat sentiments on them, one says “Evidence” the other says “Dept of Antiquities” and tied them around the jars with cool ribbons. The lid of the jar was too shiny and new looking for me so I used a sponge and added some black permanent ink to age them up a bit.
Tags:altered, captured, caught, collage, fairies, fairy, jar
Posted in 3D and Assemblage, Misc. Collage | 3 Comments »
Sunday, February 15th, 2009
I love working with beeswax but it’s a little time consuming, a little messy and a little unpredictable but it’s fun so it’s worth it:)
Here’s a little info on using beeswax. I use an old small crock pot for my beeswax, keep in mind you can’t ever use it for food (or anything else for that matter :)) ever again. Melting Pots work too but you’d have to clean it out I guess if you used it for anything else. I just leave the wax inside when I’m done, it cools and dries and I put it away and just plug it back in next time I’m ready to use it. Now here’s the time consuming part, it takes hours for the wax to melt again and I’m not a patient crafter so I hate waiting! I use a wooden spoon to help stir the wax (metal can get hot) and tweezers to dip with. I lay my items on wax paper to cool. So all you do is make your item (in this case I made a collage of a fairy in a jar and cut them out) pick it up with the tweezers and VERY quickly dip it in and out of the wax, letting any excess drip back into the pot. If you leave it too long the wax will be too thick to see your art work underneath. If that does happen you can try to melt some of it and blow it out of the way with your heat tool. You can also dip a paint brush in the melted beeswax and brush it over larger objects like canvases. Then just lay it flat to dry and cool, don’t touch it while it’s wet, it drys pretty quickly.
So, I got out my beeswax pot the other day and made some really fun ATC’s (artist trading cards). The jars are dipped, giving them the look of cloudy old glass, it’s hard to capture in a photo but they are very cool in person.
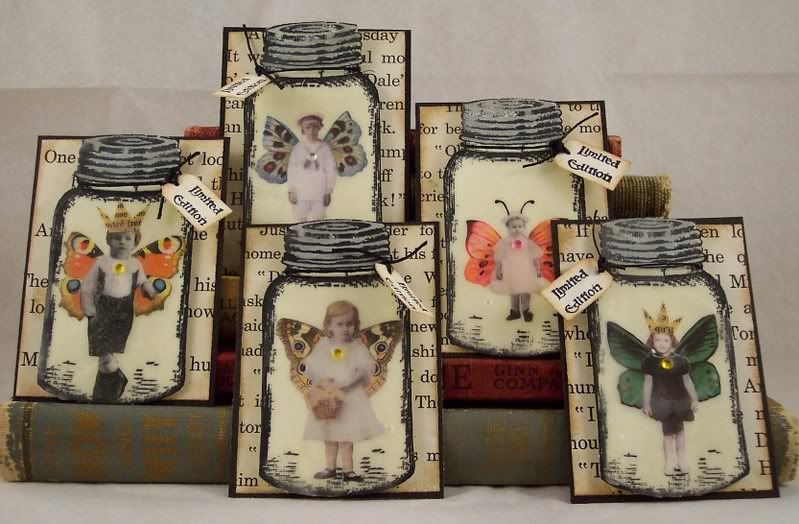
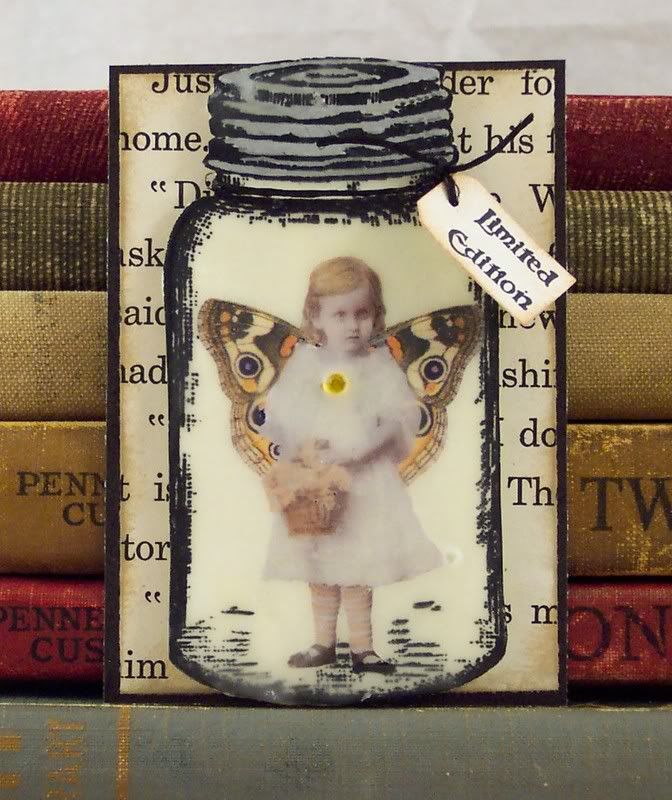
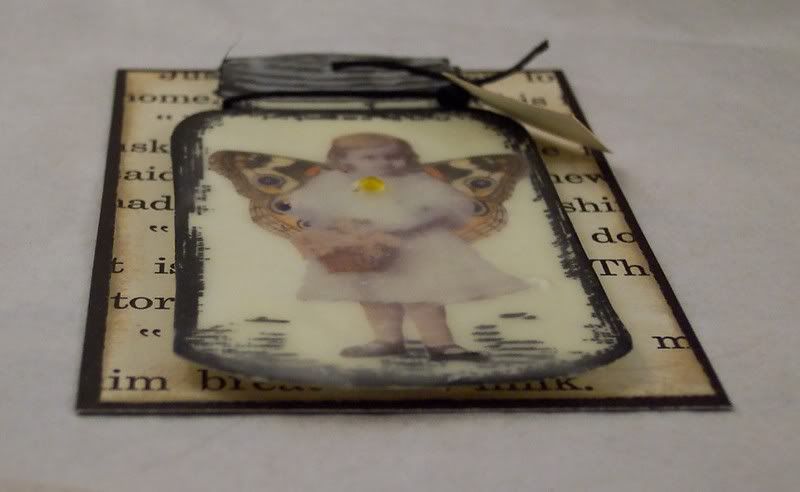
These will be listed for sale in my Etsy shop over the next few days.
Tags:ACEO, art, artist trading cards, ATC, beeswax, captured, collage, fairies, fairy, jar, mixed media
Posted in ATC | 6 Comments »


