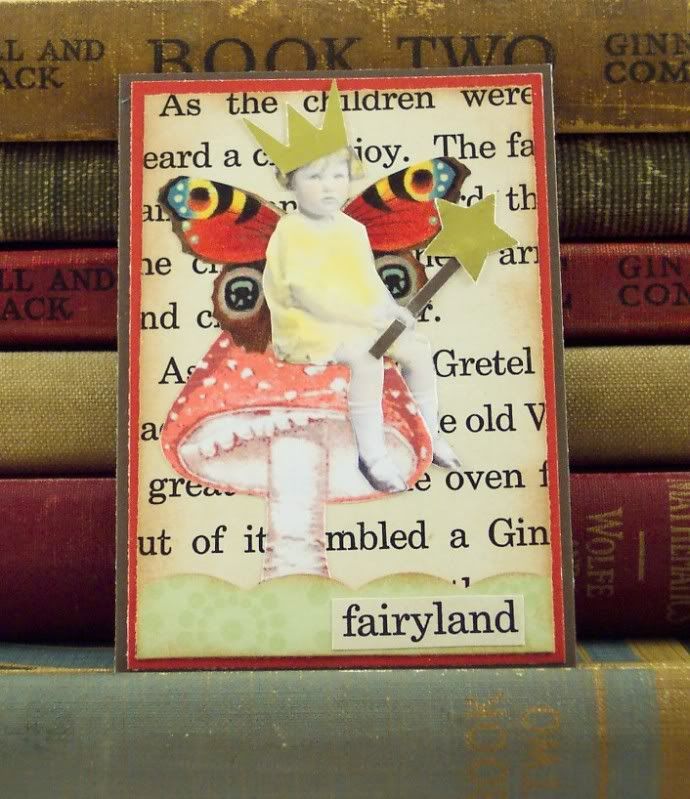
Here’s a cute little art card I made last week. It’s a sweet little fairy sitting on a mushroom wearing a paper crown I cut from gold metallic paper and holding a fairy wand with gold star punched from the same paper. I added a scalloped green paper hill and the words “fairyland” cut from a vintage children’s book. It’s layered on vintage book paper and cardstocks. Since the image of the girl was black and white I added some color to her with chalks.
Here’s some info on chalks. Chalks give you a soft pastel look (they are also called artist pastels) and they work nicely with vintage images, it looks alot like the tinting they did on their photos back then. I use q-tips to apply chalks, it gives you alot of control and it’s easy to color into small areas. Chalks can be blended and colors mixed but it’s usually very subtle. Also with the correct eraser chalks can usually be removed from most surfaces in case of mistakes, so that’s a big plus for them. I like chalks that come in little square “cakes” but “stick” chalks work pretty much the same way. Sometimes you might feel the need to “set” your chalks, a clear spray will work nicely, don’t use a sealant that needs to be brushed on, it will usually smear the chalk. Another fun thing to do with chalks is use a clear blender pen or colorless marker with them, simply rub the tip of the marker over the surface of your chalk and then color with it, it gives a much more vibrant tone to the chalk color and it’s easier to shade. Just rub the tip of the marker on a paper towel until it runs clear to clean it. Test your paper first though as these types of markers can sometimes leave an oily film behind.
Colored pencils can be used to color your vintage images too, they will give you a darker look and more shading but can sometimes look heavy handed on vintage images.
Tags: art card, ATC, atrist trading card, chalks, fairies, fairy, fairyland, mushroom

