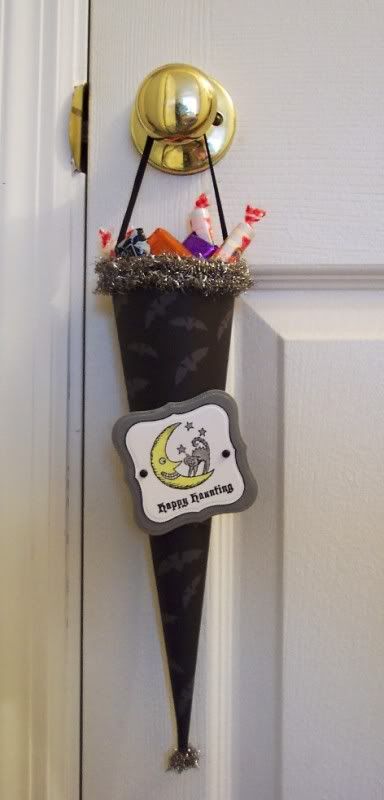
I thought it would be fun to share the instructions for a project I just finished. It’s a paper Tussy Mussy for Halloween. Tussy Mussy’s are a Victorian era hanging cone usually for flowers but this one holds candy.
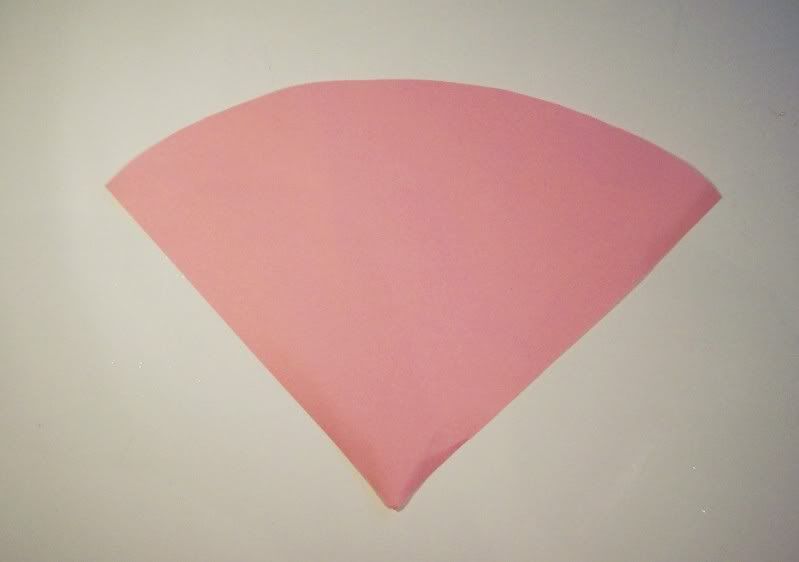
Start with a 12×12 piece of pattern paper or cardstock, mine has bats on it, flip it to the back side and turn it so one corner faces towards you and with a pencil draw a half circle from the left corner to the right corner then cut along your lines. Here’s a picture of what it should look like.
Next apply adhesive down one long side of the back of the cut paper and roll the other side toward the adhesive forming a cone shape.
Next apply adhesive around the top outside opening of the cone and wrap tinsel garland around, I wrapped twice.
Cut a small piece of the tinsel garland and roll it into a ball, adhere it to the bottom of the cone with a strong adhesive.
Next attach a 7″ long piece of ribbon inside the top of the cone, use a strong adhesive or brads to attach it.
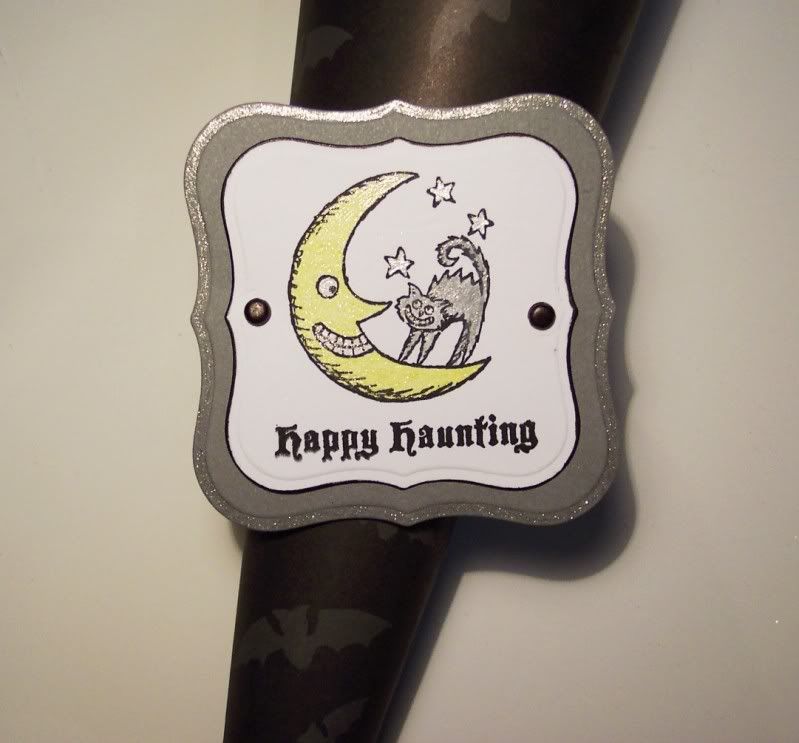
Next add a stamped decoration or tag to the front, I used my Cuttlebug and Spellbinders Tag#1 to die cut and emboss a grey tag and a smaller white tag. I stamped a cute Moon and Kitty stamp on the white tag and colored it with glitter gel pens and edged it with a black marker, then layered it onto the grey tag and colored around the edges of the grey tag with a glitter pen too. I also added brads to the tag for some embellishment and then attached it to the cone with foam dots.
Fill with candy and hang it on someone specials door!
If you make one too please send me a link!
Tags: candy, cone, halloween, how to, instructions, paper, project, tussy mussy


Well, what a sweet little tussie!
Hi Heather…..
Love it! Hope to make some up to give to friends!